Configure Microsoft Entra ID with SAML
This page contains third-party references. We strive for our content to always be up-to-date, however, the content referring to external vendors may change independently of Omada. If you spot any inconsistency, please report it to our Helpdesk.
Below, you will learn how to perform a successful app registration to configure SAML as the authentication type and Entra ID as the provider in Omada Identity.
Microsoft Entra ID with SAML
To configure Microsoft Entra ID with SAML:
-
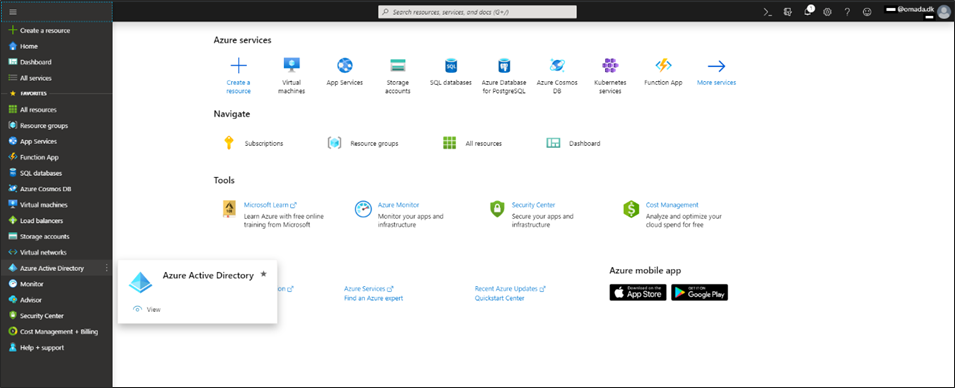
Log in to the Azure Portal and select Microsoft Entra ID.
-
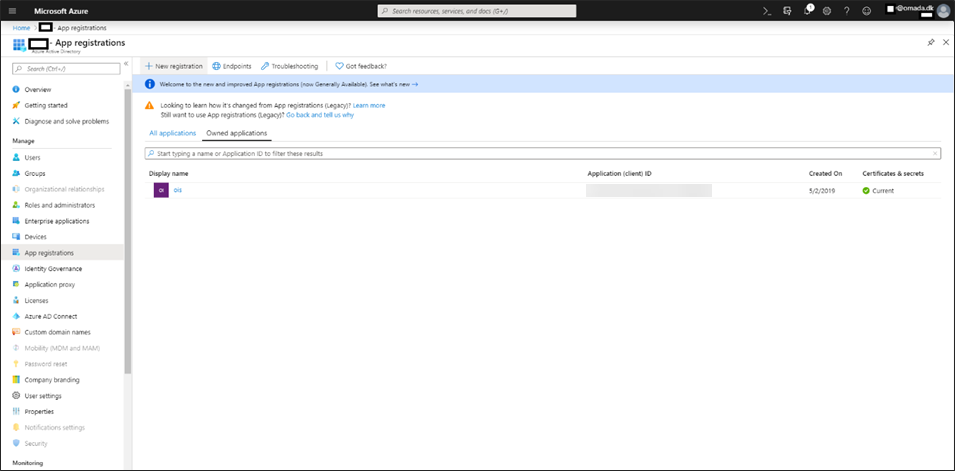
On the left pane menu, select App registrations.
-
From the menu on the top, select + New registration.

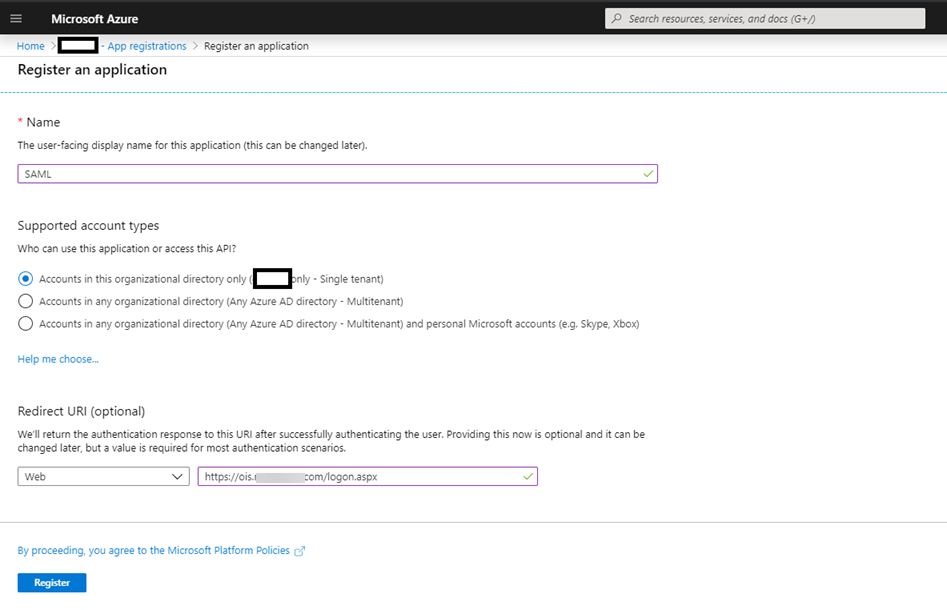
An application registration window opens:
-
Type a user-facing display name for the application (in this example: SAML).
-
Under Supported account types, select Accounts in the organizational directory only.
-
Provide a Redirect URI, following the example on the screenshot above.
infoAn authentication response will be returned to this URI after successfully authentication the user.
-
Click Register.
-
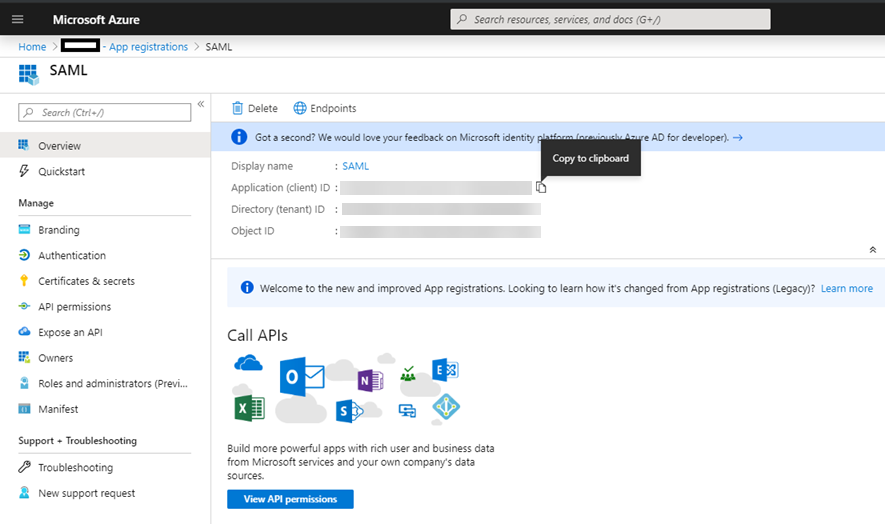
Record the values you will need later:
-
Go to the Overview section of the new app registration and record the Application ID.
-
Go to the Endpoints menu from the list of app registrations.

Record the Federation metadata document.
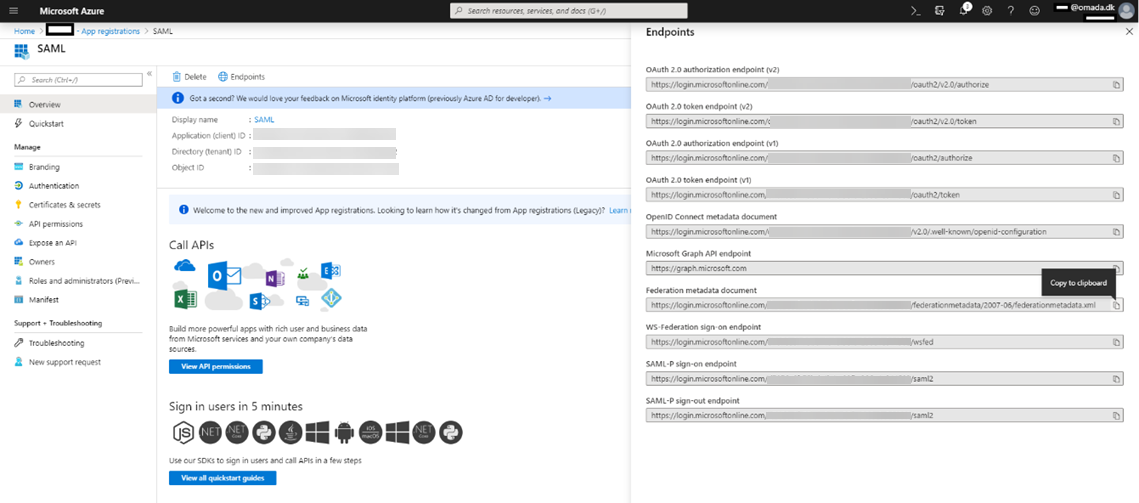
infoYou will need the recorded data in the next sections either to check if they got calculated correctly in Omada Identity or to paste them manually, depending on the solution of your choice.
-
You have now performed a successful SAML app registration. Next, you need to configure the application.
Configuring SAML from Enterprise applications
-
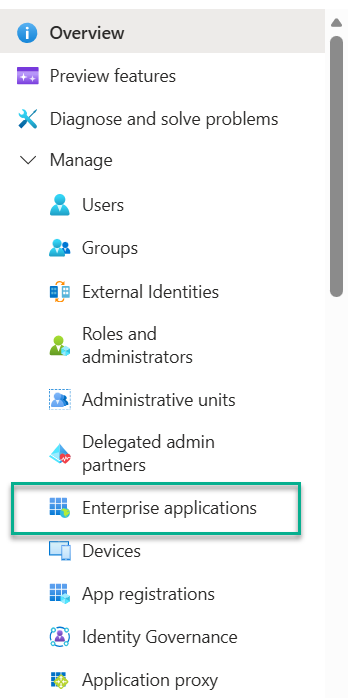
In the Azure Portal, select Microsoft Entra ID.

-
On the left pane menu, select Enterprise applications.
-
From the list of applications, select the application you need. In this example, it is
saml.omadadev.cloud. -
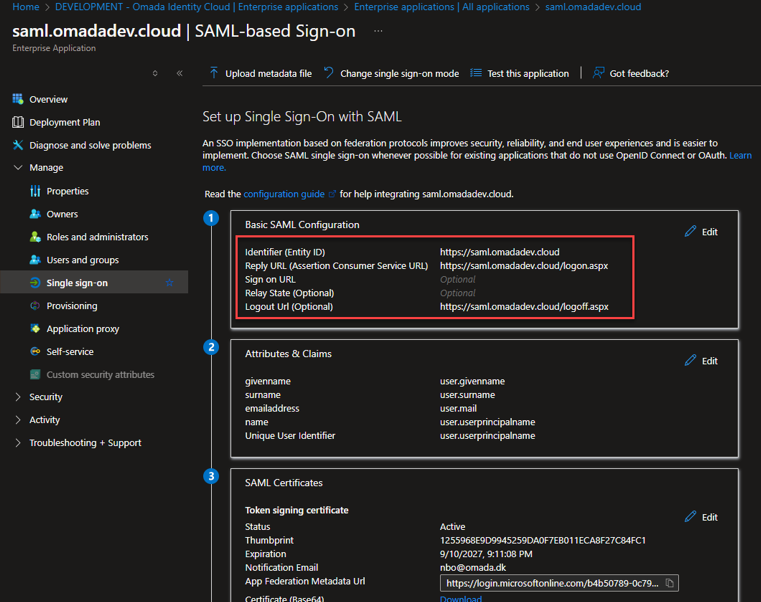
In the Manage section of the left menu, select Single sign-on.
-
Select Edit in the Basic SAML Configuration section for an editing view to open on the right-hand side.
-
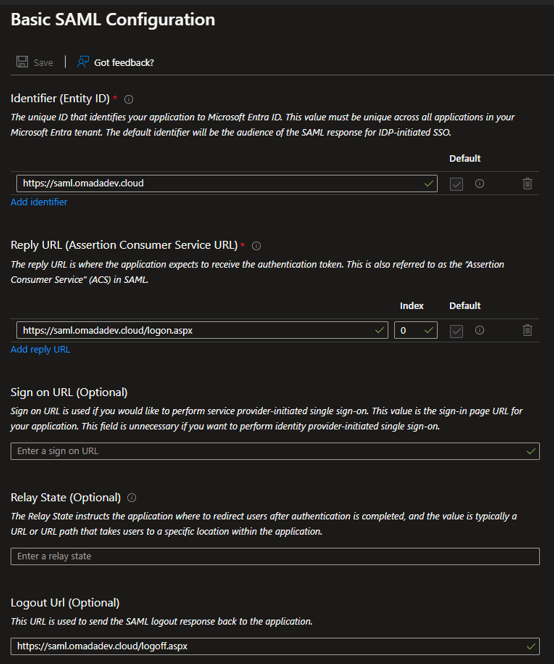
Make sure the basic SAML configuration is filled with the correct data, following the example. (If you are doing it for the first time, the fields should be editable for you.)
 tip
tipFor an example from the official Microsoft documentation, see Configure single sign-on in the tenant.
-
Select Edit in the Basic SAML Configuration section for an editing view to open on the right-hand side.
-
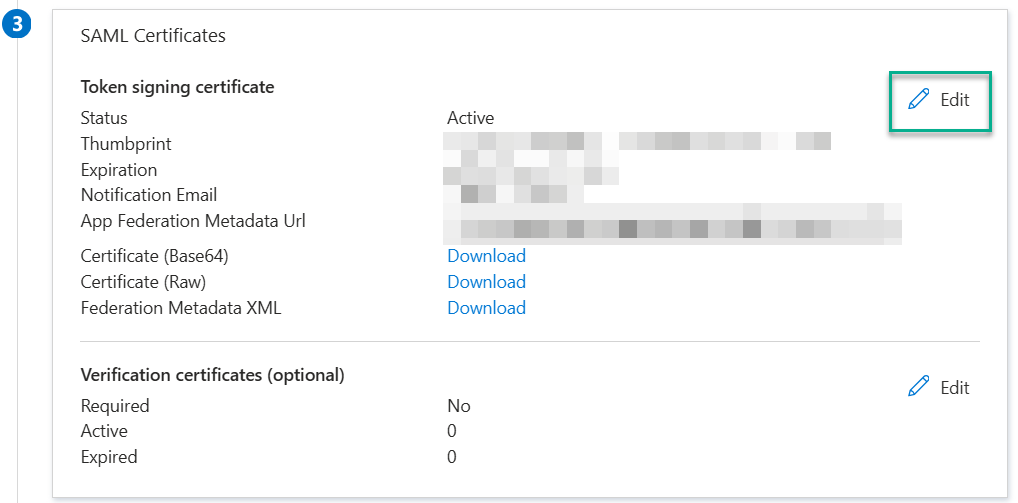
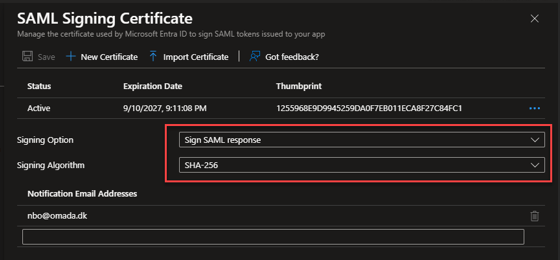
In the SAML Certificates section, configure the SAML Signing Certificate. (If you are doing it for the first time, the fields should be editable for you.)
-
As the Signing Option, select Sign SAML response.
-
As the Signing Algorithm, select SHA-256.
-
Configure authentication in Omada Identity
Authentication on the Cloud Management Portal
Cloud-
Go to the Cloud Management Portal and next to your environment, select Configure.
-
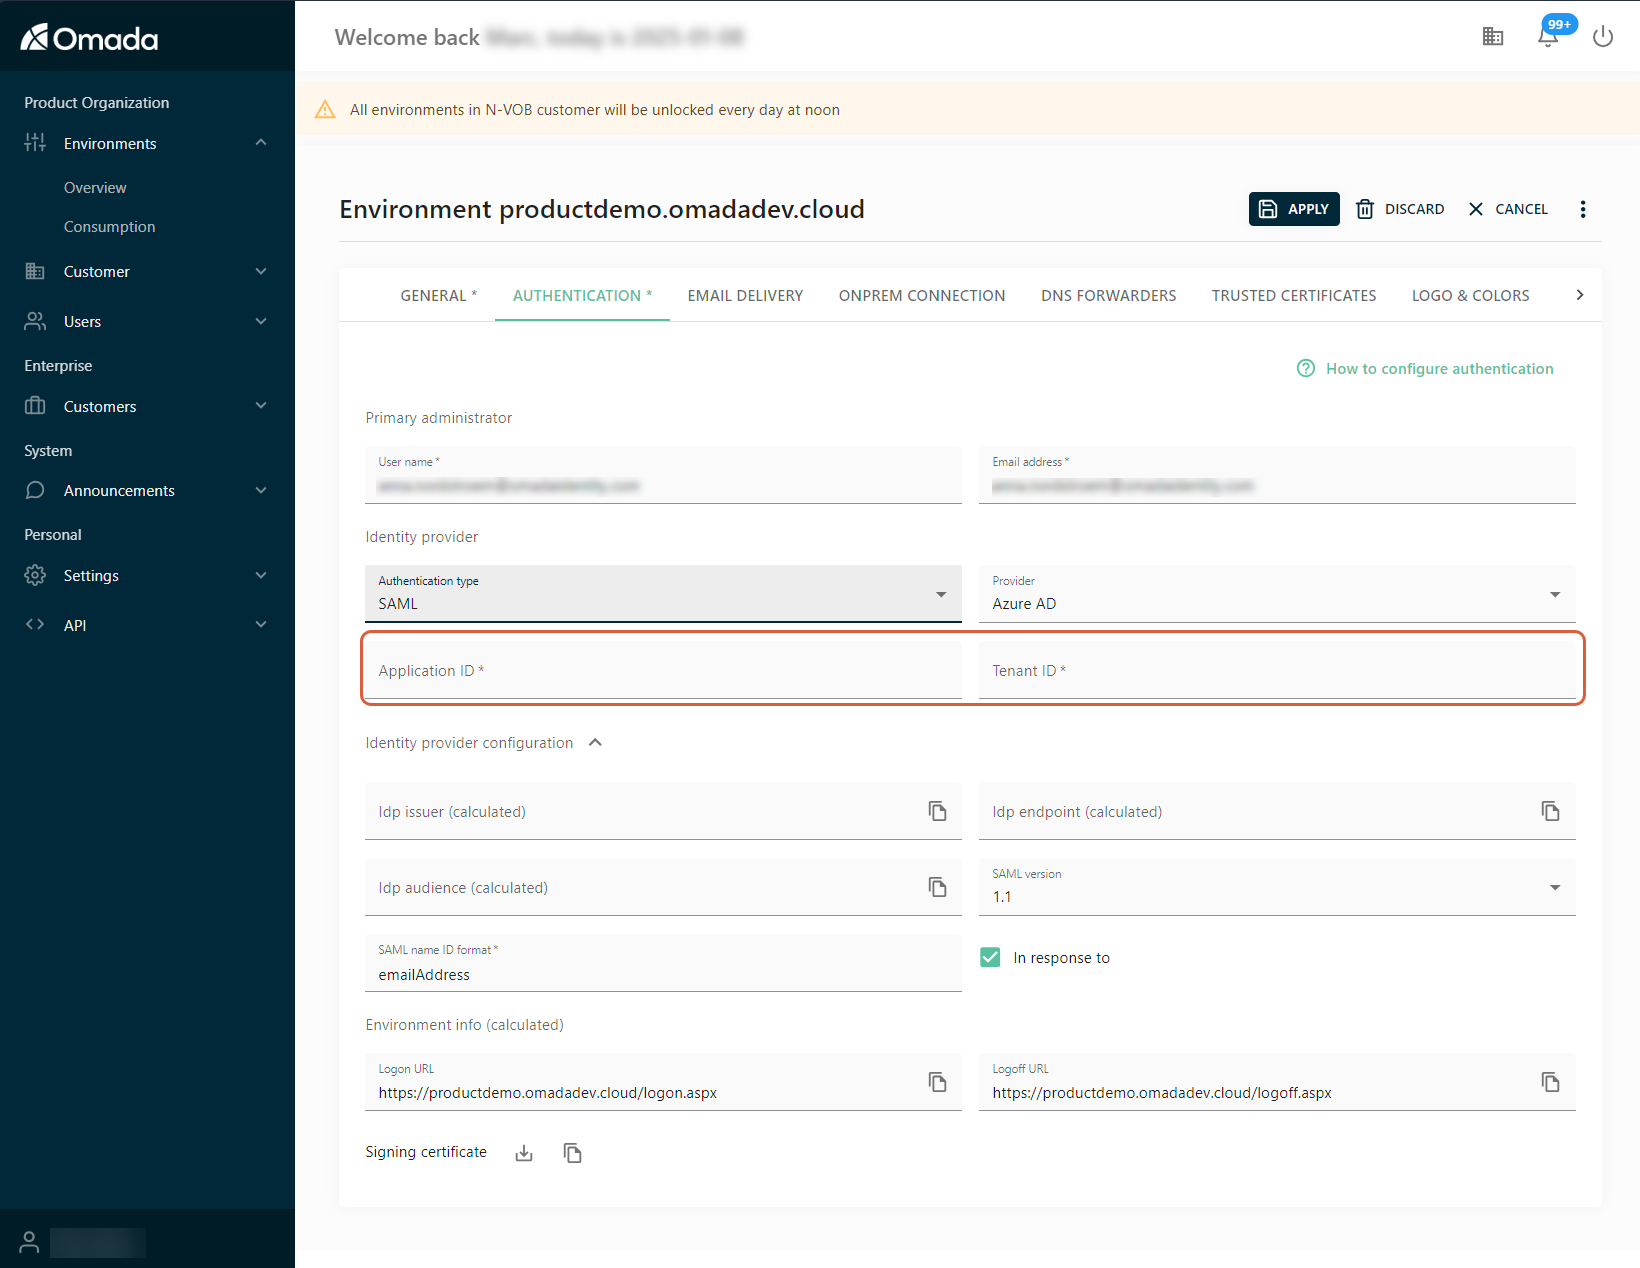
In the environment configuration, select the Authentication tab.
-
In the Primary administrator section, fill in the user name and the email address.
-
In the Identity provider section:
-
Select Authentication type: SAML.
-
Select the Provider: Entra ID.
-
Fill in the Tenant ID and Application ID with the data recorded earlier.
infoThis should cause the fields with
calculatedin brackets to be populated automatically by the portal.
-
-
In the Identity provider configuration section, make sure that the following three values got calculated correctly, in line with the ones you recorded earlier.
-
In the Idp endpoint (calculated) field, the value (URL) should be the same as the App Federation Metadata Url.
-
The IdpIssuer value should be the same as the Application ID.
-
The IdpAudience value should have the format of
spn:<Application ID value>, for example:spn:a1b2c3d4-e5f6-7890-ab12-cdef34567890. This means the service principal identifier based on your Application ID.
disclaimer & troubleshooting: generic providerAs the calculating mechanism depends on a third party, it is subject to changes independently of Omada. Therefore, if the fields have not been calculated correctly, you can choose the Generic provider and paste the values manually.

-
-
Click Apply.
Authentication in the on-prem solution
On-premIn the on-prem solution, all values need to be copied and pasted manually into the OIS.dbo.tblCustomerAuth table, following the example:

For the full procedure, see Configure Omada Identity for Single Sign-on using SAML (On-prem).