SAML
This page contains third-party references. We strive for our content to always be up-to-date, however, the content referring to external vendors may change independently of Omada. If you spot any inconsistency, please report it to our Helpdesk.
Security Assertion Markup Language (SAML) is a standard for logging users into applications based on their sessions in another context. This Single Sign-On (SSO) login standard has significant advantages over logging in using a 'regular' username and password:
- No need to type in credentials
- No need to remember and renew passwords
- No weak passwords
Most organizations already know the identity of users because they are logged in to their Active Directory domain or intranet. It may then make sense to use this information to log users into other applications, such as web-based applications, and one of the more elegant ways of doing this is by using SAML.
For more information, see: Microsoft documentation: What is SAML.
Configure SAML authentication via Management portal
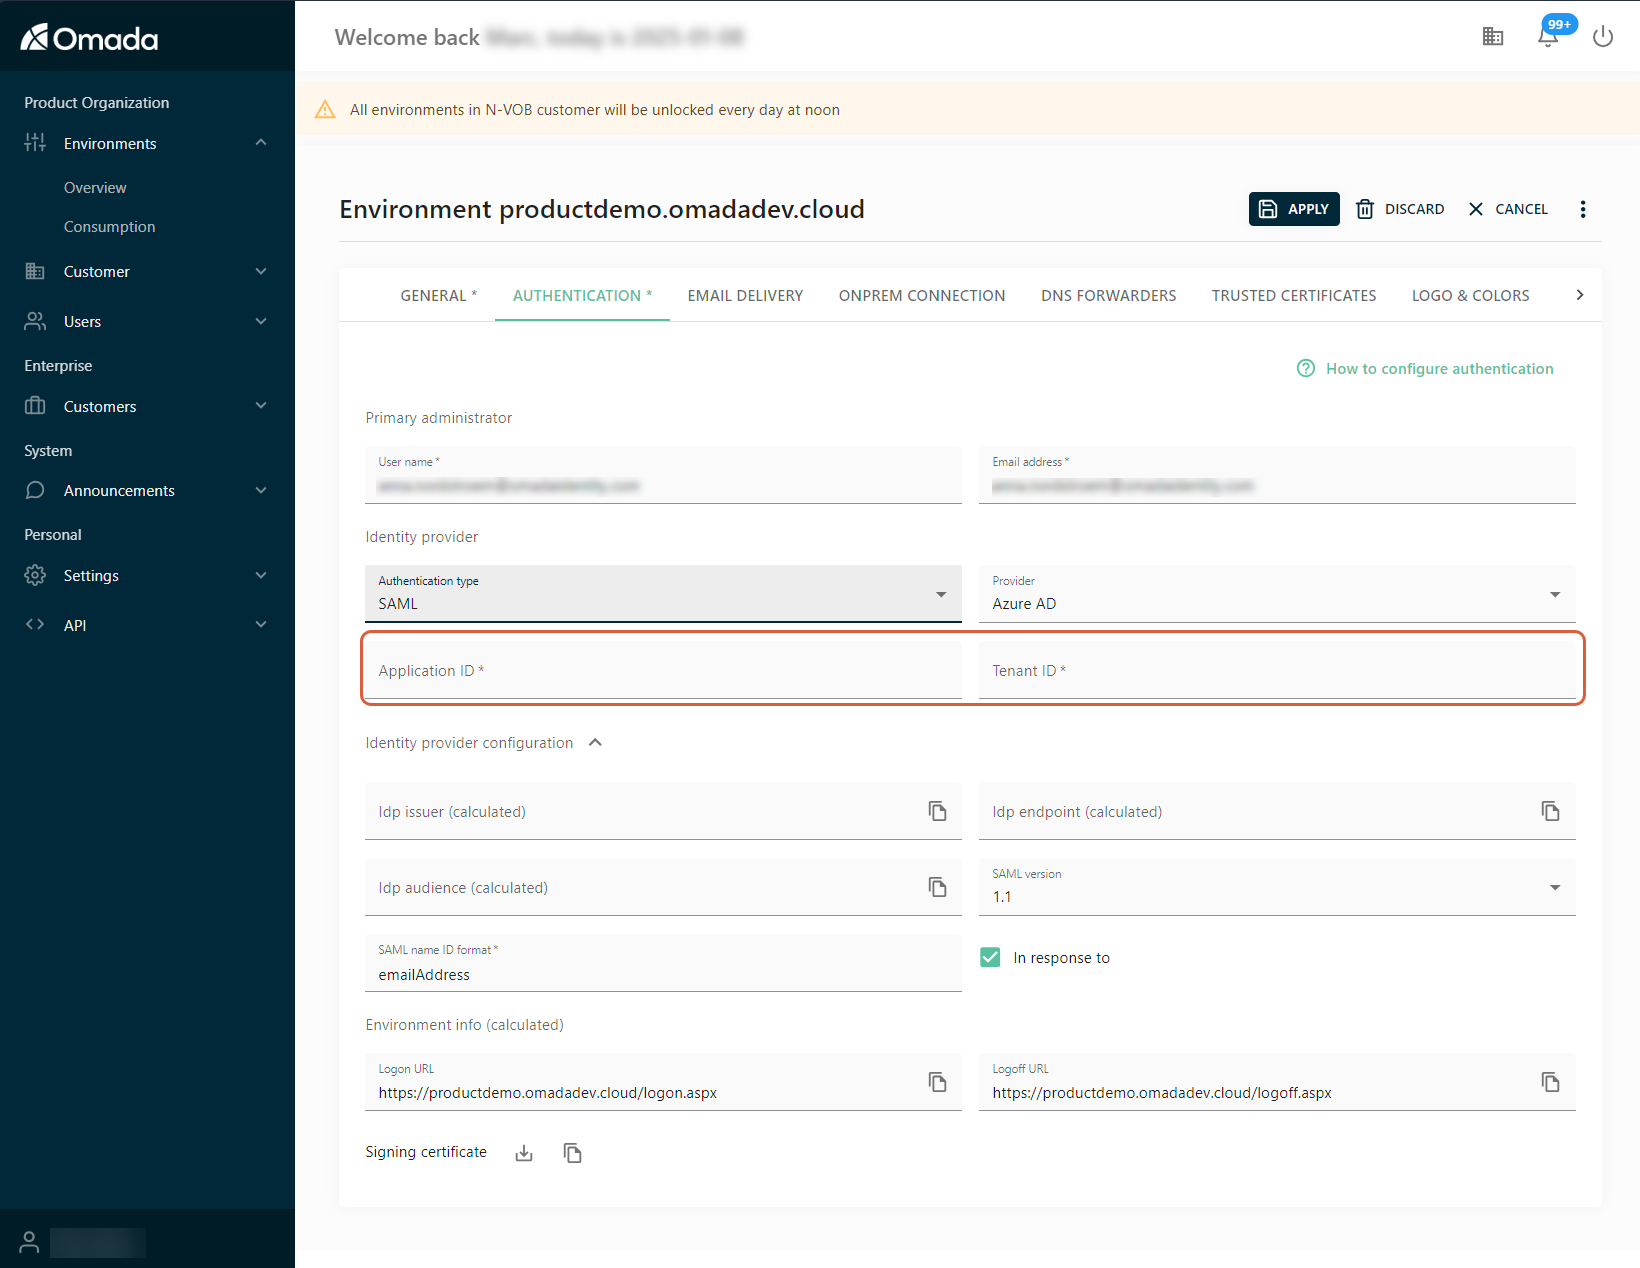
CloudYou can configure SAML authentication in the Cloud Management Portal, in the Authentication tab of the environment settings.
-
In the Identity provider section, set the Authentication type setting to SAML.
-
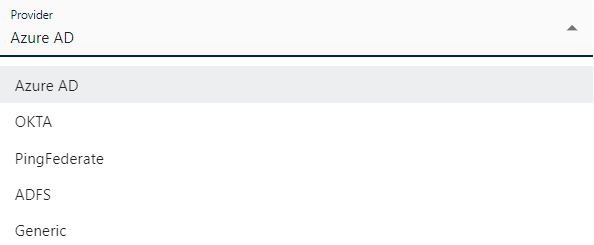
Select the desired value for the Provider setting from the drop-down menu.
-
Use the values from the provider to fill in the Application ID and Tenant ID fields.
After the configuration, the fields with calculated in brackets will be populated automatically by the management portal.
For a detailed configuration of particular providers, see the documentation of interest to you:
Configure Omada Identity for Single Sign-on using SAML
On-premWhen you enable SAML authentication, you must configure an additional Omada Identity tenant.
-
Open the SQL Server Management Studio and connect to the Omada Identity database.
-
Add two additional rows to the
tblCustomerAuth.- Set the Alias column of the first row to the local-only DNS name for the internal authentication model to be used by the ODW export and for administrative access to Omada Identity without OpenID Connect. Set
AuthenticationTypeto Integrated or Forms. - Set the Alias column of the second row to the DNS name of the end-user-facing URL and set
AuthenticationTypeto SAML.

- Set the Alias column of the first row to the local-only DNS name for the internal authentication model to be used by the ODW export and for administrative access to Omada Identity without OpenID Connect. Set
-
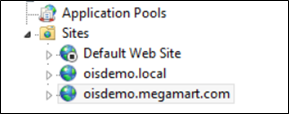
Moreover, an additional IIS Web Sites must be configured. The internal Web Site is bound to the local-only DNS alias and the end-user facing Web Site is bound to the external DNS. The end-user-facing Web Site is configured with Anonymous authentication only.
-
Configure the ODW export to use the local-only DNS.
-
From the IdP configuration, copy the value of the SSO Metadata Endpoint. Add the value to the column IdpEndPoint in
tblCustomerAuth. -
From the IdP configuration, copy the value of the service provider ID to be used in the SAML Request. Add the value to the column IdpIssuer in
tblCustomerAuthand to the IdpAudience column. Note that the audience value may vary for certain IdPs, for Microsoft Entra ID, the value must be prepended with spn:, for example,spn:d9cf09f8-a926-4def-8130-cbefe6a735bd. -
Recycle the IIS Application Pool. You can now begin testing the configured secure sign-on connection.
infoFor information about how to recycle the IIS Application Pool, refer to the Microsoft TechNet documentation.
SAML Request
The SAML request has a NamePolicyID element that you can configure. You can use the format attribute in the NamePolicyID element to configure which value the Identity Provider (IdP) is providing a NameID element for in the SAMLResponse.
The default format is as follows: urn:oasis:names:tc:SAML:1.1:nameid-format:emailAddress.
For certain projects or implementations, the emailAddress may not be the value which can match the username in the users table.
Use the master setting SAMLNameIDPolicyFormat to specify the format in the ValueStr.
A common alternative is the following: urn:oasis:names:tc:SAML:1.1:nameid-format:unspecified.
SAML Response
Omada Identity validates the signature on the SAML response using the certificate with the certificate number specified in tblCustomerAuth.
The certificate must be present in the Windows Certificate Store on the Omada Identity server. If the IdP updates the signing certificate, it is the responsibility of the Omada Identity system administrator to download and update certificates and certificate serial numbers accordingly (add the token signing certificate to Computer/Personal store and do an IIS reset).
Omada Identity analyzes the user name from the NameID element of the Subject element and uses the value as the user name during the authentication process. When you configure the IdP, you must provide the user name of the end-user as the NameID element if this is relevant for the IdP.