Omada Identity portal
Due to current configuration settings, you will be automatically logged out after 5 to 10 minutes of inactivity. This security measure protects your account and data.
On this page you can find guidelines to navigate the Omada Identity user interface (UI) and understand its functionalities:
-
Omada Identity Portal homepage overview
-
some basic information about the most common settings, menus, and tools available in the Omada Identity portal.
-
documentation on views, forms, and properties in Omada Identity portal
-
information on users and user groups
-
guidelines on data object search
Homepage
The Omada Identity portal homepage serves as the central hub for users to access essential features and functionalities tailored to their identity and access management needs.
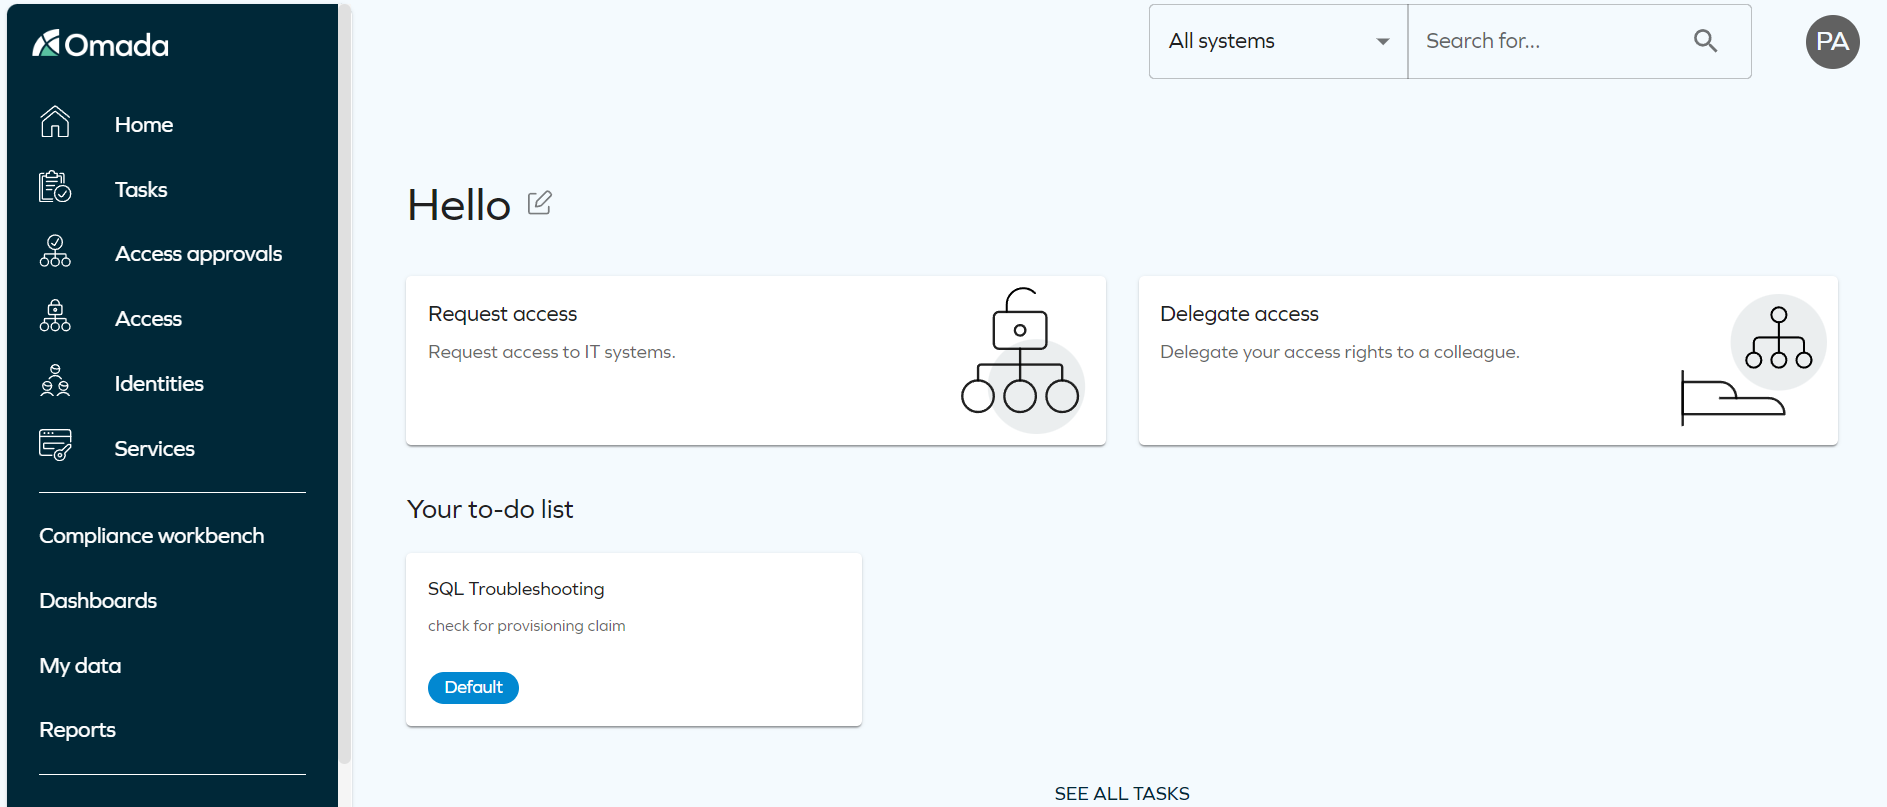
Here's an overview of what you can expect to find on the homepage:
-
Default homepage configuration
-
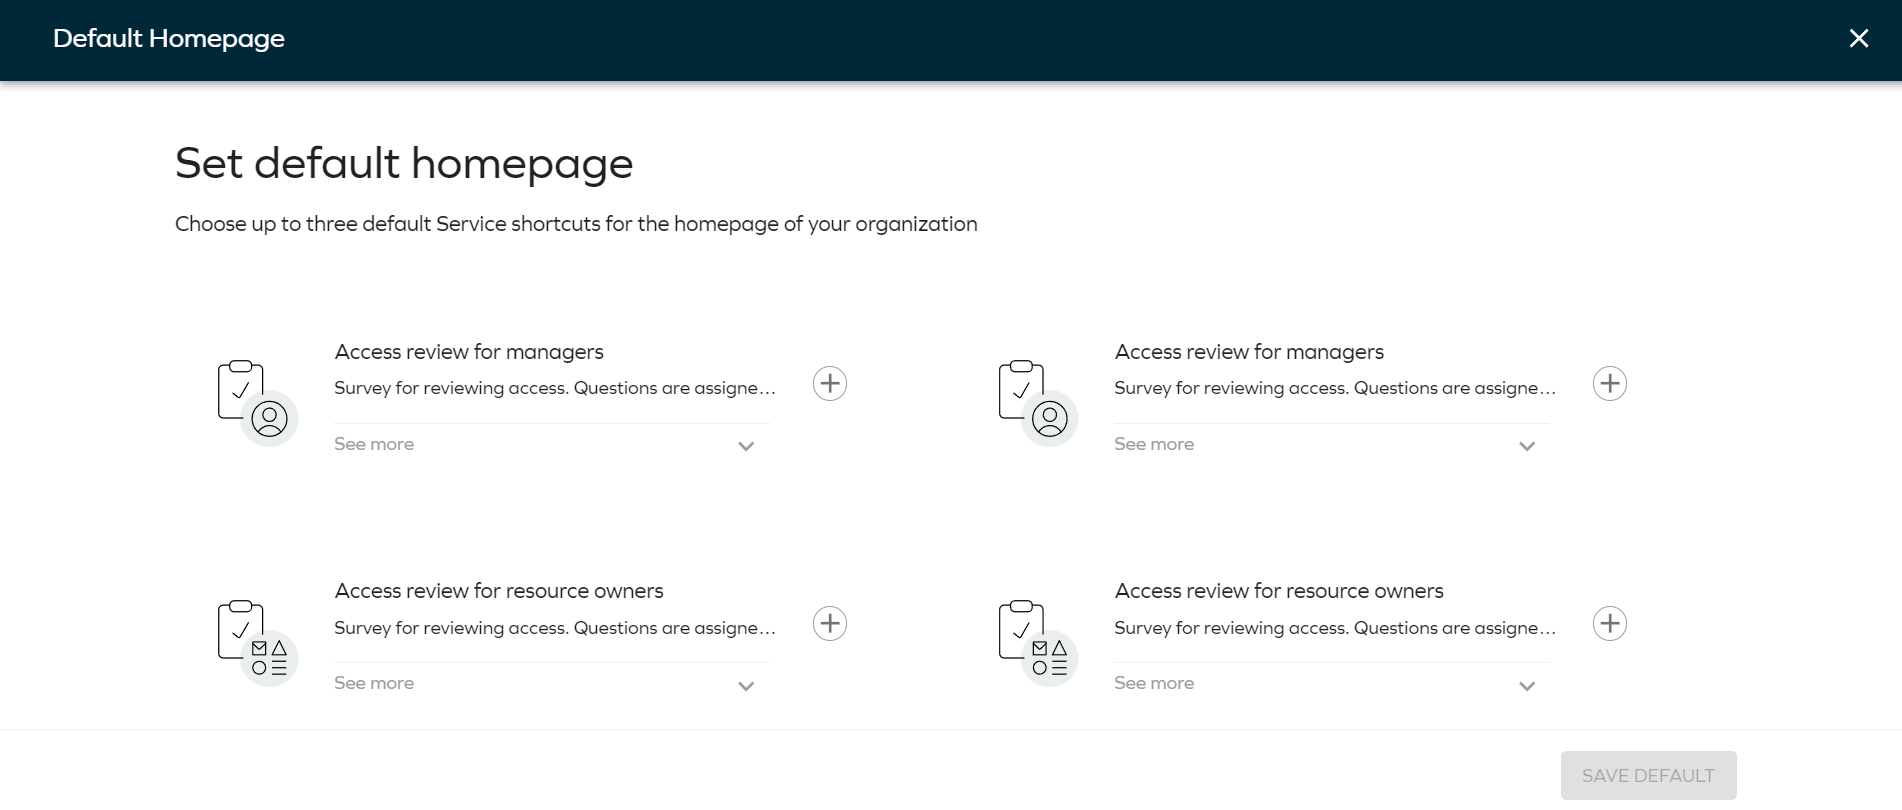
You can customize your homepage with up to three easy access widgets, each featuring the most frequently used service shortcuts. To make these adjustments, navigate to the User Interface's customer settings.
-
As an administrator, navigate to Setup > Administration > User interface > Homepage configuration to set up to 3 default service shortcuts for your organization. These defaults will apply to users who haven't customized their homepage.
-
As an end user, you can change your shortcuts by editing the home page.
-
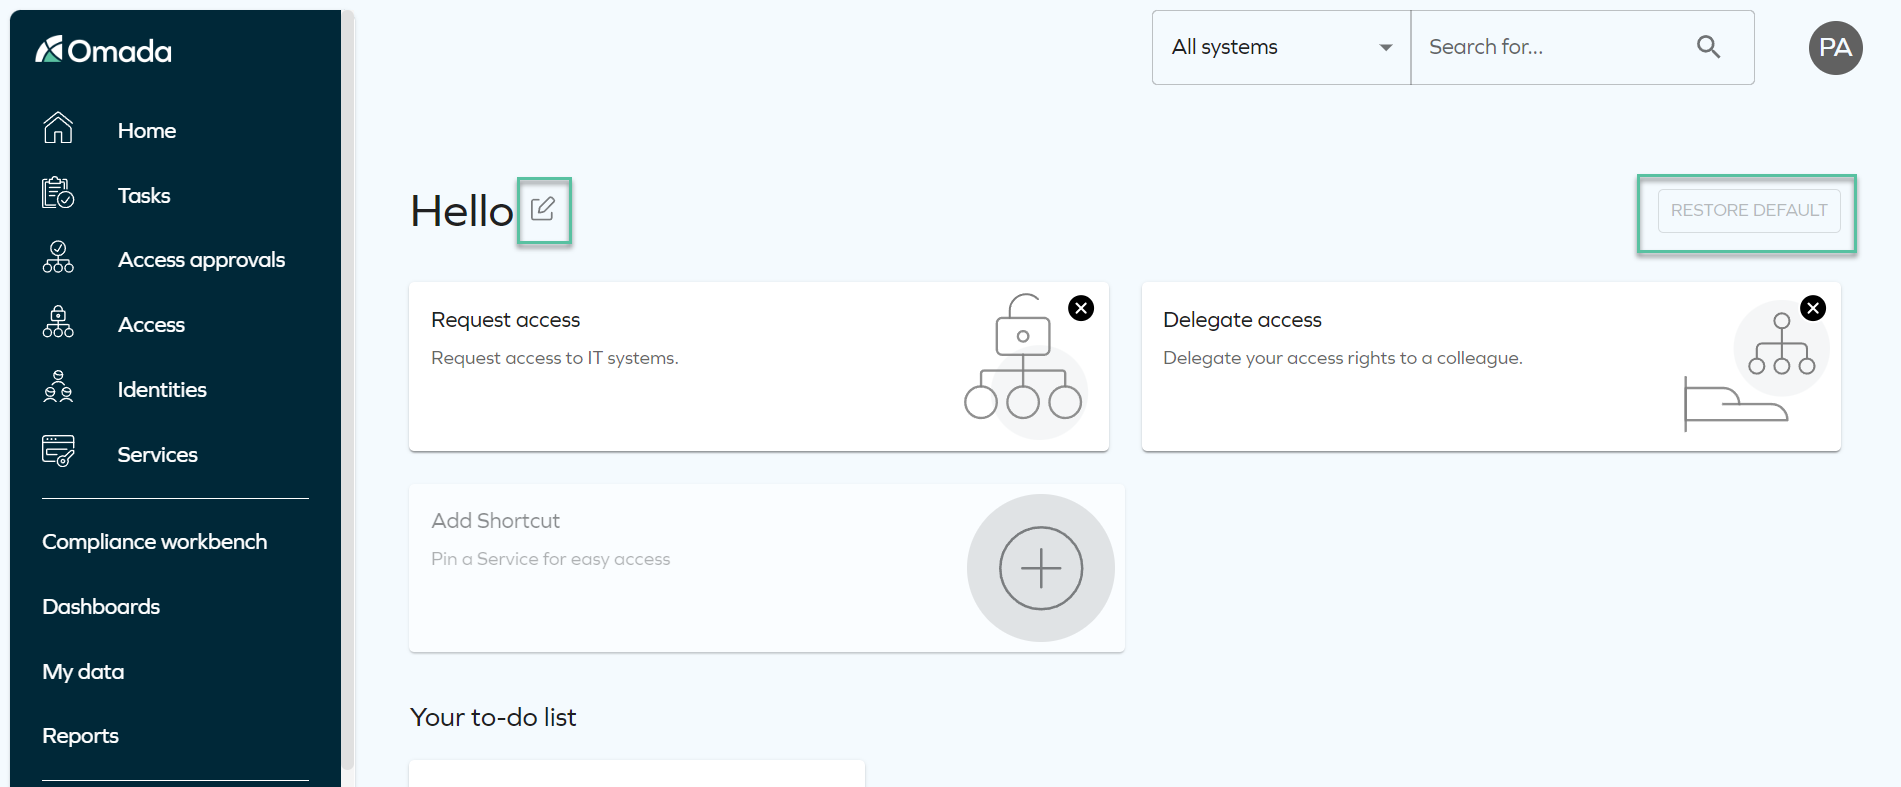
You can edit the layout of the service shortcuts by clicking Edit icon next to the welcome message. You can add, remove and change the order of the shortcuts. You can restore the layout to default by clicking the Restore Default button in the edit mode. It erases your custom settings and shortcuts to the default, set by the administrator.
-
-
-
-
Navigation menu
-
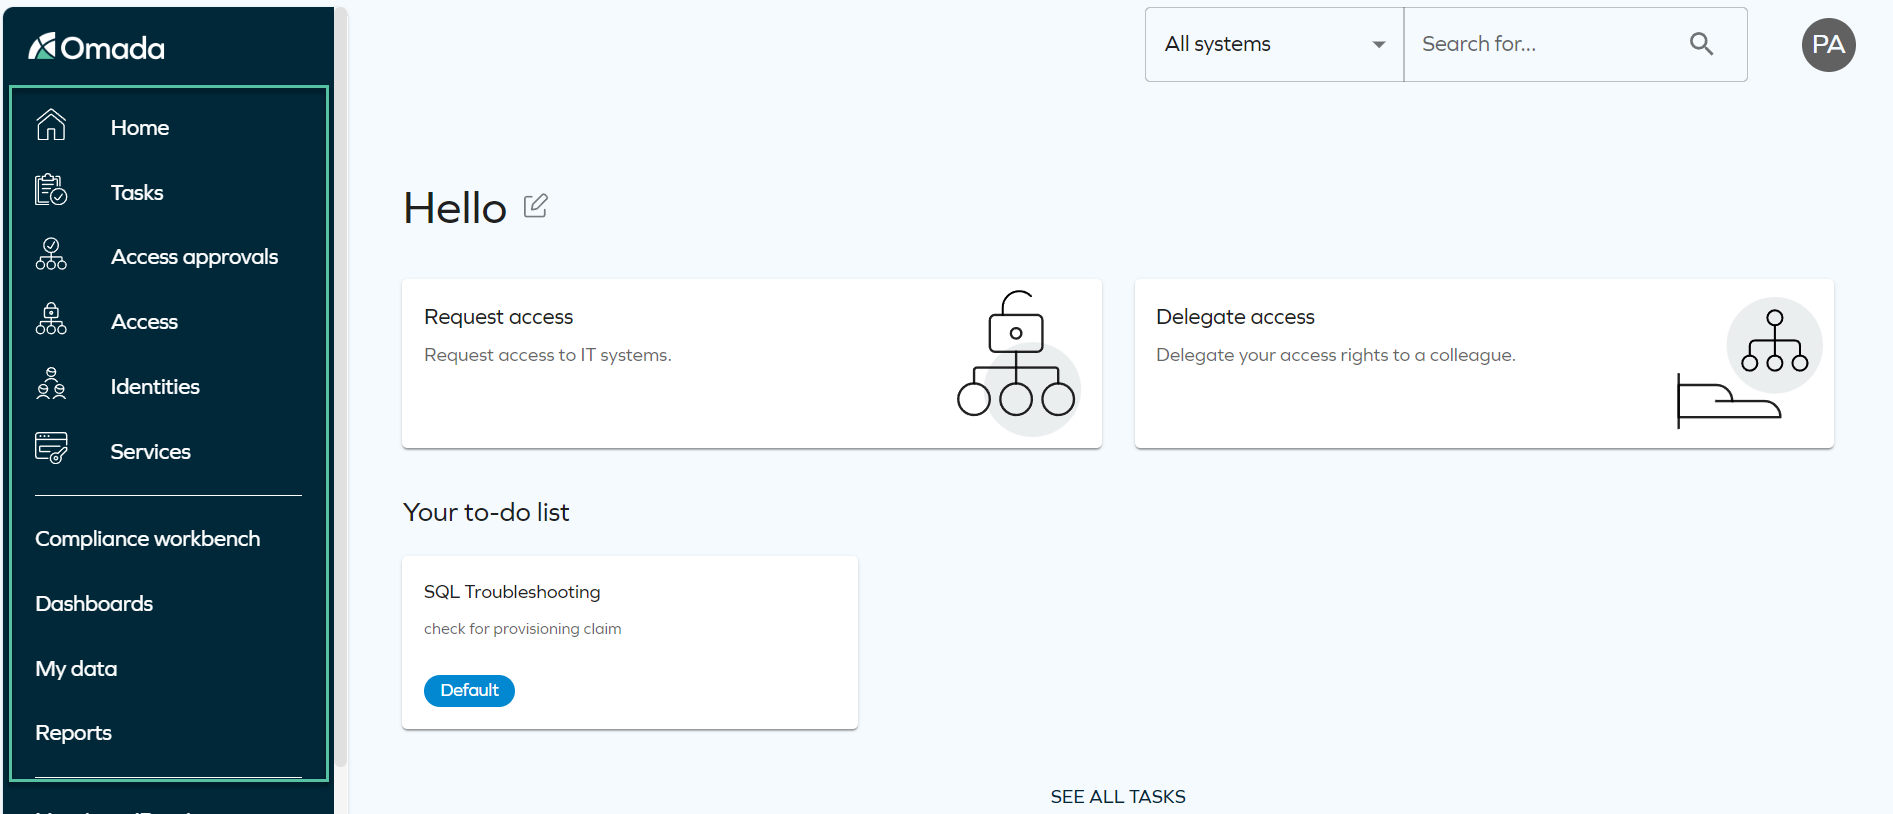
The homepage prominently features service shortcuts, allowing you to navigate to key areas of the portal with ease. For more information, refer to the Menu structure section of Menus and settings.
-
Pinned items
Users can pin any process, list view, or dashboard to their homepage from the Service Library, available from the main menu. Pinned items appear in a dedicated Pinned items section on the homepage, displaying each item's name and opening it in the same tab when clicked.
The List Views tab in the Service Library, which lets you pin data object list views to your homepage, is a Technical Preview feature enabled with the customer setting ServiceLibraryListViews. This setting is disabled by default, and we recommend not enabling it in a production environment. For more information, see ServiceLibraryListViews in Customer settings.
The first four pinned items are always visible. Any additional items are grouped under a collapsible See all items toggle that shows the number of hidden items. You can rearrange pinned items using drag and drop.
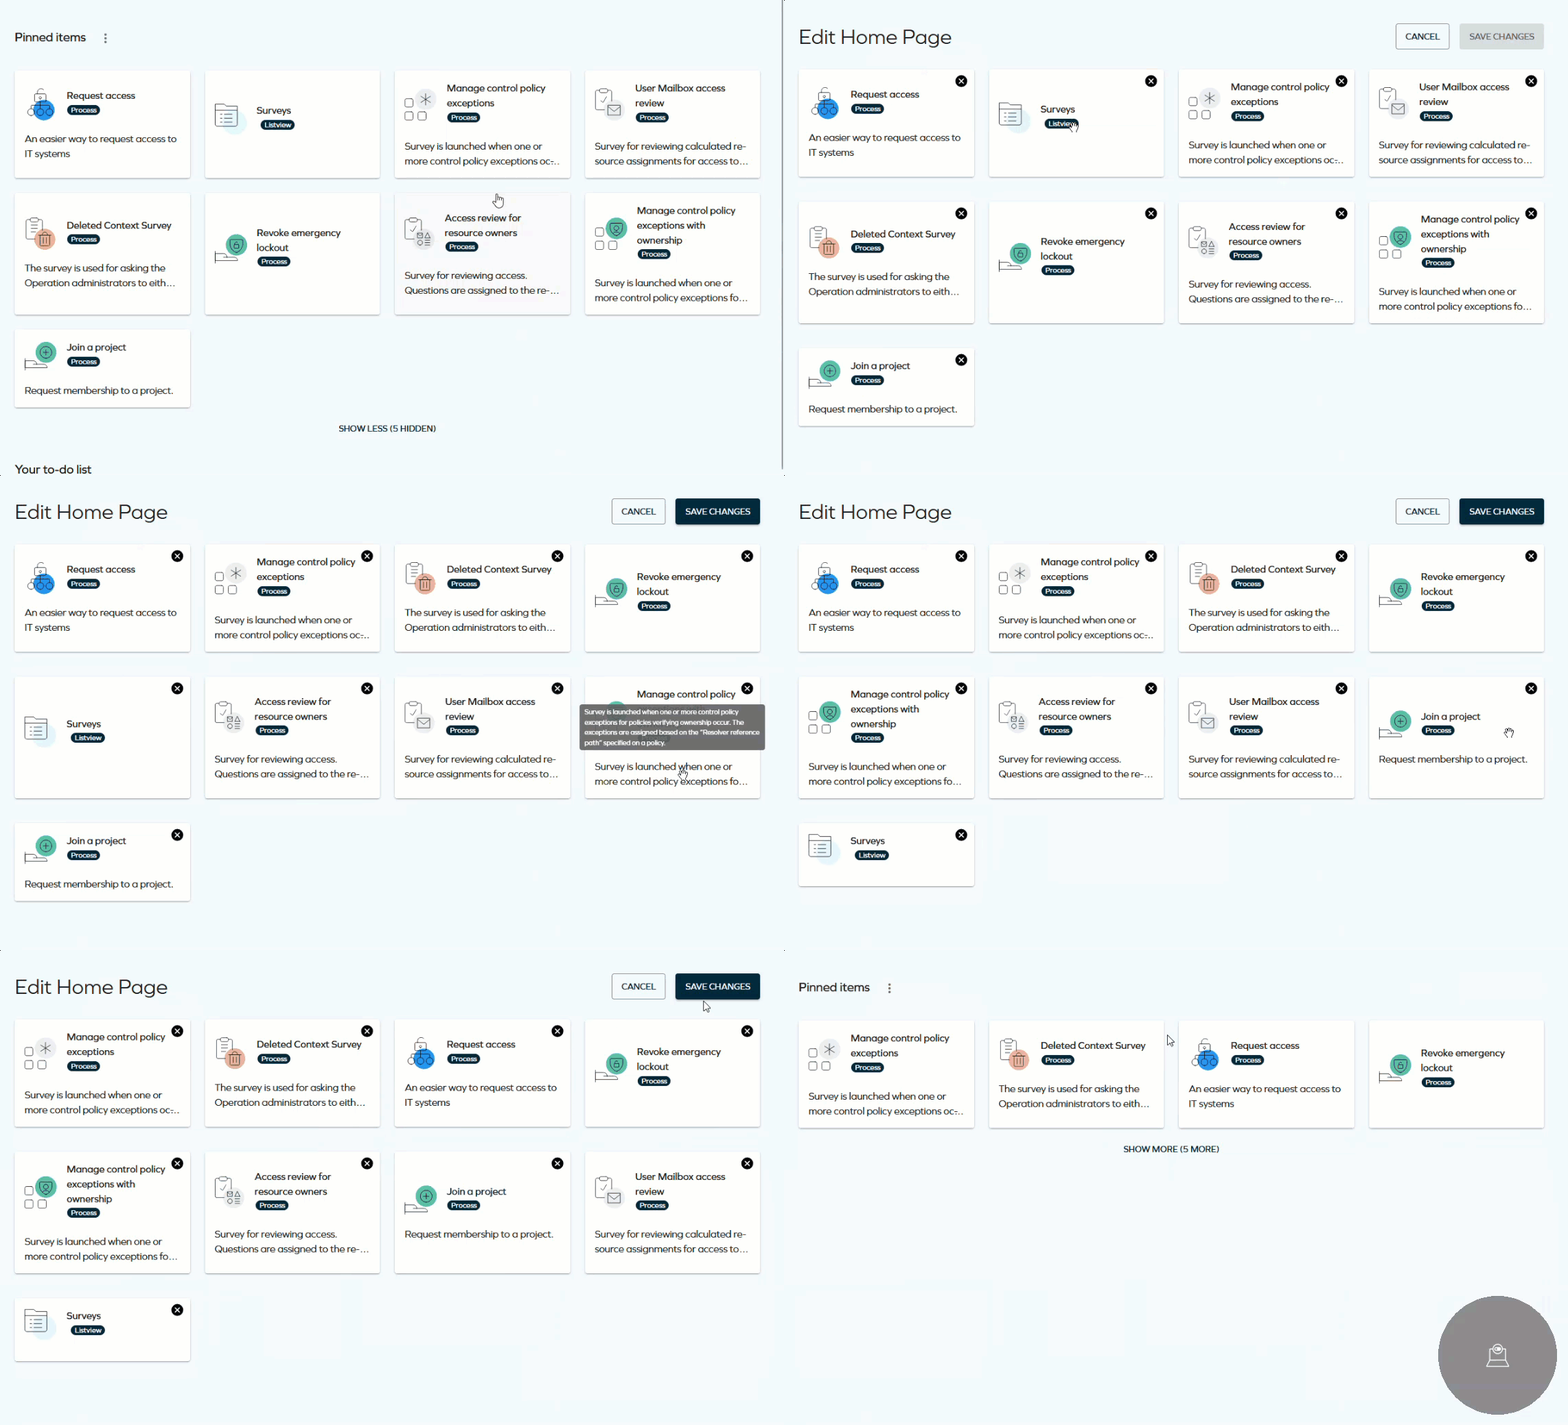
Items you do not have permission to access are hidden automatically.
There is no hard limit on the number of items a user can pin. For the best experience, keeping the list to nine or fewer is recommended.
Homepage layout configuration
The homepage supports three layers of configuration, applied in the following order:
| Layer | Maintained by | Description |
|---|---|---|
| Omada default | Omada | Shipped with the product; updated to surface new features |
| Organization default | Administrators | Controls which items appear and in what order for all users |
| User personalisation | End users | Each user's overrides, stored in their user settings |
Both administrators and end users have a Use default layout action:
- Administrators: navigate to Setup > Administration > User interface > Homepage configuration to manage the organization's default and reset it to the Omada default.
- End users: clears their personal settings and falls back to the organisation default, or to the Omada default if no organization default has been set.