Configure Microsoft Entra ID with SAML
This page contains third-party references. We strive for our content to always be up-to-date, however, the content referring to external vendors may change independently of Omada. If you spot any inconsistency, please report it to our Helpdesk.
To configure Microsoft Entra ID with SAML:
-
Log in to the Azure Portal and create or edit a Microsoft Entra ID.
-
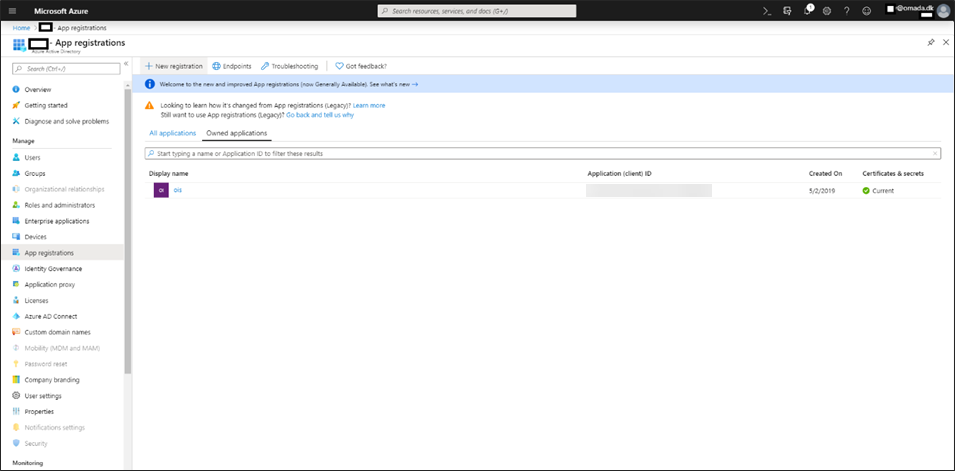
Select App registrations, then click + New registration.
-
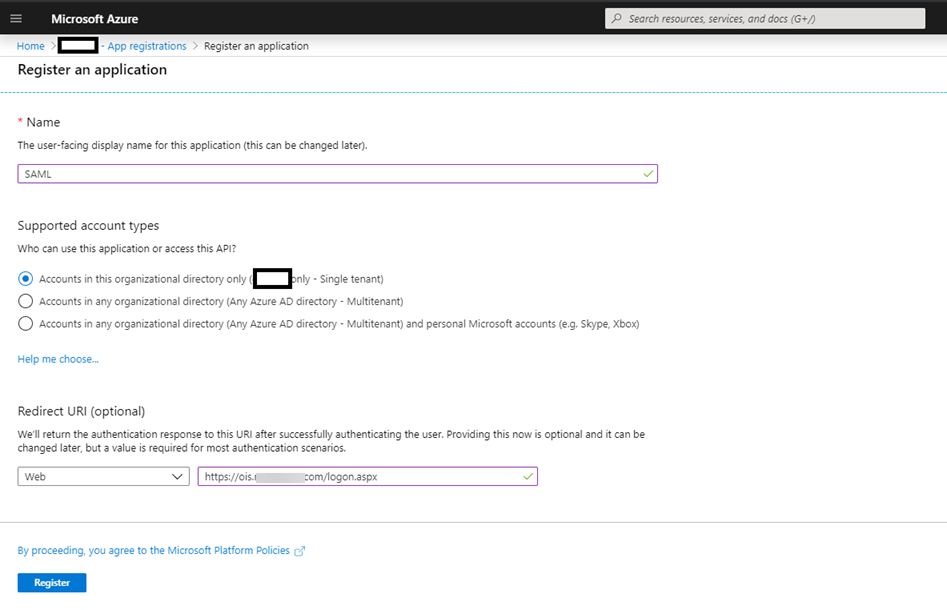
Type a name and a URL for the Omada Identity website. Select Accounts in the organizational directory only in the Supported account types, provide Redirect URI and click Register.
-
From the Overview page of the new app registration, copy the Application ID into the IdpIssuer field and
spn:<Application ID value>in IdpAudience.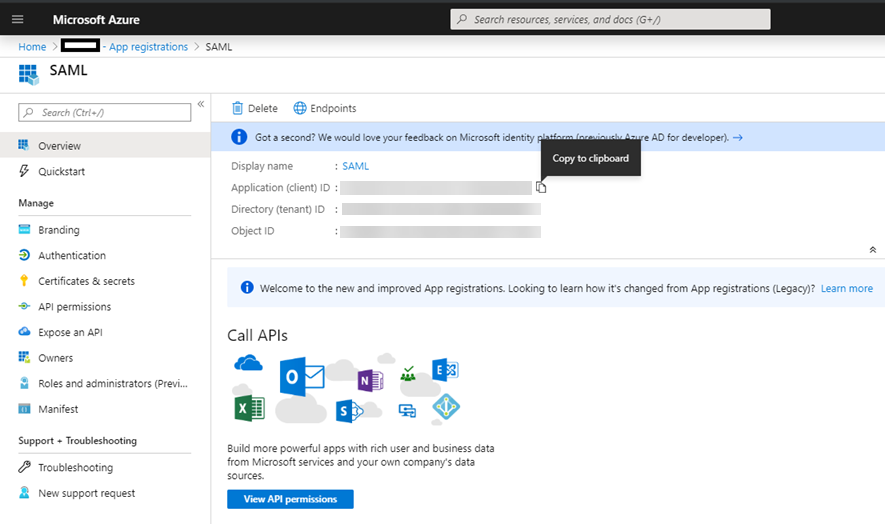
-
Select the Endpoints menu from the list of app registrations, then copy the metadata URL.
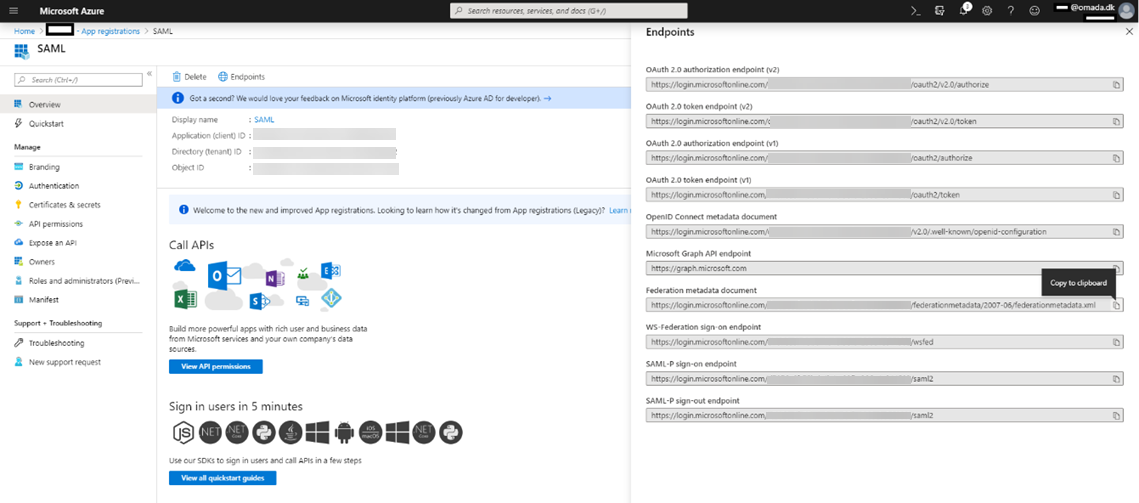
-
Add the URL to IdpEndPoint field.
