Authentication
Authentication allows customers to configure federated authentication for Cloud Management Portal users by verifying organizational domains and associating them with an Identity Provider.
Authentication overview
Authentication to the Cloud Management Portal is handled globally. After a user has authenticated, authorization determines which customers and environments the user can access. Federated authentication therefore cannot be configured independently for individual customer environments. Assigning a domain to an Identity Provider determines how users of that domain authenticate to the Cloud Management Portal, regardless of which customers or environments they are authorized to access.
The Authentication page consists of two sections:
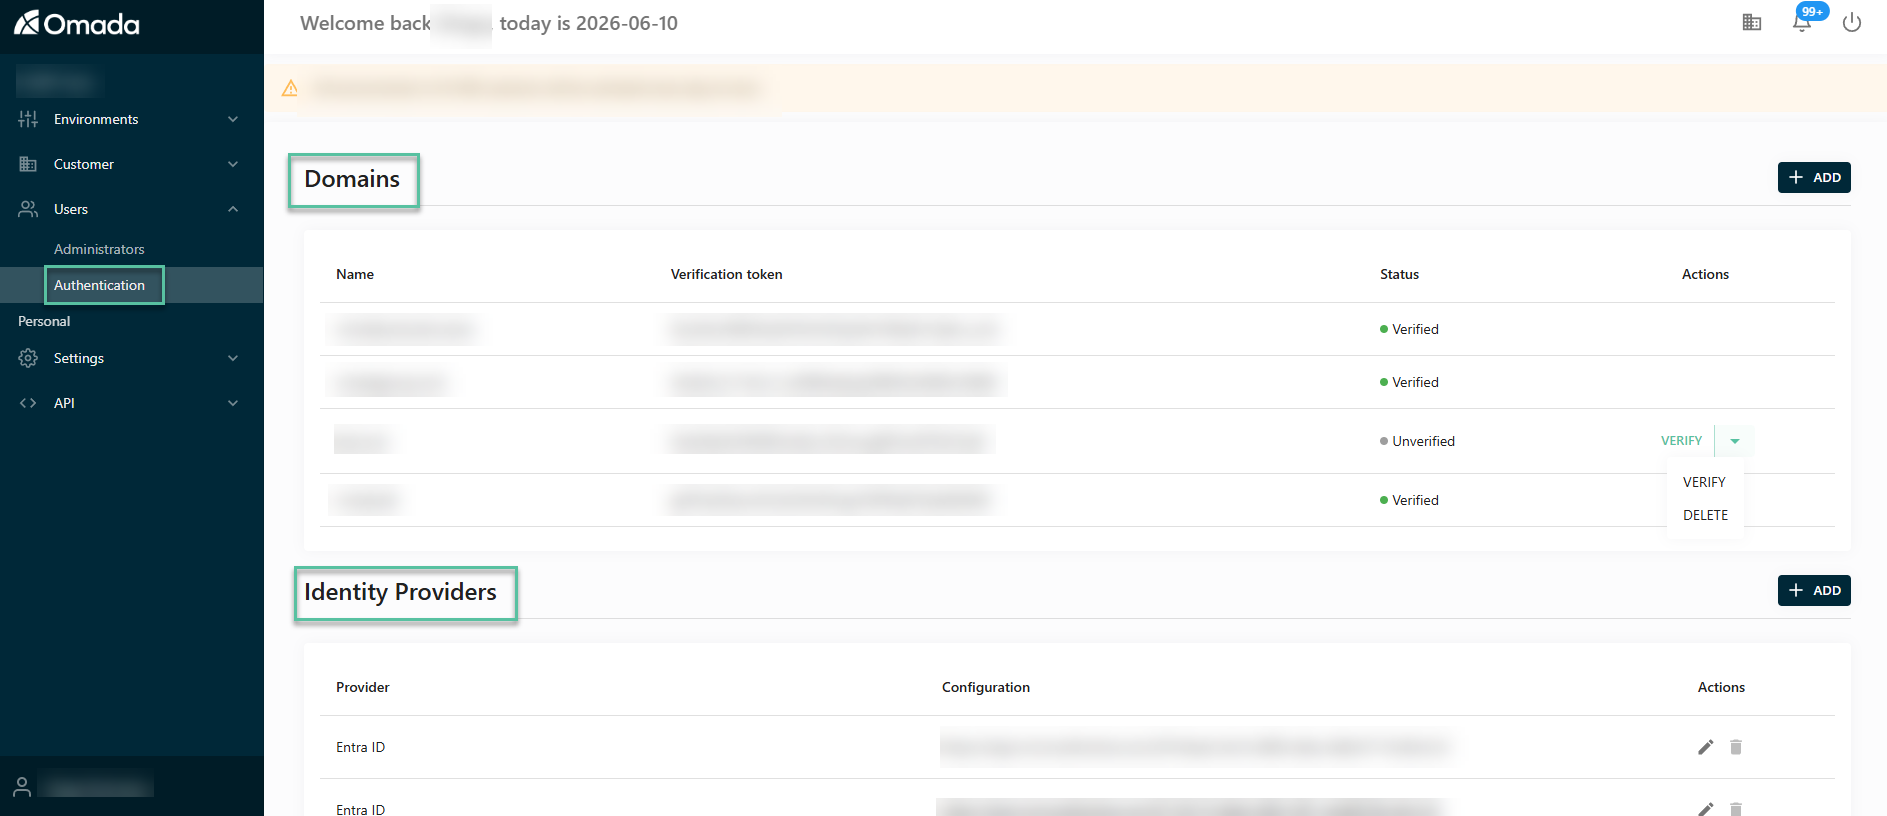
- Domains – used to register and verify domains that will be used for federated authentication. A domain is matched against the domain portion of a user's email address (for example,
contoso.cominuser@contoso.com) to determine whether the user should authenticate through an Identity Provider. - Identity Providers – used to configure Identity Provider connections and associate them with verified domains.
Before configuring federated authentication:
- You must have access to the domain's DNS configuration.
- You must have permissions to manage the Microsoft Entra ID tenant.
- The domain must be owned by your organization.
Before enabling federated authentication for existing users, verify that the email address used for each Cloud Management Portal user matches the value returned by Microsoft Entra ID in the preferred_username claim (typically the User Principal Name (UPN)).
If these values do not match, the user will not be able to activate their federated account. If necessary, update the user accounts before enabling federated authentication.
If you manage Cloud Management Portal users through Omada Identity, see Federated authentication migration for guidance on updating the account name format before enabling federated authentication.
Domains
The Domains section displays all domains configured for federated authentication.
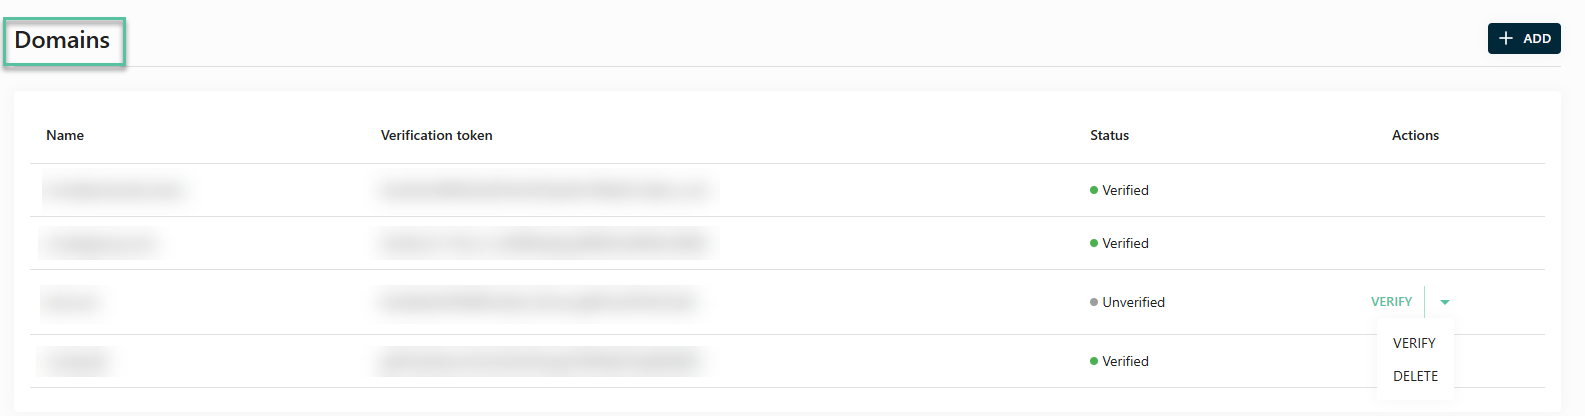
| Column | Description |
|---|---|
| Name | The registered domain name. |
| Verification token | The token that must be added as a TXT record in the domain's DNS configuration. |
| Status | Indicates whether the domain ownership has been verified. The domain can have two statuses:
|
| Actions | Available actions for the selected domain:
|
Domain verification may take some time depending on DNS propagation.
Add and verify a domain
Add a domain
To add a domain:
-
Navigate to Authentication tab in the Users section.
-
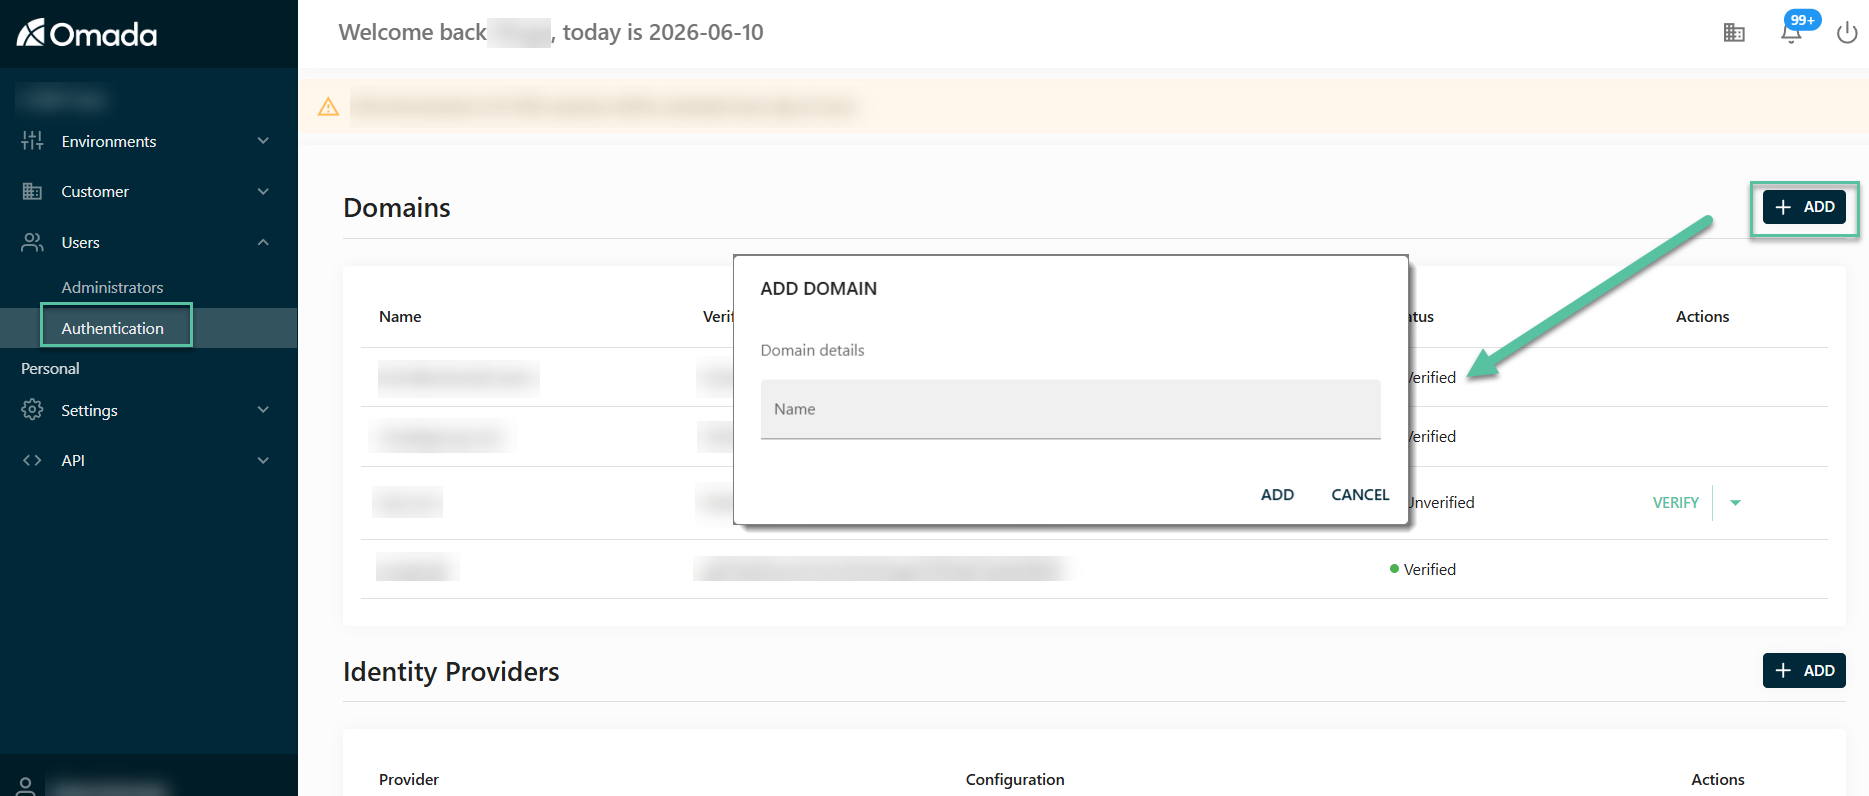
Click Add in the Domains section.
-
In the Add domain dialog, enter the domain name.
-
Save the configuration.
After adding a domain, a verification token is generated. This token must be added to the domain's DNS configuration as a TXT record.
Verify a domain
To verify a domain:
-
Copy the verification token.
-
Add the token as a TXT record in your domain's DNS.
-
Wait for DNS propagation.
-
Return to the Cloud Management Portal.
-
In the Actions tab, click Verify.
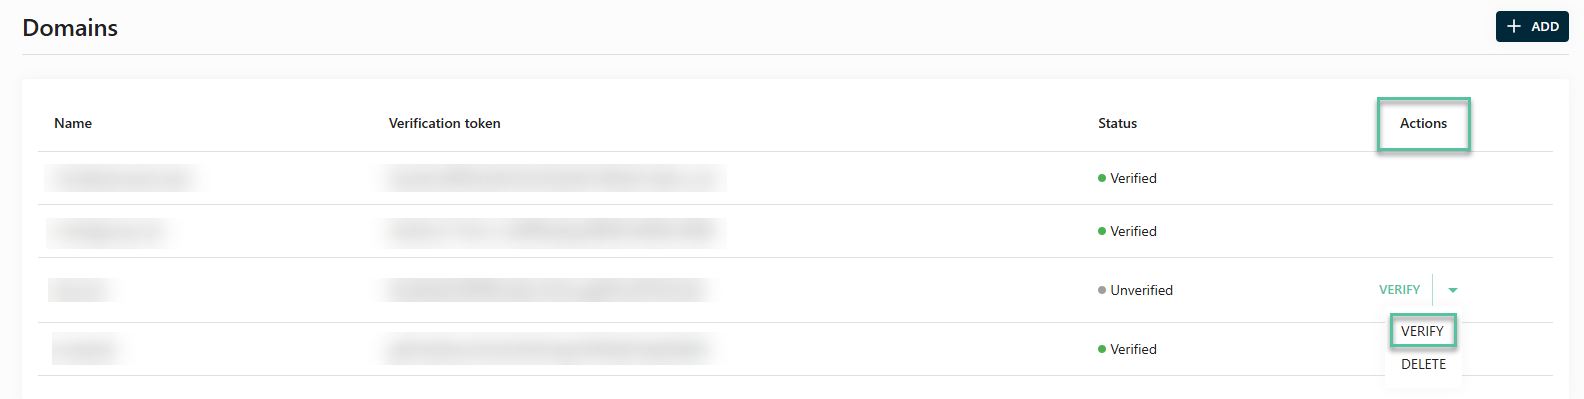
When verification is successful, the domain status changes to Verified.
If domain verification fails:
-
Verify that the TXT record contains the exact verification token generated by the Cloud Management Portal.
-
Ensure DNS changes have propagated. Depending on DNS configuration and TTL settings, propagation can take up to 48 hours.
-
Verify the TXT record using:
nslookup -type=TXT <domain>
Identity Providers
The Identity Providers section displays all configured Identity Providers.
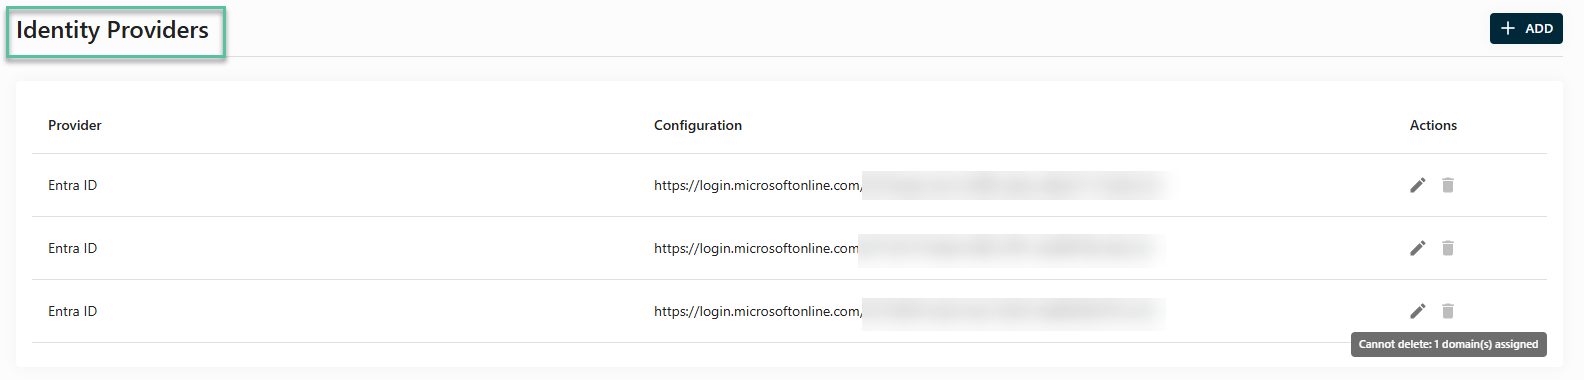
| Column | Description |
|---|---|
| Provider | The configured Identity Provider type. |
| Configuration | Information identifying the configured Identity Provider. |
| Actions | Available actions for the selected Identity Provider:
|
Only domains with a Verified status can be assigned to an Identity Provider.
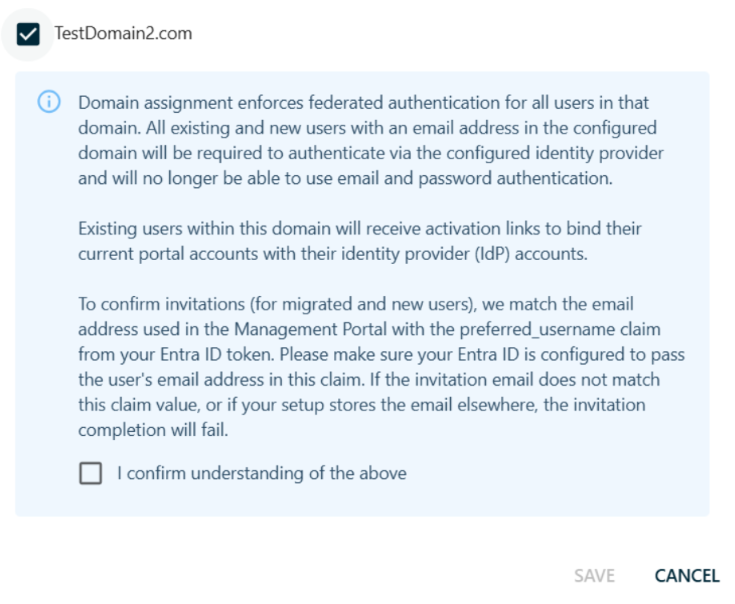
When a verified domain is assigned to an Identity Provider, all users belonging to that domain become federated users and must authenticate through the associated Identity Provider.
You cannot delete an Identity Provider while domains are assigned to it.
Domains also cannot be unassigned from an Identity Provider through the Cloud Management Portal.
This restriction exists because assigning a domain to an Identity Provider migrates users from local authentication to federated authentication. There is no self-service reverse migration process.
If you need to remove a domain assignment or undo federation, contact Omada Support.
Add an Identity Provider
After the domain has been verified, configure a Microsoft Entra ID Identity Provider.
-
Navigate to Authentication tab in the Users section.
-
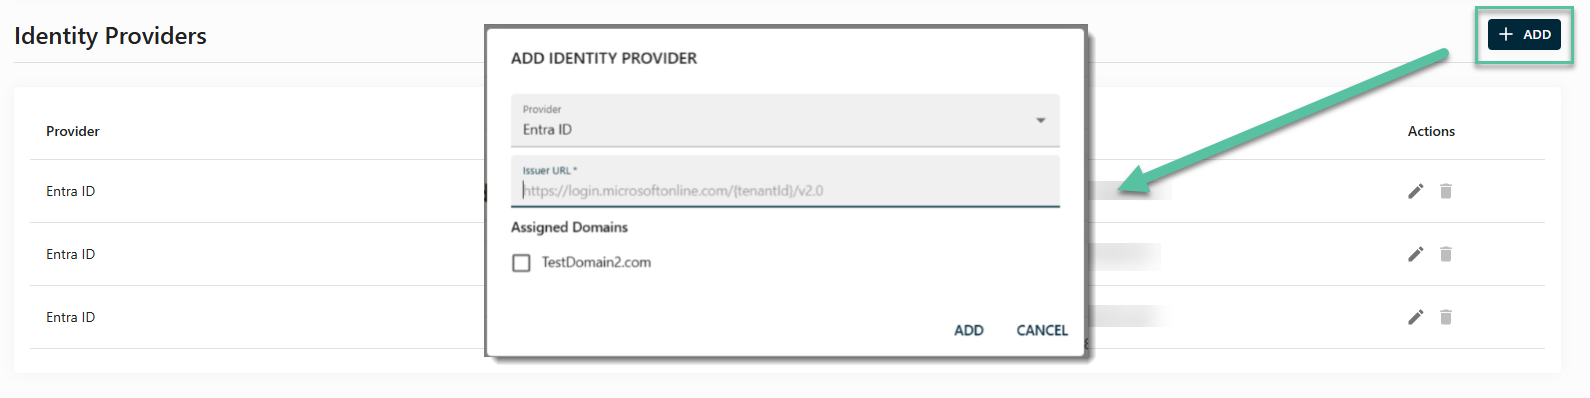
Select Add in the Identity Providers section.
-
In the Add Identity Provider dialog, enter the required configuration:
-
In the Provider field, select the type of Identity Provider to configure.
- Currently, Microsoft Entra ID is supported.
-
In the Issuer URL field, enter the OpenID Connect issuer URL for your Microsoft Entra ID tenant, for example,
https://login.microsoftonline.com/<tenant-id>/v2.0.- This URL is used to validate authentication tokens issued by the Identity Provider.
-
In the Assigned Domains field, select one or more domains that should use this Identity Provider for authentication.
-
This field lists all verified domains that are available for assignment to this Identity Provider.
infoIdentity Provider assignments are global. Authentication to the Cloud Management Portal is handled globally and is not scoped to an individual customer or environment. After a user is authenticated, authorization determines which customers and environments the user can access. As a result, federated authentication cannot be configured independently for individual customer environments.
-
Before the assignment is completed, an informational confirmation message is displayed and must be acknowledged:
-
-
-
Save the configuration.
tipUpdating the Issuer URL affects only future user activations.
The Issuer URL is validated during account activation to verify that the user authenticates through the expected Identity Provider.
After activation, users are identified using the unique identifier provided by the Identity Provider and subsequent sign-ins do not validate the Issuer URL.
Changing the Issuer URL does not affect users who have already activated their federated accounts. Existing users can continue signing in normally after an Issuer URL update.
infoWhen a domain is assigned to an Identity Provider:
- All users belonging to that domain become federated users.
- Users can no longer sign in using local credentials.
- Authentication is performed through the assigned Identity Provider.
Updating Identity Provider configuration
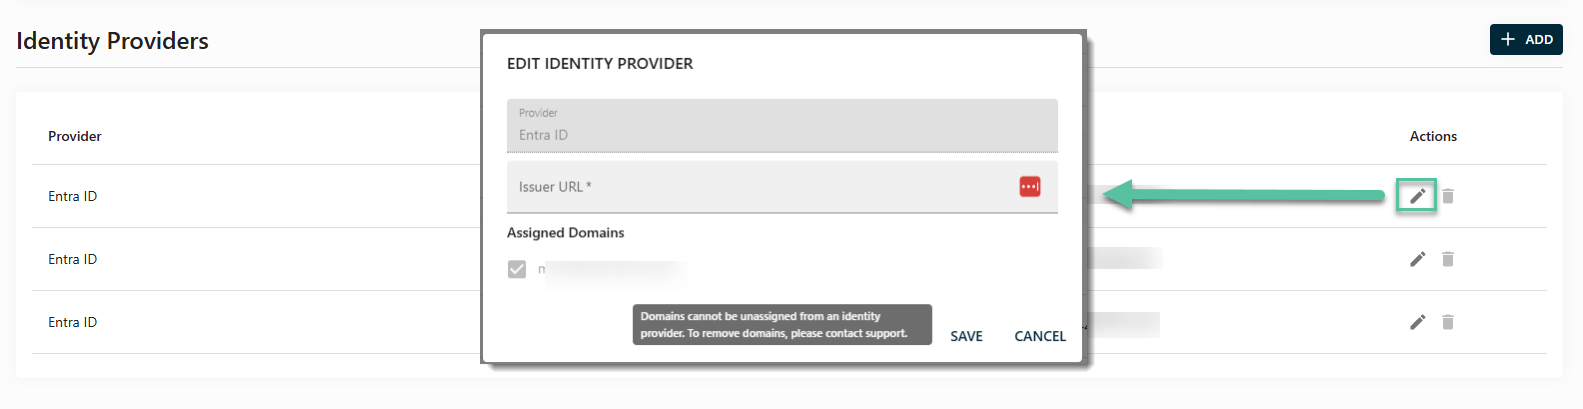
Editing an Identity Provider allows you to update its configuration and manage the domains assigned to it.
-
Navigate to Authentication tab in the Users section.
-
In the Identity Providers section, select the provider you want to edit the configuration for.
-
Click the pencil icon.
-
Update the Identity Provider configuration as required.
-
Save the changes.
Domains cannot be unassigned from an Identity Provider through the portal.
To unassign or remove a domain, contact Omada Support.
Federated login
Federated login allows users to access the Cloud Management Portal using their organization's Microsoft Entra ID account. Instead of authenticating with locally managed credentials, users are redirected to the configured Identity Provider, which handles the authentication process.
After a domain is assigned to an Identity Provider, users with email addresses from that domain must authenticate through the configured Identity Provider and can no longer sign in using local credentials.
Existing users
When an existing user is migrated to federated authentication:
-
Existing roles and permissions are retained.
-
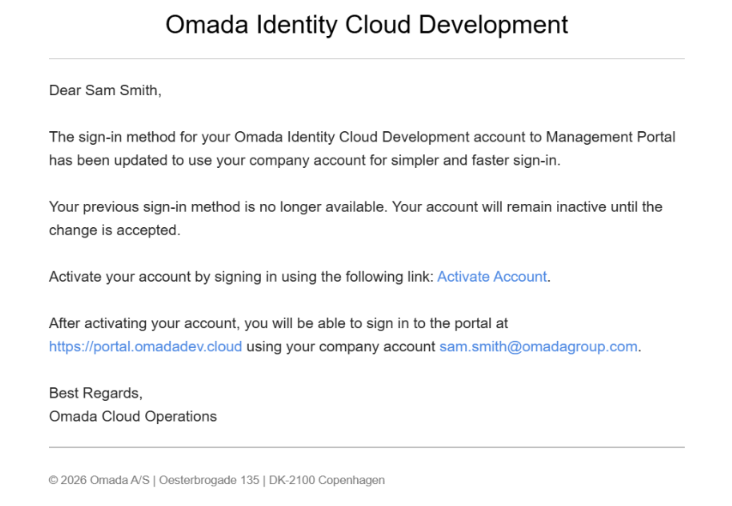
The user receives an activation email.
-
The account must be activated before federated sign-in can be used.
The email address used for the invitation must exactly match the value returned by the Identity Provider in the preferred_username claim.
For Microsoft Entra ID, this is typically the User Principal Name (UPN).
If the invitation email and the preferred_username value do not match, account activation will fail, for example:
| Invitation email | preferred_username | Result |
|---|---|---|
| user@company.com | user@company.com | Activation succeeds |
| user@company.com | user@company.net | Activation fails |
New users
When a user does not already exist in the system:
-
A new federated account is created.
-
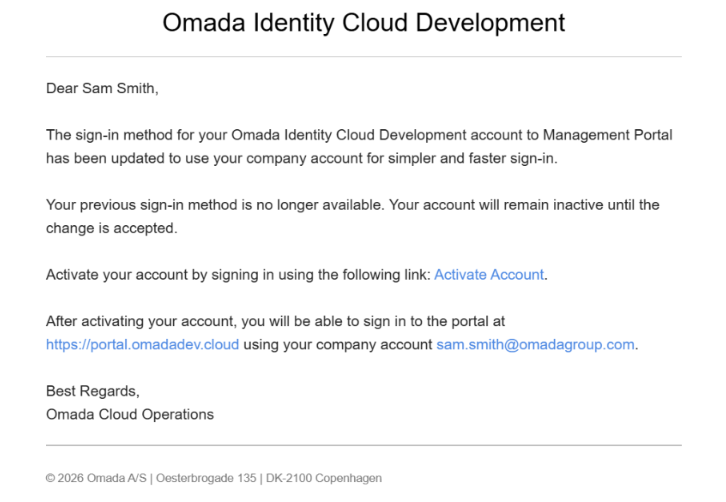
The user receives an activation email.
-
The account must be activated before access is granted.
The email address used when creating the user must exactly match the value returned by the Identity Provider in the preferred_username claim.
If the values do not match, activation cannot be completed.
Activation process
To activate the federated login:
-
Open the activation link received by email.
-
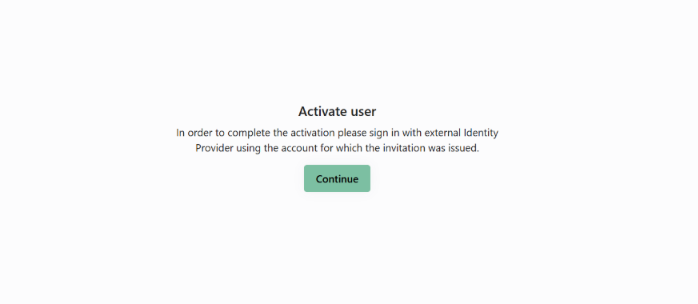
Review the activation page.
-
Click Continue.
-
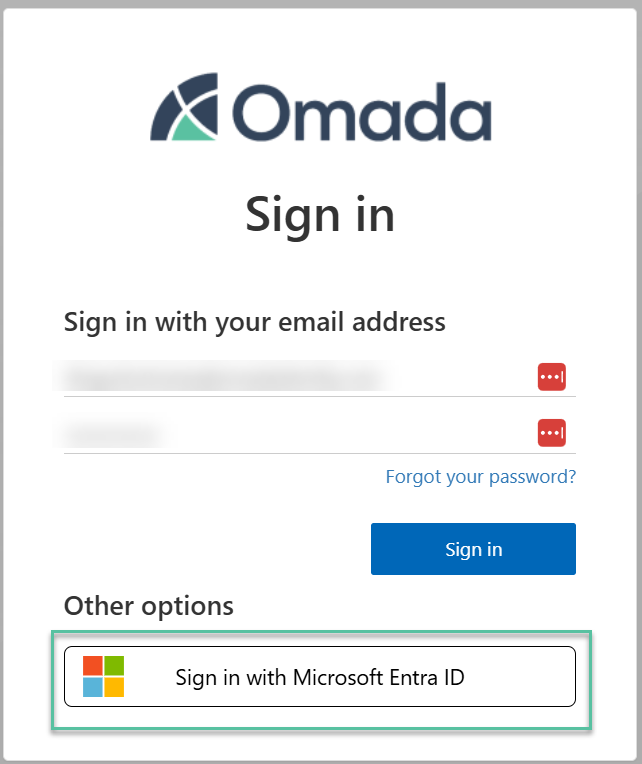
The login page is displayed.
-
Select Sign in with Microsoft Entra ID.
-
Authenticate using your corporate credentials.
-
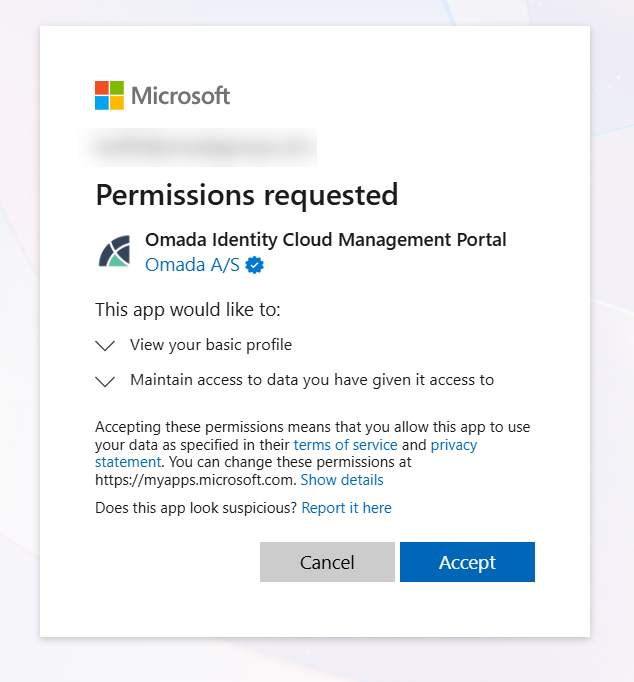
Grant the requested permissions if prompted.
-
After accepting the permissions, you are redirected to the Cloud Management Portal.
Activation validation
During activation, the Cloud Management Portal performs the following validations:
| Validation | Description |
|---|---|
Issuer (iss) | Must match the configured Issuer URL. |
| Preferred username | Must match the email address used for the portal invitation. |
User identifier (sub or oid) | Used to establish the permanent association between the portal account and the Identity Provider account. |
The Issuer URL validation is performed as a security measure to ensure that the user activates the account through the intended Identity Provider and to prevent unauthorized association of portal accounts with identities from another provider.
After activation, users are identified by their unique identifier (sub or oid). The preferred_username and Issuer URL are not validated during subsequent sign-ins.
If activation fails:
- Verify that the invitation email matches the value returned in the Identity Provider's
preferred_usernameclaim. - Verify that the Identity Provider's
issclaim matches the configured Issuer URL. - Verify that you are signing in with the intended Identity Provider account.
Troubleshooting
Federated authentication requires administrator consent
After configuring federated authentication and activating a federated account, users may be unable to sign in to the Cloud Management Portal.
The sign-in process may fail with errors similar to the following:
server_error: AADB2C90273

An invalid response was received:

AADSTS1000031: Application Omada Identity Cloud Management Portal cannot be accessed at this time.
In Microsoft Entra ID, you may observe the following:
- Sign-in failures with error code
1000031. - An Administrator approval required prompt during authentication.
- No granted permissions displayed for the Omada Identity Cloud Management Portal enterprise application.
- Users and groups correctly assigned to the application, but authentication still fails.
The Cloud Management Portal requires consent for delegated Microsoft Entra ID permissions. If user consent is restricted in your tenant, users cannot complete the authentication flow until an administrator grants tenant-wide consent to the application.
To grant administrator consent:
-
Open the following URL, replacing
{tenantId}with your Microsoft Entra tenant ID:https://login.microsoftonline.com/{tenantId}/v2.0/adminconsent?client_id=9ad6ea30-12eb-4179-9f58-0a92f6dee08b&scope=openid%20profile%20email%20User.ReadThe client ID
9ad6ea30-12eb-4179-9f58-0a92f6dee08bis the application ID of the Omada Identity Cloud Management Portal and must not be changed. -
Sign in as a Microsoft Entra administrator.
-
Accept the requested permissions.
-
In Microsoft Entra ID, verify that the permissions are displayed for the Omada Identity Cloud Management Portal enterprise application.
After administrator consent has been granted, users should be able to authenticate successfully.
Omada Identity-managed users
The procedures described on this page apply to customers who manage Cloud Management Portal users directly in the portal.
If you manage Cloud Management Portal users through Omada Identity, additional configuration and migration steps may be required before enabling federated authentication.
See Federated authentication migration for instructions.
Known limitations
Multiple portal accounts for the same user
A single person may have multiple Cloud Management Portal accounts associated with different email domains belonging to the same organization, for example:
If multiple domains are assigned to the same Identity Provider and the Identity Provider returns only one value in the preferred_username claim, only the portal account whose email address matches the returned value can be activated.
The other portal accounts cannot be activated because the Identity Provider will never return a matching preferred_username value for them, preventing activation from being completed.
To avoid this situation, consolidate duplicate user accounts before enabling federated authentication whenever possible.