Practical examples
Configuring identity – queries and mappings
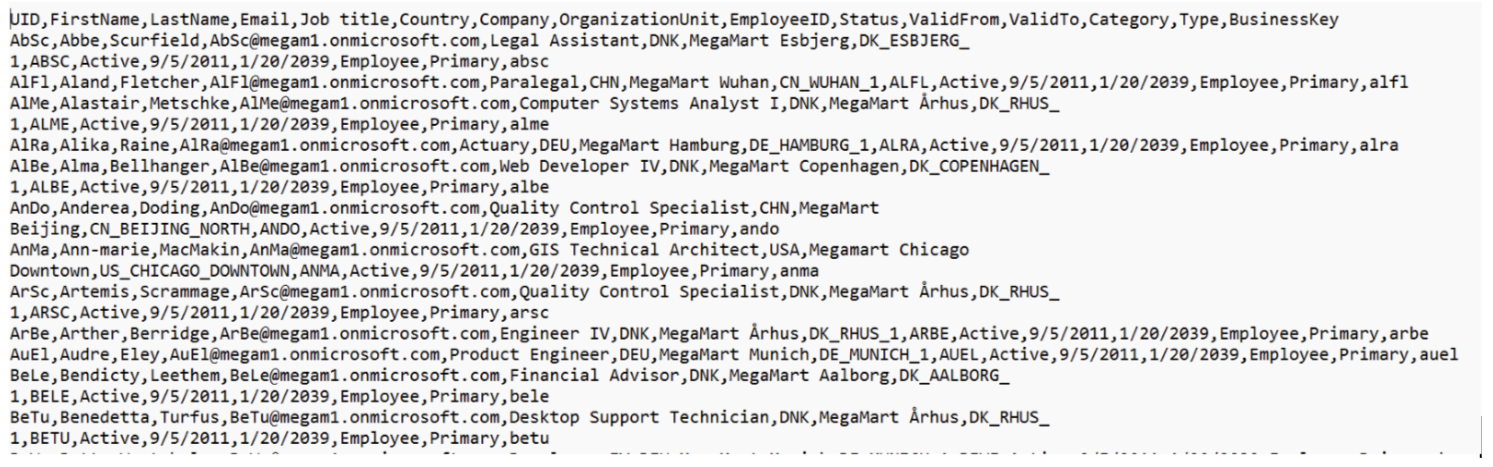
The following example demonstrates how to configure the field mappings in Omada Identity to import identity data from a .csv file.
Source file format
note
The column names in your source file do not need to match exactly with this example. Mappings in Omada Identity allow flexibility, as the correct source fields are referenced.

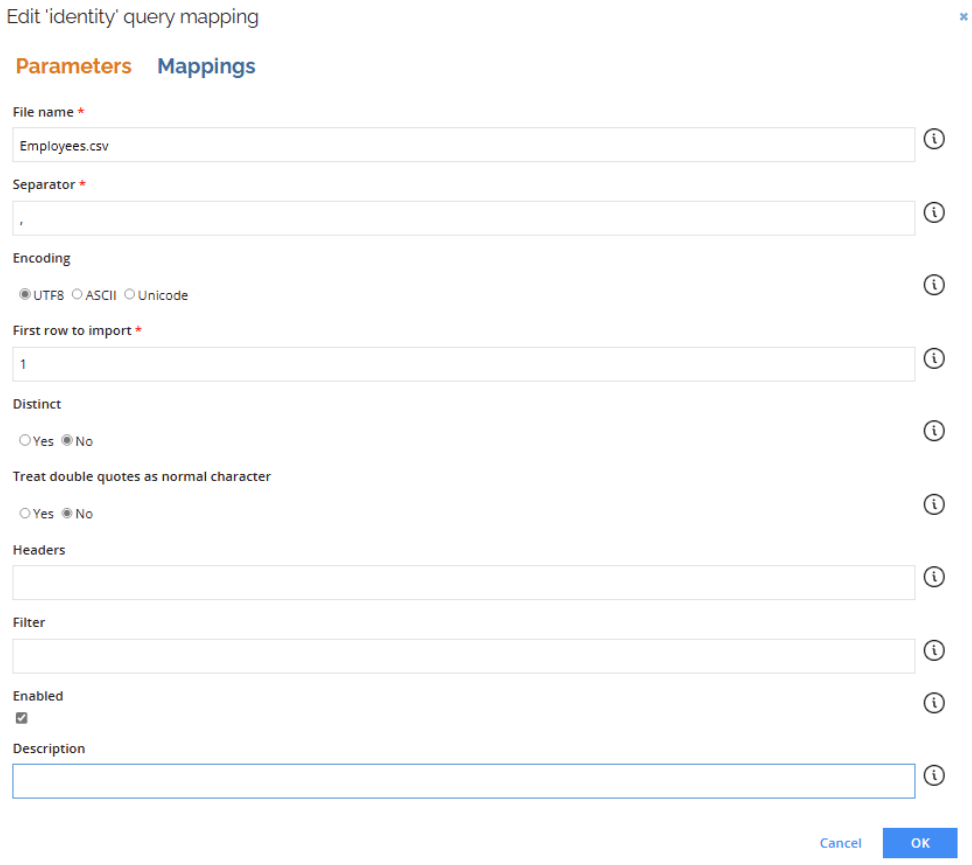
Example configuration
- File name:
Employees.csv– the CSV file containing the employee records. - Separator:
,– each column in the file is separated by a comma. - Encoding:
UTF-8– used to ensure special characters are correctly read (especially names or location fields). - First row to import:
1– row numbering starts at zero. So 0 is the header row, and setting 1 means the first data row (just below the headers) will be imported. - Distinct:
No– all rows will be processed, even if there are duplicates. - Treat double quotes as normal character:
No– double quotes are used for encapsulating text fields (standard CSV behavior). - Headers: left blank, since the file already contains column headers.
- Filter: not used – all rows in the file will be included in the import.
- Enabled: checked – this configuration is active.
- Description: optional, left blank in this case.
Mapping configuration
In the Mappings tab, define which column from the CSV file maps to Omada Identity attributes:

Tips
- Use expressions to perform transformations on the data, such as combining fields (example:
FirstName + " " + LastName), formatting dates, or applying conditional logic.- Ensure the CSV format matches the expected data types in Omada (dates, status values).
- If a field isn’t required, you can leave it unmapped or blank.