Creating set property
Follow these steps to create Set Property:
-
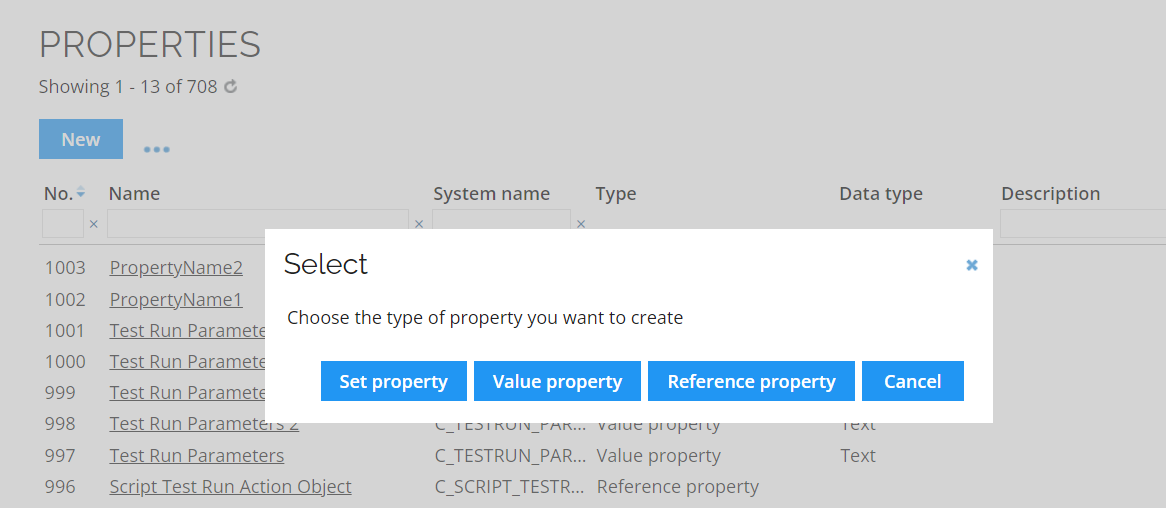
Go to Setup > Administration > Properties.
-
Click New.
-
Click Set property.
-
In the Set Property dialog box:
-
Enter a name for the property in the Name field. The name will be displayed in the properties list on the Properties main view.
-
In the Description field, type a description for the property. The description will be displayed in the properties list on the Properties main view.
-
In the Control type dropdown list, select how the values should be presented on the form: checkbox, dropdown, radio, list, box, lookup (single value), lookup (multiple values).
-
Select the Repeat direction you want to apply (only available for the checkbox and radio options): vertical, horizontal.
-
-
Click Apply to make the toolbar available.
-
The list box, dropdown, etc. options available to the user are defined by means of values for each property. You need to add values to your set property, click Values in the toolbar to open the Values dialog box.
-
The values for the property are listed in the Values list view.
-
The Values list view is accessed from the Set Property dialog box.
-
-
Open the context menu for the property in the Properties view.
-
Then select Values to work with values in the Values list view.
You can assign each value an icon and a description, either when creating a value or when editing an existing value.
By using the Add Multiple Property Values, you can add multiple values at the same time. If you want to add a description or icon, you must edit the values individually after creating them.
Re-order the values by selecting a value and clicking Up or Down in the menu.