Role Insights
This dashboard requires a paid subscription.
The data displayed on OIA dashboards reflects the state of the last successful build happening every day after midnight; it is not streamed live. For more information, see the introduction to dashboards: Omada Identity Analytics.
The purpose of the Role Insights dashboard is to give insights about the results of the Role Mining process, which uses machine learning algorithms to suggest new roles, that is, groups of resources that can be assigned to a number of identities.
Using Role Insights facilitates the identity management process and reduces the time and effort invested in analyzing roles.
Tabs
The dashboard consists of three different tabs: Role insights, Role overview, and Advanced.
Role insights
Description of the Role insights tab
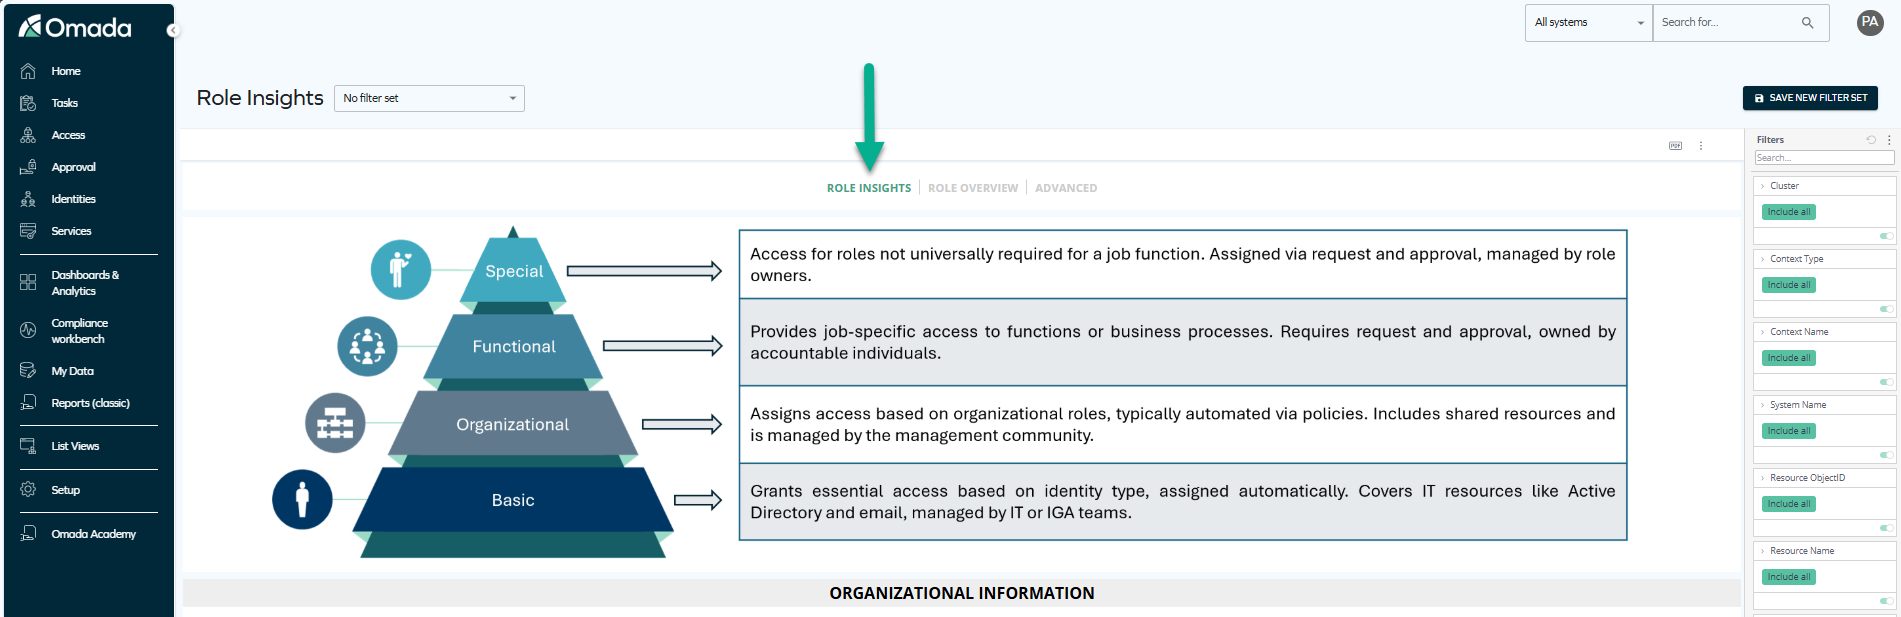
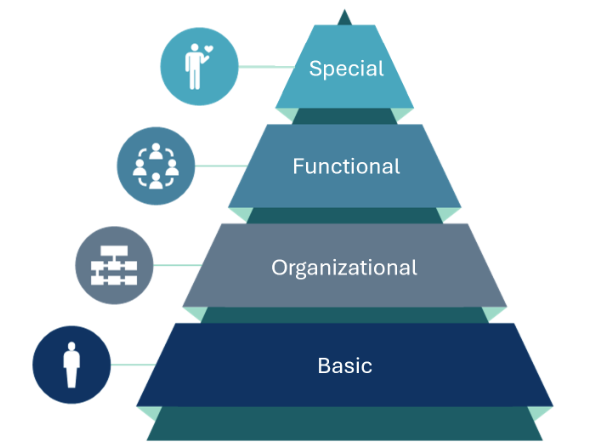
This is the landing page of the dashboard. At the top, you can see the Role Mining pyramid that explains what each role type implies:
| Role type | Role description |
|---|---|
| Special | Provides access to individual application roles that are not universally required for all identities within a job function. These roles are assigned through access requests and require appropriate approval. They are managed by role owners. |
| Functional | Provides job-specific access to functions or business processes. These roles are typically requested through an access request process and require proper approval. Ownership of functional roles lies with individuals accountable for the respective job functions or business processes. |
| Organizational | Provides identities with access rights specific to their organizational area. Business roles of this type are generally assigned automatically through assignment policies. These roles often include access to shared resources like distribution lists, department drives, and shared folders. Organizational roles can be assigned to a specific organizational unit (for example, a department) or inherited through a hierarchical organizational structure. Members of the management community, who are typically the owners of the organizational units, are responsible for managing these roles. |
| Basic | Grants essential access based on identity type. Roles of this type are automatically assigned through assignment policies. These roles apply universally to all identities within scope and rely on accurate and unambiguous master data. Typically, the roles of the basic type include access to essential IT resources such as Active Directory and email. Ownership of these roles usually lies with members of the IT or IGA solution team. |
In the Role insights tab, under the pyramid, you can find organizational information that includes the number of identities with access to resources, the number of resources, assignments, and more.

Then, you can visualize different role candidates suggested per four types:
- basic
- organizational
- functional
- special
The concept of role candidates is described in detail below, in the Role candidates section of this page.
After selecting a role (for example by clicking on the role score for a particular role suggestion), you can move on to the other tabs for more details on the role.
Role overview
Description of the Role overview tab
This section of the dashboard contains:
-
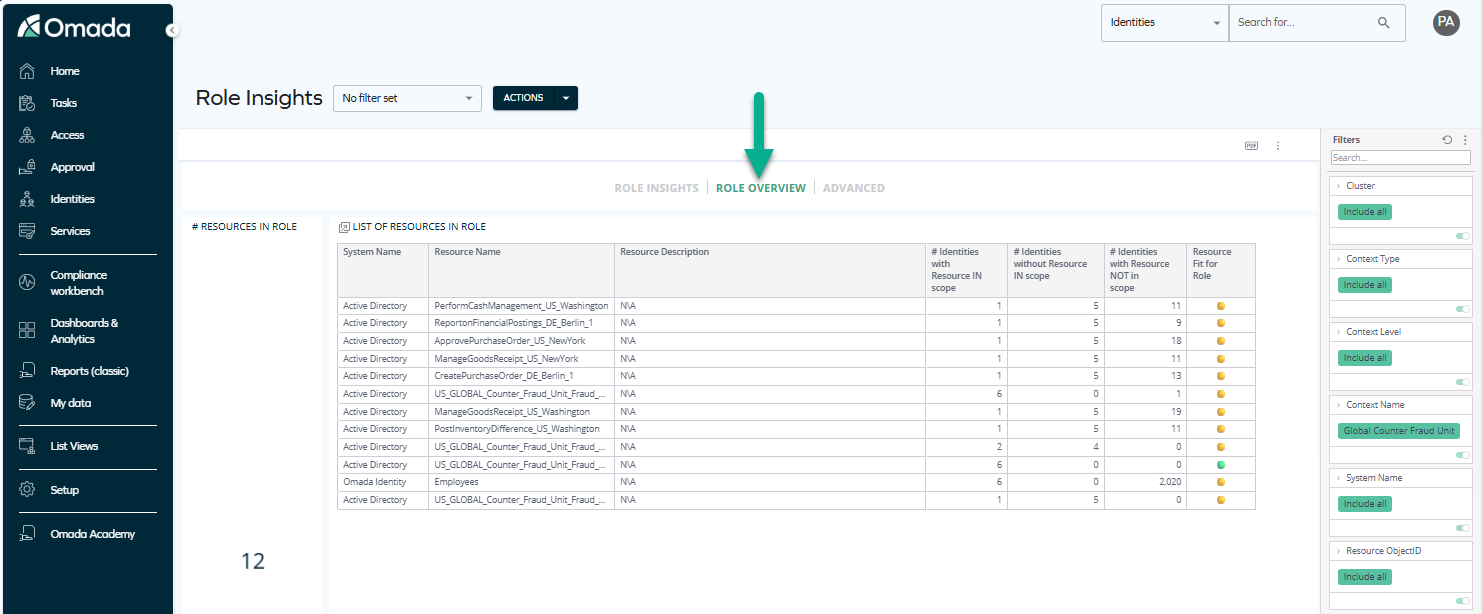
Detailed information on the role you have selected, that is, the total number of resources in the selected role as well as details about them.
-
Visual information showing if the resource is fit for the role. A green dot means that the resource is fit for the role, while a yellow dot means you need ro review it:

These are both elements to consider before creating the role.
This tab is typically the last point of analysis of role candidates before promoting them to a role. For more details on role candidates, see the Role candidates section of this page.
Advanced
Description of the Advanced tab
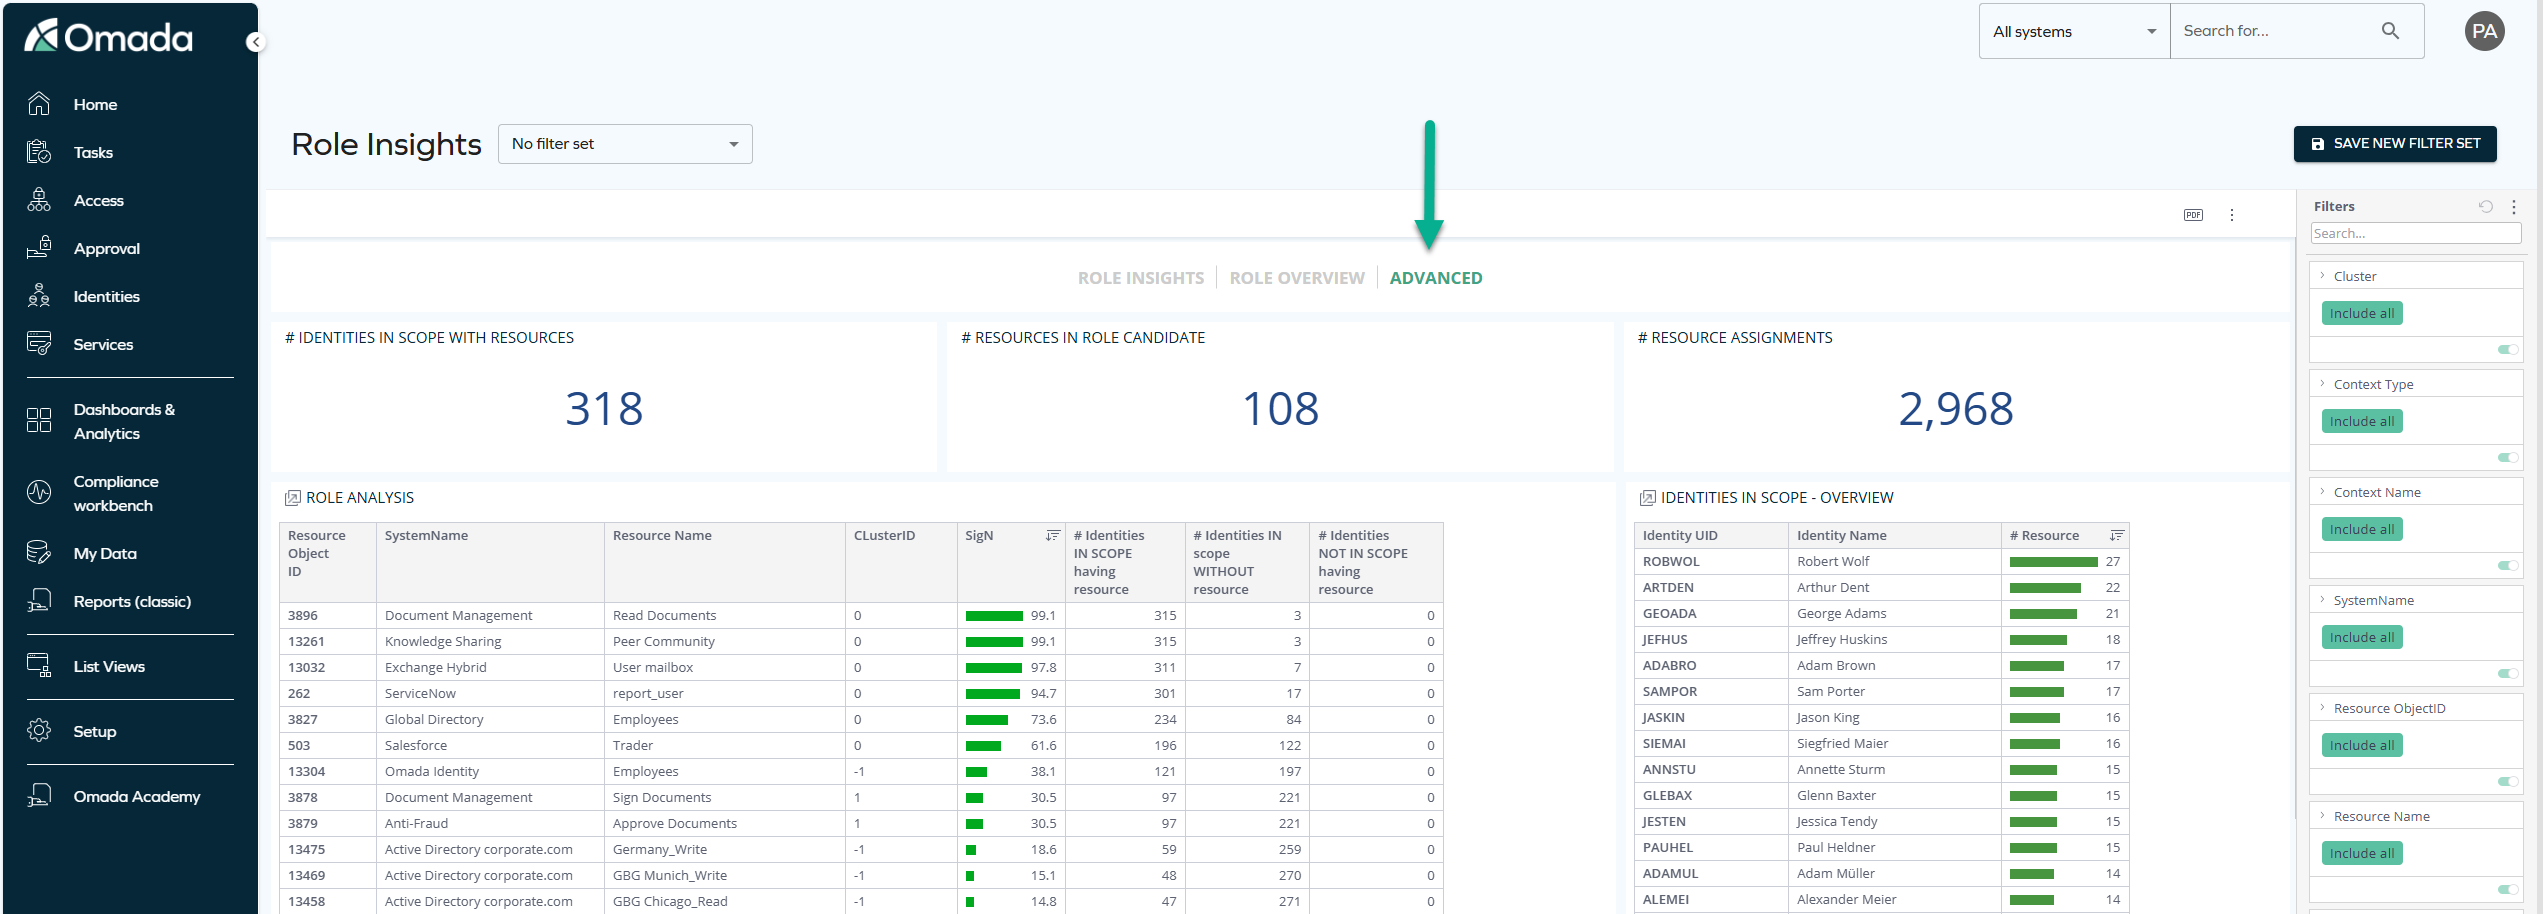
At the top, this tab contains three widgets that provide information on the number of identities in the selected scope having the selected resources, the number of selected resources, and the total number of assignments for the selection.
Under the widgets, there are four tables:
| Table | Description |
|---|---|
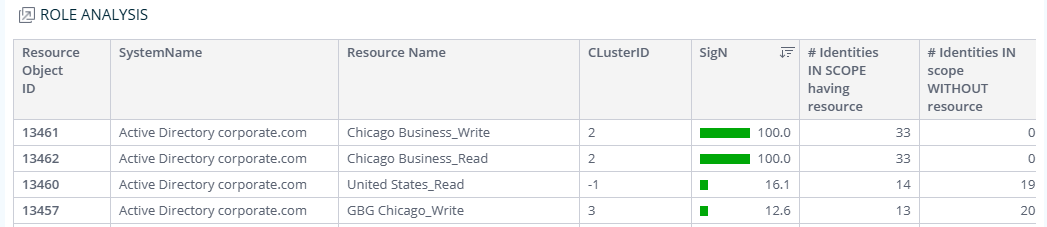
| Role analysis | This table provides an overview of the access that the Identities in scope have. It includes all resources within a selection and gives different scores and metrics such as the SigN (significance, that is, the score of the role), a list of clusters of resources (numbered starting from 0; an exception is -1 which means that resources could not be assigned to any cluster), and numbers of identities in the scope and outside the scope having (or missing) resources. |
| Identities in scope - overview | This table provides a view of the identities in scope as well as the number of resources in the scope they have access to. |
| Org units in scope | Provides information on the organizational units relevant for the selection. |
| Contexts in scope | Provides information on the contexts relevant for the selection. |
Role candidates
A role candidate is a cluster of resources pre-calculated with the use of a machine-learning algorithm. The algorithm gives the roles a score which denotes the likelihood that the role candidates are worth promoting to a role. The higher the score, the more data confirms that the role candidate may be worth promoting to a role.
Perfect roles
If a role candidate has the score of 100, it means all identities in the selected scope (for example, an organizational unit) have some particular resources, and no identities outside the scope have those resources. Therefore, all data supports that the role candidate is perfect.
The following example explains how to analyze a perfect role candidate.
The screenshot below shows examples of perfect roles.
Look at the Organizational type table in the Role Insights tab. (This is an example; perfect roles can be found in any of the tables in the Role Insights tab, depending on your organization's data.)

In the screenshot, an example of a perfect role is the Munich Business organizational unit.
If you select this role in the table, and go to the Role overview tab of the dashboard, you can see the list of resources in this role:

Following the criteria described above, this is a perfect role because:
- All 30 identities in the scope have the 2 listed resources (Munich Business_Read and Munich Business_Write in the same system).
- There are no identities with this resource outside this scope.
Therefore, in the Fit for role column, there are 2 green dots meaning no warnings.
Based on the data analyzed, the role candidate can be considered worth promoting to an actual role.
Roles that require further review
If a role has a score below 100, it means that not all identities in the selected scope (for example, a context) have some particular resources, and there may be some identities outside the scope that have those resources.
An example of a score below 100 is shown in the screenshot.
Look at the Functional type table in the Role overview tab. (This is an example; roles with scores below 100 can be found in any of the tables in the Role overview tab, depending on your organization's data.)

In the screenshot, an example of a role with a score slightly lower than 100 is the Business Manager job title.
If you select this role in the table, and go to the Role overview tab of the dashboard, you can see the list of resources in this role:

The table shows, for example:
- Talent Manager – Update Job – all identities in the scope have access to it, but 1 identity outside the scope also has access to it.
- Talent Manager – Applicant Read access – all identities in the scope and no identities outside the scope have access to it.
- Talent Manager – Create Job – there is 1 identity in the scope that does not have access to it, and 1 identity outside this scope that has access to it.
Therefore, in the Fit for role column, there are two yellow dots and one green one.
Before promoting a role candidate with a score lower than 100 to an actual role, you should investigate why some identities lack resources or have additional resources.
You can analyze the missing or excessive resources either from the point of view of an identity or a resource.
Identity Details and Role Resource List
-
Go to the Advanced tab.
-
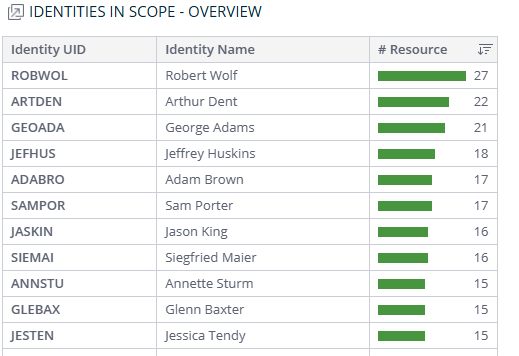
Find the Identities in scope - overview table. Inside it, you can see how many resources each identity has:
-
To see identity details, right-click on the identity that seems to have an incorrect number of resources. A selection of options appears:
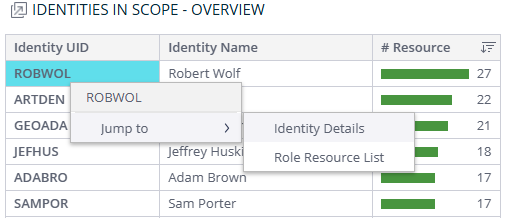
Now, you have two options for further analysis.
-
If you select Jump to > Identity Details, you can see the following tables in the pop-up:
- Identity details
- Identity contexts

-
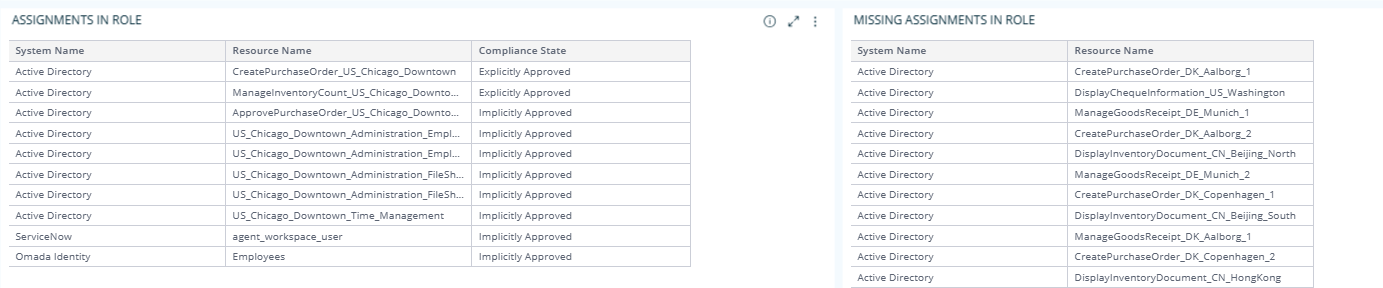
If you select Jump to > Role Resource List, you can see the following tables in the pop-up:
- Assignments in role
- Missing assignments in role – This table may be especially helpful in analyzing the cause of the warning.
Resource Analysis and List of Outliers
-
Go to the Advanced tab.
-
Find the Role analysis table:
-
You can now choose if you want to see the resource analysis or the list of outliers.
-
To see the resource analysis, right-click on the resource that not all identities have. A selection of options appears:
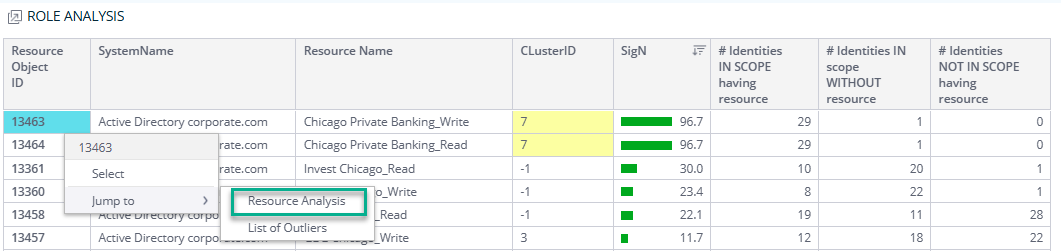
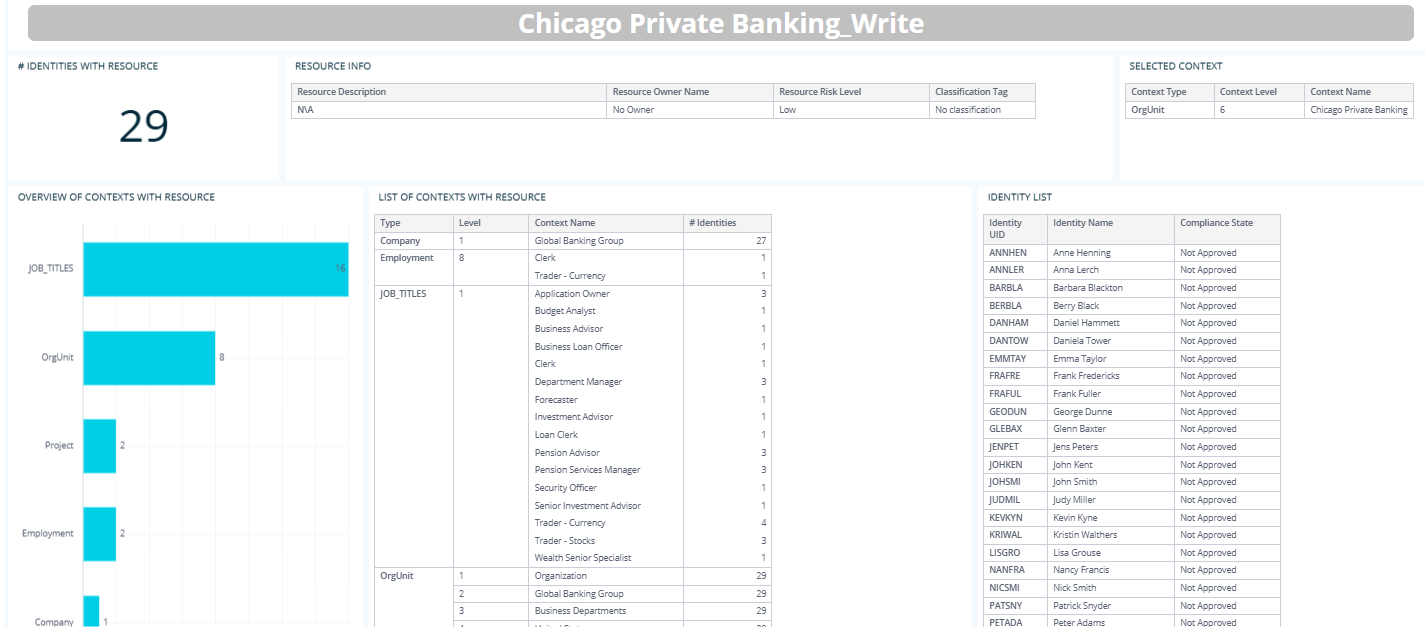
Select Jump to > Resource Analysis. In the pop-up, you can see the following tables, widgets, and diagrams:
- Identities with resource
- Resource info
- Selected context
- Overview of contexts with resource
- List of contexts with resource
- Identity list
-
To see the list of outliers, right-click on the resource that not all identities have. A selection of options appears:
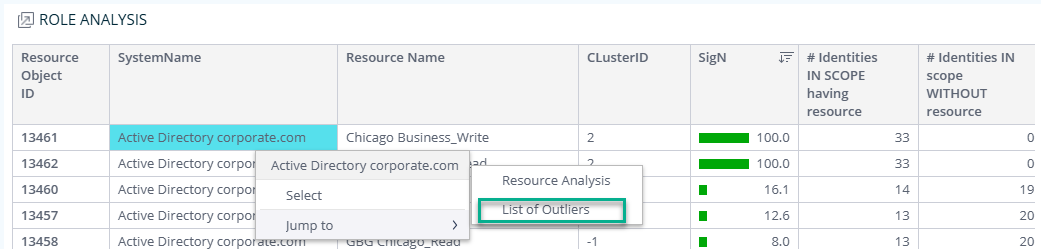
Select Jump to > List of outliers. In the pop-up, you can see the following tables:
- Identities in scope missing resource
- Identities not in scope with resource
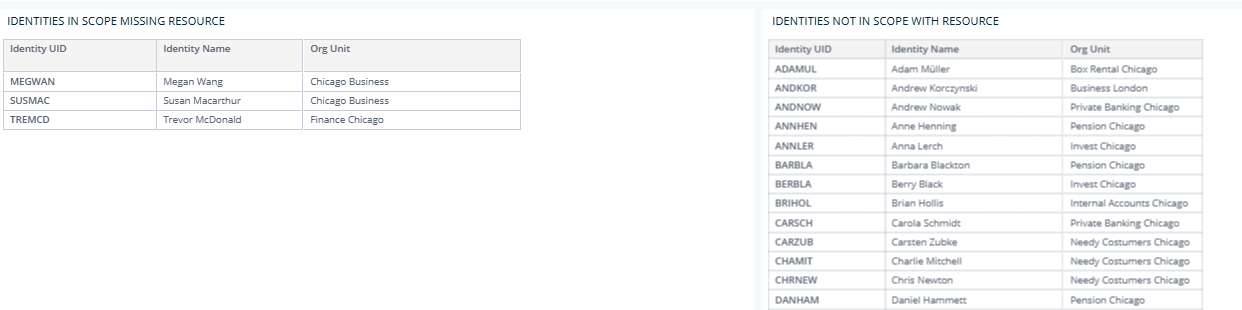
These tables are especially helpful in analyzing the cause of the warning and important to consider before creating a role.
-
Actions
At the top of the dashboard, you can perform 3 different actions:
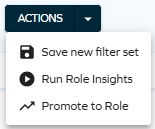
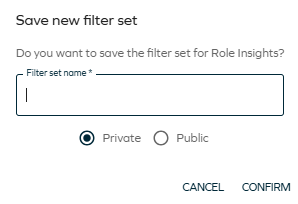
- Save new filter set – this option lets you save a selected filter set as private or public.
- Run Role Insights – this option lets you initiate the Role Mininig process and reload the information stored on the Role Insights dashboard. When you select it, a message appears at the bottom of the screen:

-
Promote to Role – you can select a role candidate and save it as a new role in your system, that is, promote the role candidate to an actual role:
- Click on an item of interest to you (or select it through the filters in the right pane).
- Select the Promote to Role action.
- Provide the details of the new role:
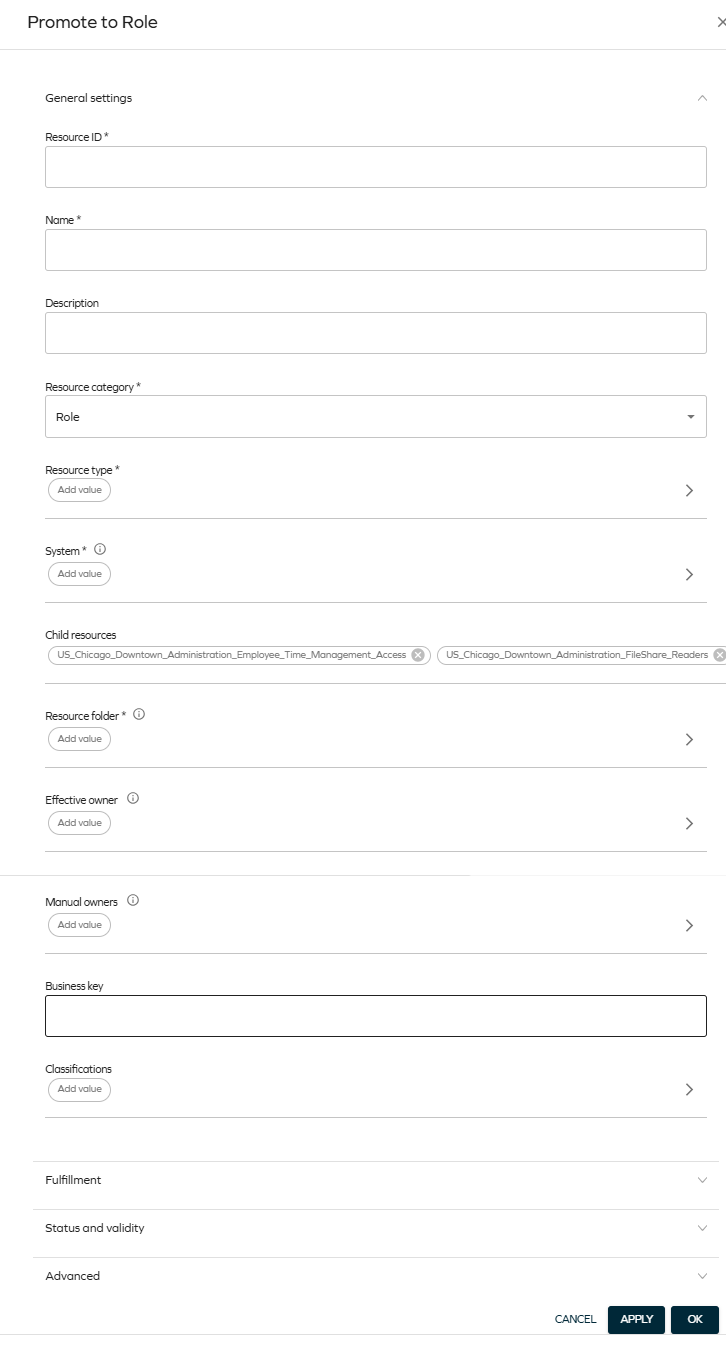
After this process is finished, you will be able to find your new role on the list of resources (List Views > Resources).
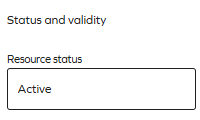
infoBy default, the newly created role is an inactive resource. To make it active, select your resource from the Resources list view, and below Status and validity, change the status to Active:
Sorting and filtering
You can sort tables, filter by particular items and drill into the details of a particular item.
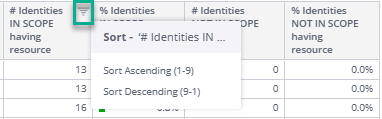
Sorting
By default, the resources are sorted from highest to lowest score. To change it, select the sorting icon in the column whose sorting you wish to change:
Filtering
-
You can filter by any resource, system name, or other item in a number of ways:
-
By clicking on a selected item in a table. When you hover over it, it becomes highlighted in yellow:

-
By selecting an item in the right pane:
-
-
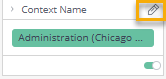
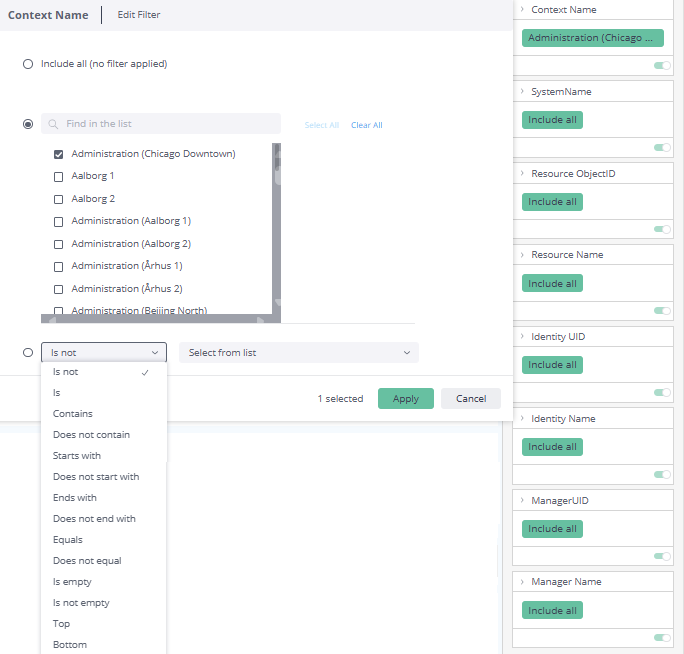
You can also edit filters by clicking on the pencil icon which appears when you hover over the top right corner of the rectangle:
Then, you can select from a variety of options such as "Is not", "Contains", or "Is not empty":
-
You can also disable filtering in a number of ways, for example:
-
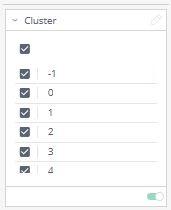
By disabling the toggle:
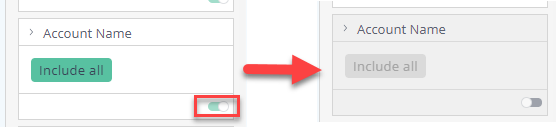
-
By selecting Clear selection, which appears in the top right corner of a widget when you hover over it:

-
By reseting the filtering in the right pane:
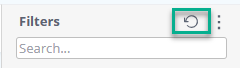
-
Downloading and exporting
Before you download the content of a widget, read Omada Identity Analytics – Downloading and exporting for details on the available formats as well as their limitations.
To export (download) the content of any widget, open the three-dots menu next to it, select Download, and choose a format.
Access to this dashboard
To learn which user groups have access to this dashboard, see Access to dashboards.