Run the Installation Tool
Use and configure the Omada Identity Installation Tool
The tool creates configuration files for installing a new version of Omada Identity.
The tool has ten steps for configuring the installation of Omada Identity components. The Start page introduces the tool, and the final page summarizes your configuration.
The following sections describe the settings on each page. The final section describes the summary page, where you save the configuration file and run the installation.
You must run the Omada Identity Installation Tool as an administrator.
Common controls
At the top of the application window, you can see:
- The current page or step
- The progress bar
- The progress counter
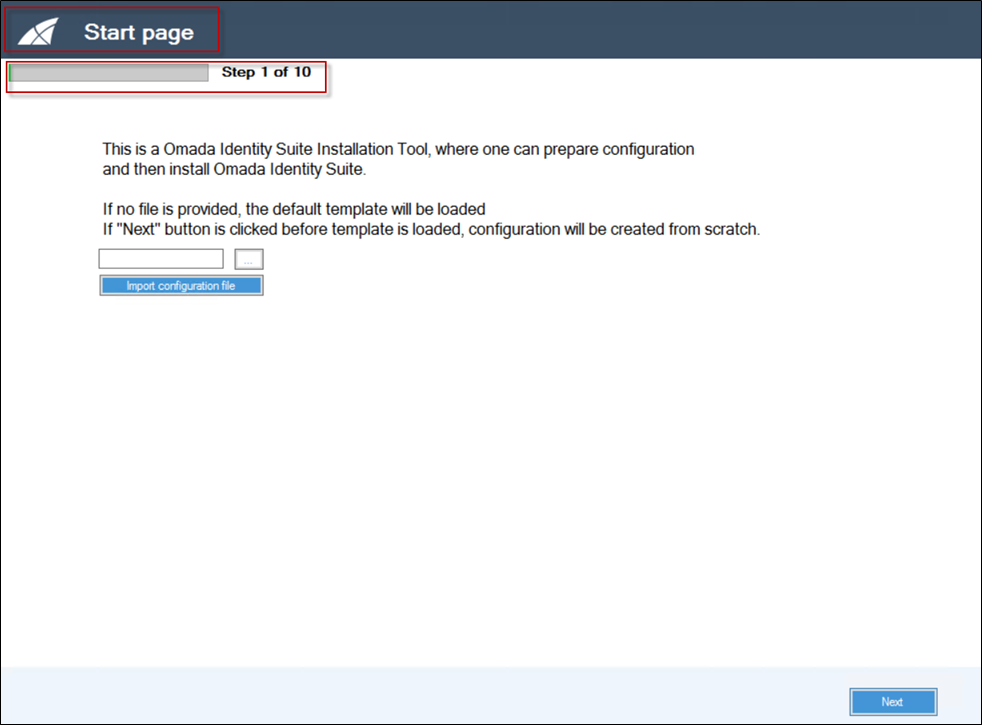
In this example, the Step 2 page shows the progress bar.
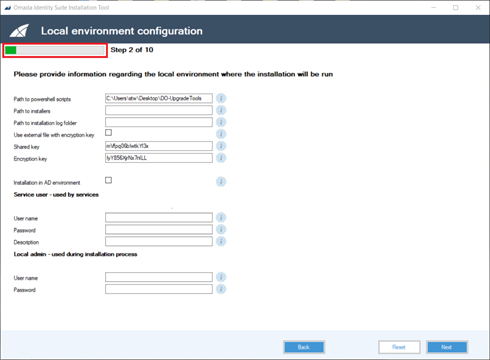
At the bottom of the page, you can find these buttons:
- Back takes you to the previous page.
- Reset resets all fields to the state they were in when you started. If you loaded a template, it reloads the template. If you created the configuration from scratch, it clears all values.
- Next takes you to the next page.
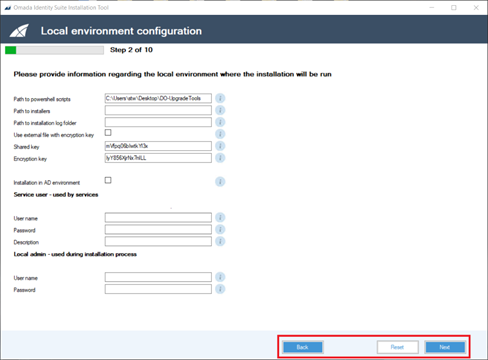
On the last step, you can find these buttons:
- Back takes you to the previous step.
- Save file saves the configuration file.
- Update saves the configuration file and updates the current Omada Identity installation.
- Clean install saves the configuration file and runs the installation.
Sorting is disabled in all data grids in the user interface to ensure that installation scripts run in the correct order.
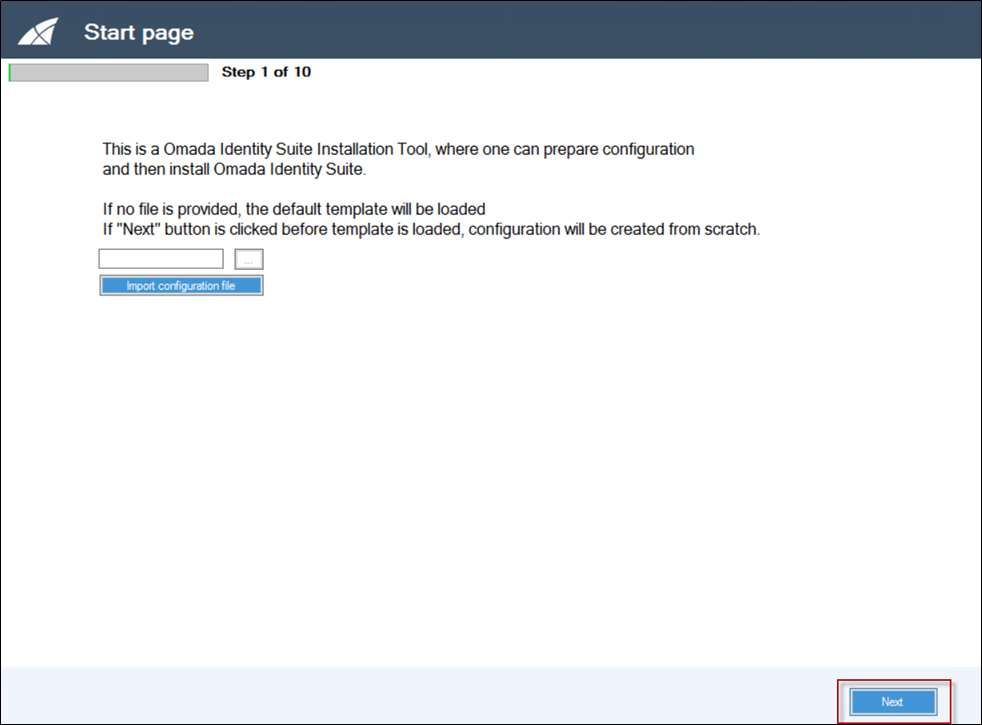
Step 1: Start page
There are three options on this page:
- To load the default configuration template, leave the configuration file field empty and click Import configuration file.
- To load an existing configuration file, select it and click Import configuration file.
- To create an empty configuration, click Next without first importing a configuration file.
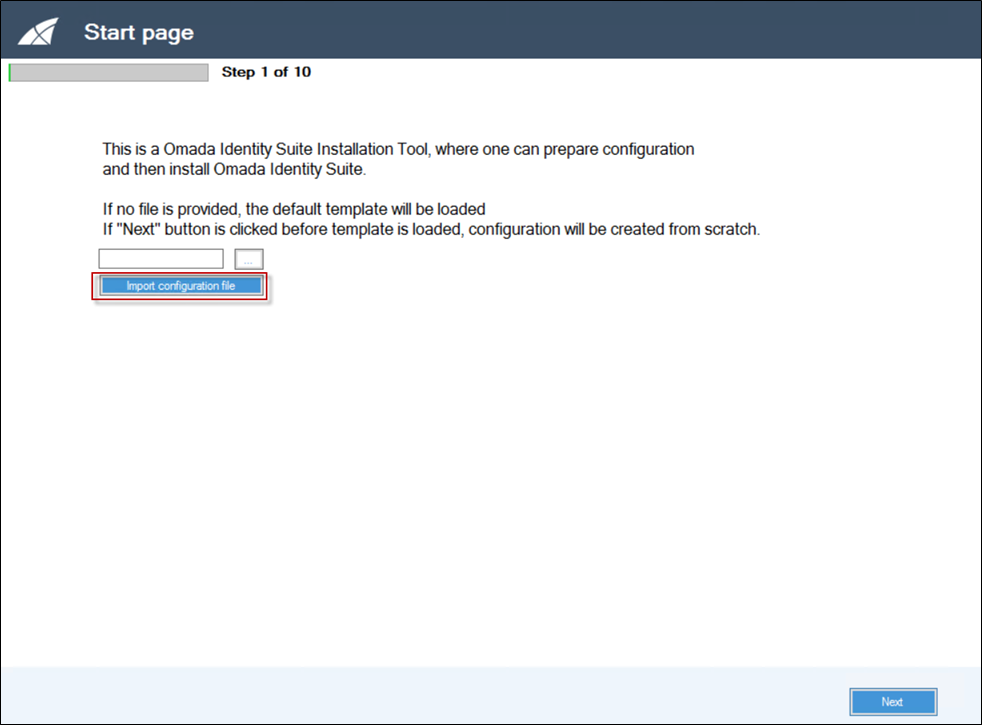
Click Import configuration file to load a default configuration.

Click Next to create the initial configuration.
Step 2: Local environment configuration
Step 2 shows the local environment configuration. Enter the required information in the relevant fields. Use the help button for descriptions of the fields.
| Setting | Description |
|---|---|
| Path to PowerShell scripts | The path to the PowerShell scripts required for the installation. |
| Path to installers | The path where the local copy of the installation files is stored. |
| Path to installation log folder | The path where logs created during script execution are stored. |
| Use external file with encryption key | Select this option to encrypt Installation Tool passwords with an encryption key from a file stored in the folder containing the configuration files. |
| Shared key | The shared application programming interface (API) key required for communication between Omada Identity modules. |
| Encryption key | The API encryption key used to encrypt strings in Omada Identity. |
| Installation in AD environment | Select this option to install Omada Identity in an Active Directory-enabled environment. If you clear it, the installation requires a user name and password instead of integrated security. |
| Encrypt connection string | Select which parts of the connection strings used by Omada Identity components to encrypt: the user name, the password, both, or neither. |
For an Active Directory (AD) environment:
Service user - used by services
| Setting | Description |
|---|---|
| Full domain | The full domain name associated with the user that runs Omada services, for example, megamart.com.All Omada services (Timer, Role and Policy Engine (RoPE), Omada Provisioning Service (OPS), and Password Reset) run under the same service account. |
| User name | The user name for the service account that runs Omada services. |
| Password | The password for the service account that runs Omada services. Passwords entered here are encrypted. To use plain text, you must edit the configuration files outside the Omada Identity Installation Tool. |
| Description | An optional description of the service account that runs Omada services. |
Local admin - used during installation process
| Setting | Description |
|---|---|
| Domain | The name of the domain to which the user belongs. The Omada Identity Installation Tool runs in this context. |
| User name | The name of the user in whose context the Omada Identity Installation Tool is running. This user must be either: - A member of the domain administrators' Active Directory group if AD users or groups are created during installation; or - A member of the local Administrators group on all involved servers if AD users and groups were created before installation. |
| Password | The password for the specified user. Passwords are stored in clear text. |
For a non-Active Directory environment:
Service user - used by services
| Setting | Description |
|---|---|
| Domain | The name of the domain to which the user belongs. This field is optional in non-AD environments, where a local user is created or used. |
| User name | The user name for the service account that runs Omada services. |
| Password | The password for the service account that runs Omada services. Passwords entered here are encrypted. To use plain text, you must edit the configuration files outside the Omada Identity Installation Tool. |
| Description | An optional description of the service account that runs Omada services. |
Local admin - used during installation process
| Setting | Description |
|---|---|
| User name | The name of the user in whose context the Omada Identity Installation Tool is running. This user must be a member of the local Administrators group on all involved servers. |
| Password | The password for the specified user. Passwords are stored in clear text. |
Step 3: Microsoft SQL and initial Omada Identity configuration
| Setting | Description |
|---|---|
| Microsoft SQL Version | Choose the version of Microsoft SQL Server to install with Omada Identity. |
| Microsoft SQL Server | The hostname or IP address and SQL instance name of the Microsoft SQL Server. |
| Microsoft SSIS Server | The name or IP address of the Microsoft SQL Server Integration Services (SSIS) server. |
| Path to SSRS Server files | The path from which SQL Server Reporting Services (SSRS) server files are imported. |
| Databases are pre-created | Enable this setting to reuse existing databases during Omada Identity installation. The existing databases must be empty. |
| Install reports on App Server | Enable this setting to install reports on the application server. By default, reports are installed on the database server. |
| Use integrated security for SQL | Enable this setting to use integrated security. |
| User name | The Microsoft SQL Server administrator's user name. If this field is empty, the user running the Omada Identity Installation Tool must be a member of the sysadmin group in Microsoft SQL Server. |
| Password | The Microsoft SQL Server administrator's password. Passwords are encrypted in the tool. To use clear text, you must edit the configuration files outside the user interface tool. |
| OIS version | The Omada Identity Suite (OIS) version, for example, 16.x. |
| License key | Enter or paste your Omada Identity license key. |
Steps 4 and 5: Omada Identity Enterprise Server configuration
| Setting | Description |
|---|---|
| Install SQL SysClr Types | Enable this setting to install this component. |
| Install Report Viewer | Enable this setting to install this component. |
| Database name | The name of the Enterprise Server database. |
| Database user name | The user name used to access the Omada Identity Enterprise Server database. |
| Database user password | The password for the user used to access the Omada Identity Enterprise Server database. Passwords are stored in clear text. |
| Path to changesets | The path from which changeset files are imported. |
| Skip errors during changesets import | Enable this setting to let the script continue whether or not changesets are imported successfully. |
| Language version | Select the language version to install with Enterprise Server. If you do not select a language, Enterprise Server is installed in English. |
| IIS application pool | The name of the Internet Information Services (IIS) application pool used by the Omada Identity Enterprise Server Portal website. The application pool is created during installation. |
| IIS website | The name of the Enterprise Server Portal website. The website is created during installation. |
| IIS binding | The website binding, for example, enterpriseserver. The binding is created during installation. |
| Certificate thumbprint | The thumbprint of a certificate used by the Omada Identity Portal. |
| Database scripts to execute | The required SQL scripts to run during installation. In a default Omada Identity installation, the scripts are located in C:\Program Files\Omada Identity Suite\Enterprise Server\sql scripts.The correct script files are suggested if you run the installation from a previously created config file or the default config. For a custom installation, provide the correct paths to your custom script files here. |
| Changesets to import | A list of the changesets to run during installation. |
Step 6: Omada Provisioning Service configuration
| Setting | Description |
|---|---|
| Database name | The name of the Omada Provisioning Service database. |
| Database user name | The user name used to access the Omada Provisioning Service database. Enter only the user name; do not include the domain prefix. |
| Database user password | The password for the user used to access the Omada Provisioning Service database. Passwords are stored in clear text. |
| Service URL | The URL for the web service responsible for pushing the Omada Identity Enterprise Server configuration, for example, http://enterpriseserver/WebService/OPSWebServiceInternal.asmx?op=PushConfiguration. |
Steps 7 and 8: Omada Identity Data Warehouse configuration
| Setting | Description |
|---|---|
| Database name | The name of the Omada Identity Data Warehouse (ODW) database. |
| Staging database name | The name of the Omada Identity Data Warehouse staging database. |
| Master database name | The name of the Omada Identity Data Warehouse master database. |
| Database user name | The user name used to access the Omada Identity Data Warehouse databases. Enter only the user name; do not include the domain prefix. |
| Database user password | The password for the user used to access the Omada Identity Data Warehouse databases. Passwords are encrypted in the user interface tool. |
| Admins group name | The Administrators Active Directory group used to manage access to ODW reports. Enter only the group name; do not include the domain prefix. |
| Auditors group name | The Auditors Active Directory group used to manage access to ODW reports. Enter only the group name; do not include the domain prefix. |
| Users group name | The Users Active Directory group used to manage access to ODW reports. Enter only the group name; do not include the domain prefix. |
Step 8 also shows the Omada Identity Data Warehouse configuration. Enter the required information in the fields, then click Next.
Omada recommends running the configuration import package during installation. You can configure this on this screen.
| Setting | Description |
|---|---|
| Full path to script | The files containing the Transact-SQL (T-SQL) scripts required to fully configure Omada Identity Data Warehouse. |
| Configuration packages to execute | The SSIS packages to run during installation of Omada Identity Data Warehouse. |
| DTS configuration updates | The updates to Data Transformation Services (DTS) configuration files required before you can use Omada Identity Data Warehouse. |
Step 9: Omada Identity Role and Policy Engine configuration
| Setting | Description |
|---|---|
| Database name | The name of the Role and Policy Engine database. |
| Database username | The user name used to access the Role and Policy Engine database. Enter only the user name; do not include the domain prefix. |
| Database user password | The password for the user used to access the Role and Policy Engine database. Passwords are encrypted. To use plain text, you must edit the configuration files outside the Omada Identity Installation Tool. |
| Config sources path | Used for internal Omada purposes. Do not use this for client installations. |
| Number of service instances | The number of RoPE service instances that the Omada Identity Installation Tool creates and configures during installation. |
Step 10: Summary
On the final step, you can use these buttons:
- Back takes you to the previous step.
- Save file saves the configuration file.
- Update saves the configuration file and updates the current Omada Identity installation.
- Clean install saves the configuration file and runs the installation.
To save the configuration file, browse to the desired path and click Save file.
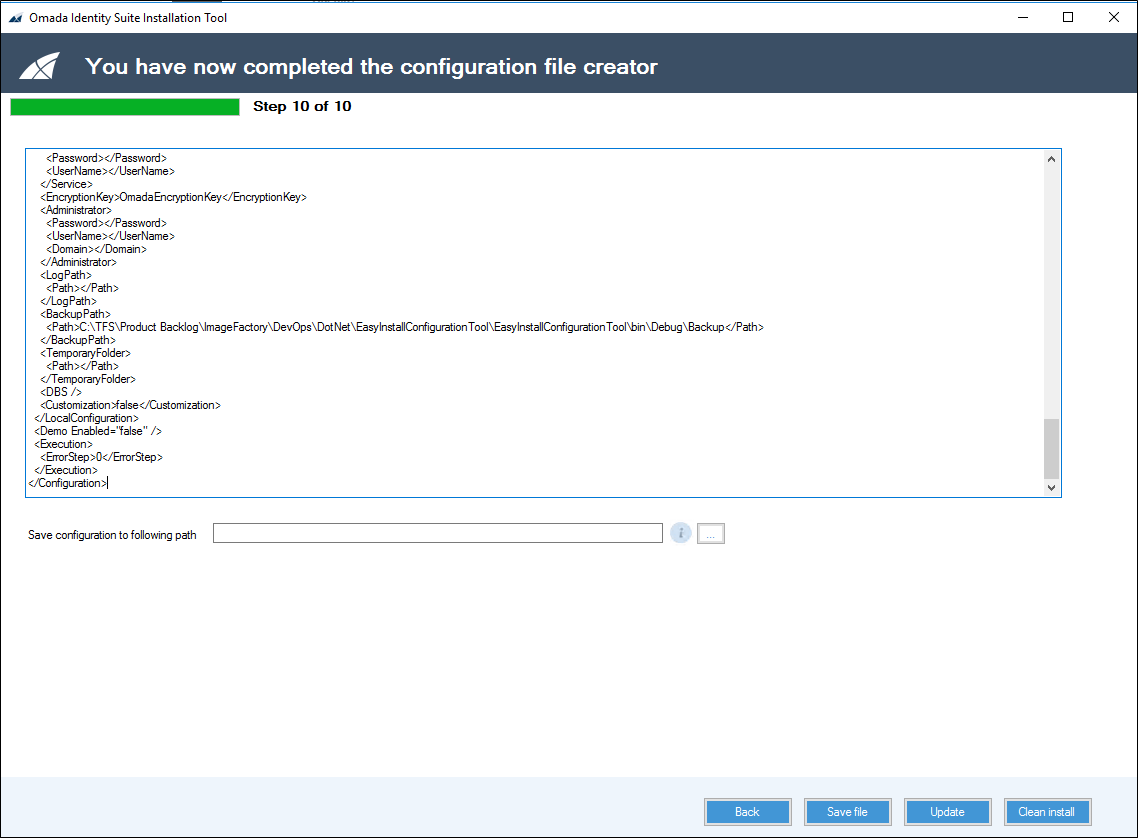
To run the Omada Identity Installation Tool using your configuration, choose one of these options:
-
Click Update to update the current environment. This preserves your existing data and updates only the Omada Identity components.
-
Click Clean install to uninstall the existing installation and all associated data, then perform a clean installation of Omada Identity.
ImportantA clean installation removes all databases and data. Do not use this option in a production environment.
