Creating a view
Follow these steps to create a view:
-
Go to Setup > Administration > User Interface > Views.
-
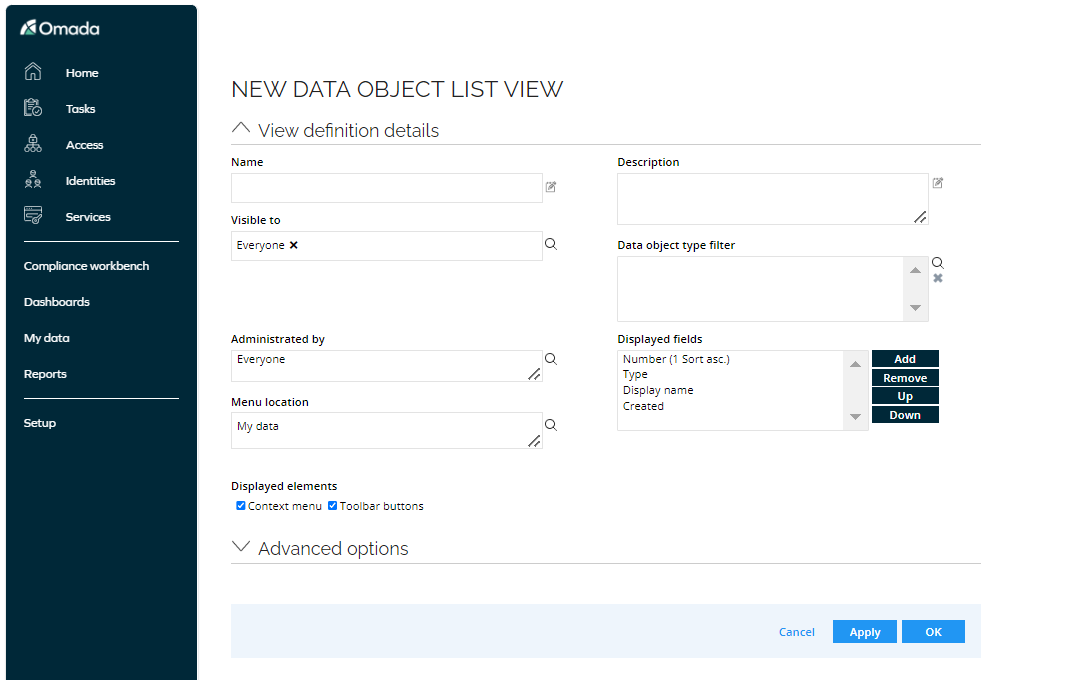
Click New and select Data object list view or Work item list view.
-
Enter the name and description of the view.
-
In the Visible to field, select the user(s) and or User Groups the view will be visible to.
-
In the the Administrated by field, select the administrator for the view.
-
In the Data object type field, select one or more data objects that will be displayed in the list.
-
Click Add in the Displayed fields field and add the properties you want to display in the view.
- To remove a field, select the field and click Remove.
- Click the Up or Down button to change the order of the displayed fields.
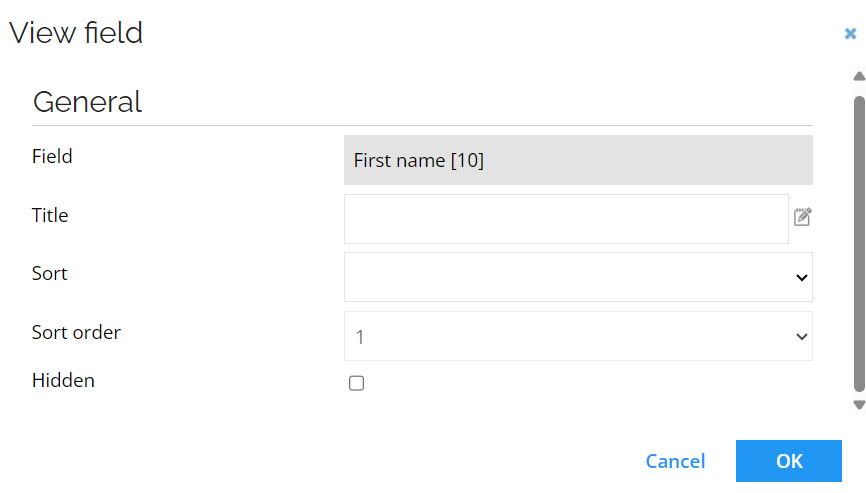
- You can hide the column by default. Double-click the field name. In the View field window, select the Hidden checkbox:
-
In the Menu location field, choose the location of the view in the menu structure.
-
To create the view, click OK.
Click Apply if you want to continue editing the view.
Only one object type is allowed. The feature is only available for data objects that can be created using the ordinary data object dialog non-special Data object types (this excludes Users, User Groups, Activities and Processes).
The feature is only available for data object types that can be edited outside a process.
The current user must have the appropriate access rights to create new data objects of this type.
You can copy an existing view. Open the context menu for the view you want to copy and Copy View.
Advanced options
In the Advanced Options dialog box, you can edit the following settings:
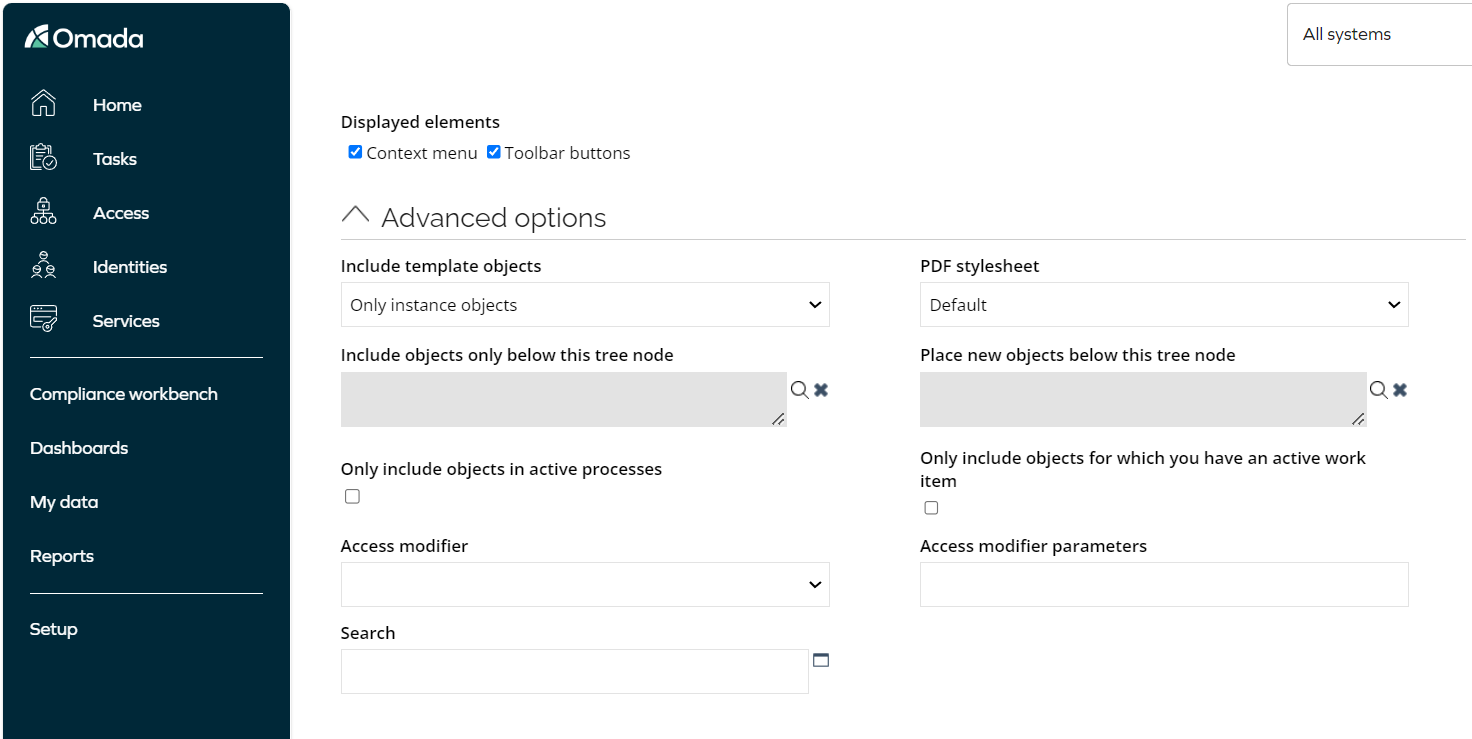
- Choose whether to include Only instance objects, only template objects, or both instance and template objects.
- You can specify which PDF stylesheet will be used for PDF downloads.
- If you want to only include objects below a specific tree node, click the find icon next to Only include objects below this tree node. To remove a selected tree node, click the clear icon.
- To specify the location where new objects are placed in the tree structure, click the find icon next to Place new objects below this tree node.
- Select Only include objects in active processes if the view should only display objects in active processes.
- Select Only include objects for which you have an active work item if you want the view to only display objects the viewing user has an active work item for.
- Select the Access Modifier to apply an access modifier or edit an existing one and provide access modifier parameters.
Click OK to save the options.
Expressions
In the Filter Expressions dialog box, you can add filters that limit the displayed data objects. For example, in an Identity data object list view, you can add a filter to display only active identities.
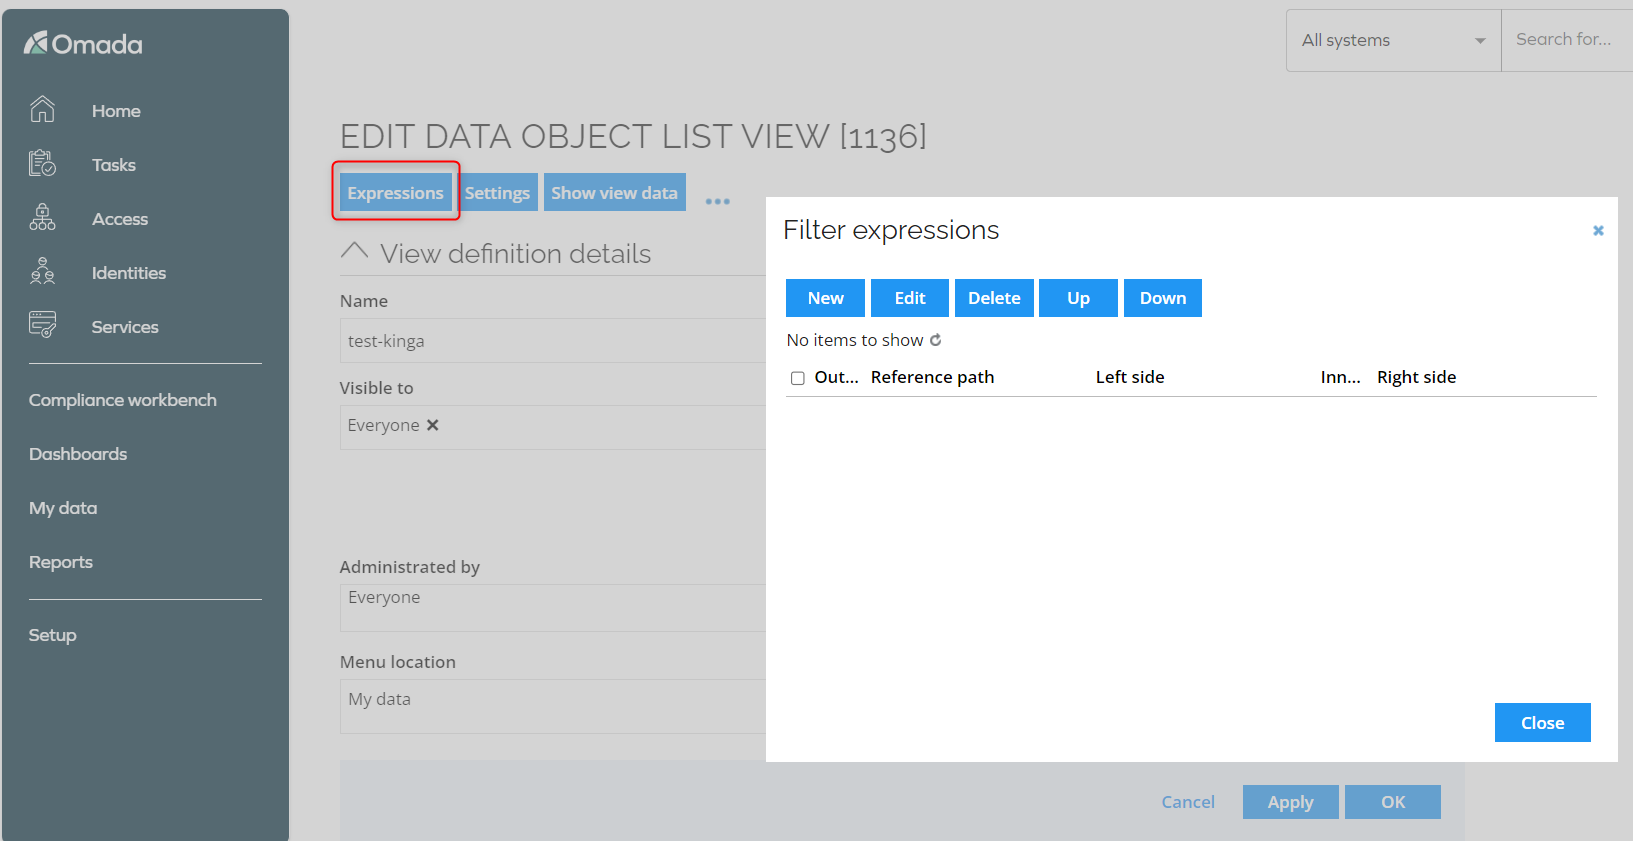
You can add more than one filter to a data object list view. The order in the defined filters are listed determines which filter will be applied first. Therefore, you need to consider the appropriate order for the filter to return the desired data objects. You can change sort order by selecting a filter and moving it using the Up and Down arrows.
- To delete a filter, select a filter and click Delete.
- To edit a filter, select it and click Edit.
You can define expressions that are applied to referenced data objects. This can be used in, for example, a view with resource assignment data objects to only display resource assignments that are for resources belonging to a specific system.
The use of reference paths in filter expressions comes with a performance penalty and should therefore be used with caution.
Settings
View settings allow you to change the following settings:
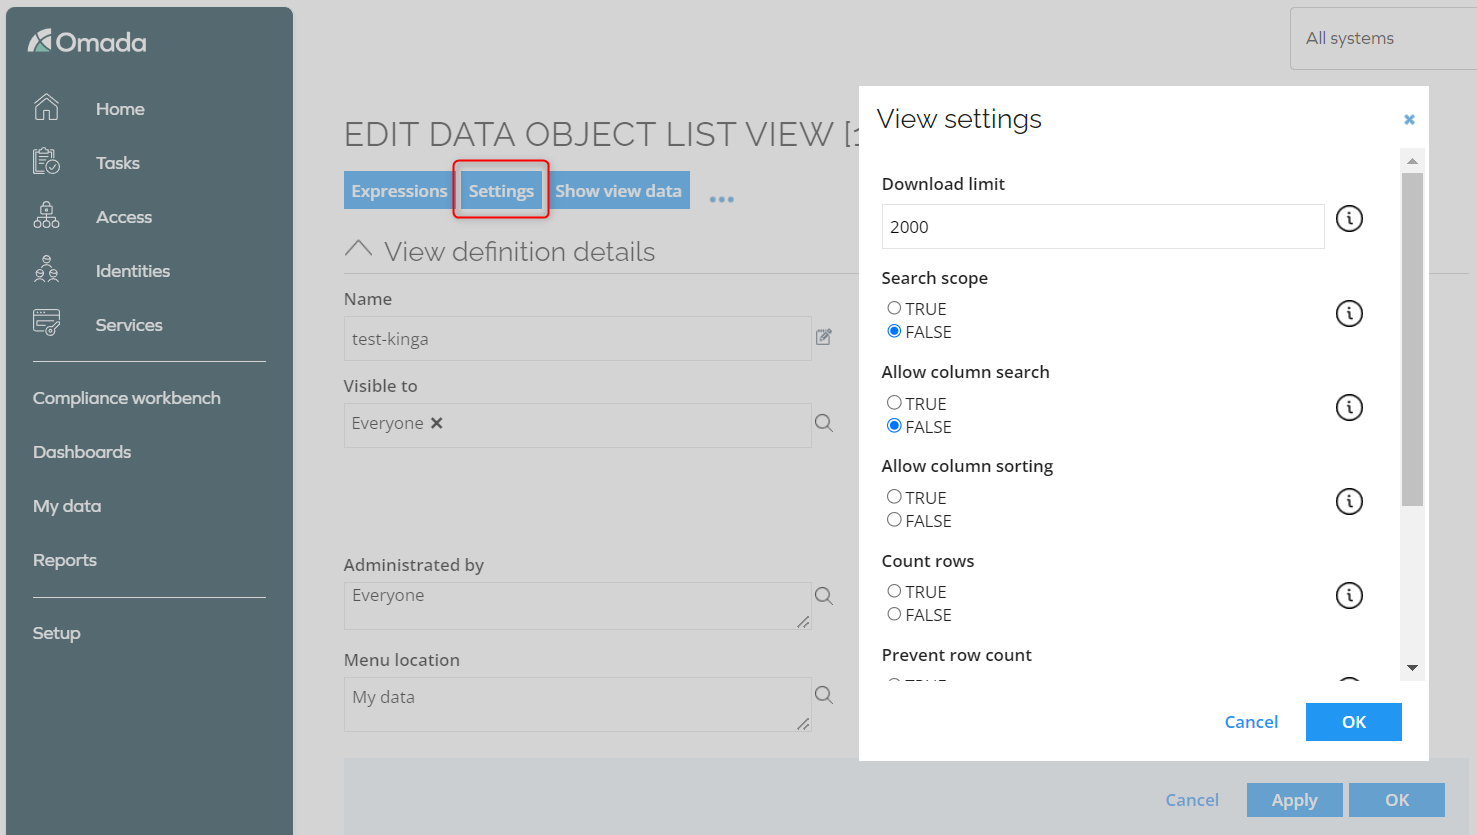
- Download limit - specifying maximum objects to show when downloading the view
- Search scope - controls whether the view is included in the full-text search bar. If this setting isn't available, you can add it manually.
- Allow column search - change the setting to true if you want to be able to search in the columns displayed in the view. If this setting isn't available, you can add it manually.
- Allow column sorting - specifying whether an order by icons be shown in the column headers.
- Count rows - set this setting to True to force a count of the number of rows returned from the database. If set to false, or not set, the Portal will not count the number of rows if there are more than 1000 rows, or the count takes longer than 3 seconds.
- Prevent row count - if set to True, and if the view is not counting rows already (using CountRows=False), the user is not able to click the quotation mark to show the count.
- Max pages - contains the maximum number of pages the user can page through. Default is unlimited.
- Assign default values to new objects - when creating a new data object from a view (using the plus sign in the lower-left corner) it is possible to assign default property values to it corresponding to the filters used in the view. If, for instance, a new data object is created from a view displaying Resource data objects filtered on ResourceType = "AD Groups", then the ResourceType property on the new Resource data object will be prefilled with the value "AD Groups".
Criteria screen
The Criteria screen is a selection view that allows you to filter the result of the list view when you open the View-based on that Data object.
To enable the display of the criteria view, click the Criteria screen option in the toolbar menu context.
If enabled, you can edit the following settings for the criteria view:
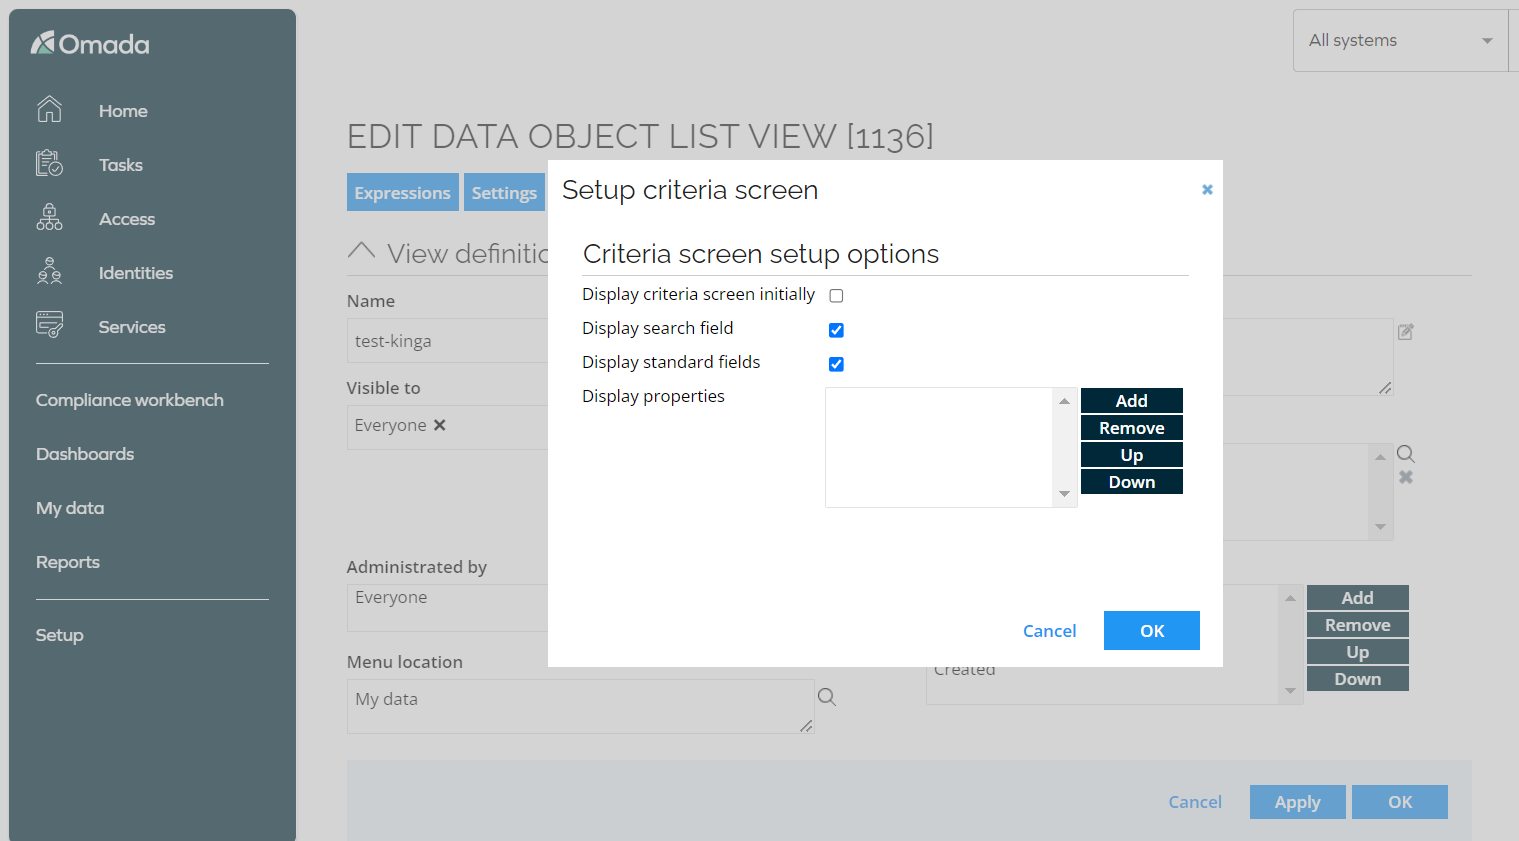
- Display criteria screen initially - initially displays the criteria screen
- Display search field - displays a full-text search field.
- Display standard fields - displays fields for system standard fields, such as Created after and Created before.
- Display properties - add properties for the Data Object type that the criteria view will display and can be used to filter the results for the data object list view. You can also reorder and remove the displayed fields.
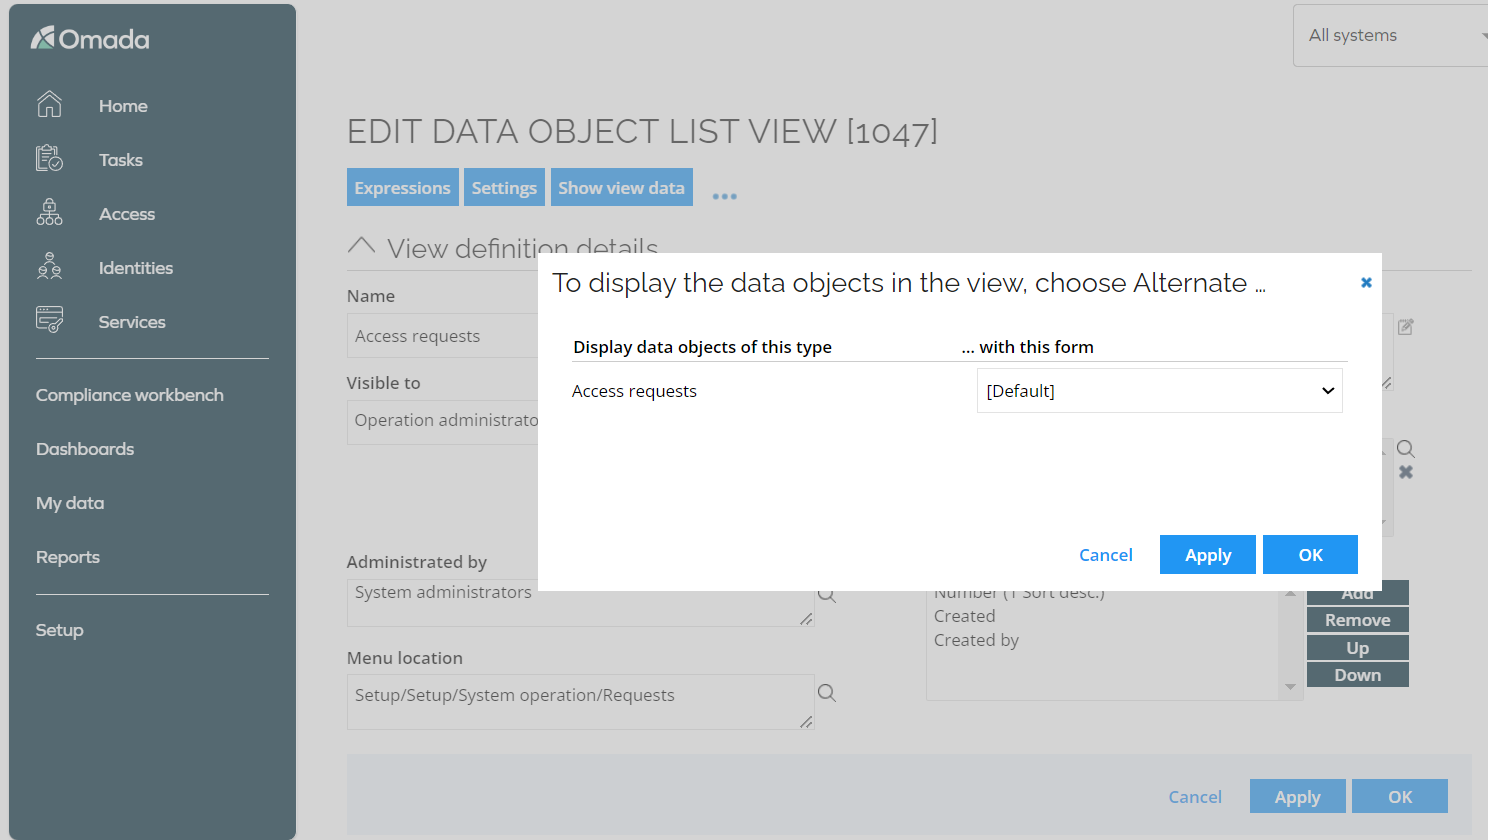
Forms
You can apply specific forms to view the data objects in your View. You can choose among the forms which have been created for each of the data object type(s) included in the View.
Modifying views
For Views, it is recommended that you copy the View and hide the original one. This will prevent you from experiencing issues at upgrade. You can copy the View from the menu structure where it is located:
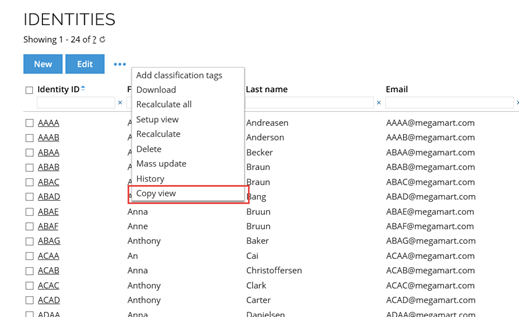
You can also copy the View by going to Setup > Administration > User Interface > Views menu.
If the view is used for a policy, you should also update the policy if you want the changes to also apply to this policy.