Deploy Tabular Model on Analysis Services instance
SQL Server Analysis Services administrator access is needed to create and configure a new Microsoft SQL Server Analysis Services (SSAS) database and model.
Prerequisites
Only SQL Server 2016 and later versions are supported. You need administrator privileges to create and configure a new Microsoft SQL Server Analysis Services (SSAS) database and model. SSAS must be installed in "Tabular Mode", with a compatibility level of 1200.
The Active Directory (AD) account used for Tabular Model processing must be configured as a SQL Server login on the SQL Server instance hosting the ODW database.
In Always On environments, this login must be created on all nodes.
If the SQL login is missing on any node, SSAS processing will fail with errors such as:
A connection could not be made to the data source 'ODW.BI'.
Deploy Tabular Model
-
Open the SQL Server Management Studio as an SQL Server Analysis Services administrator user and connect to the target SQL Server Analysis Services database instance.
-
Open the OIS Tabular Model.xmla file in the SQL Server Management Studio.
noteIf you choose to open a new XMLA query window and copy-paste the XMLA code from a file (for example, using Notepad), some characters and indents, etc. may be omitted, so you may need to perform the undo operation (CTRL+Z) once in order to revert to the exact formatting of the source XMLA file.
-
Check the specifications for the connection to the Omada Data Warehouse database in the section
“dataSource\ODW.BI”shown below and ensure that the connection string and credentials are correct.
-
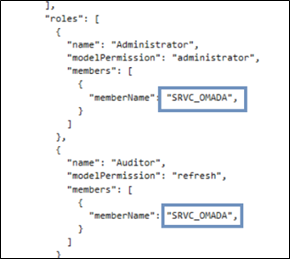
Confirm that the role memberships are specified correctly.
 note
noteThe account
SRVC_Omadais not fully qualified with a domain name prefix (for example,“DOMAIN1\SRVC_Omada”).If multiple SRVC_Omada accounts exist across multiple domains, or if errors occur as a result of the missing qualification, make sure to add the domain prefix to the account specifications (data source and role memberships) in the XMLA file before executing the deployment of the tabular model.
-
Execute the script and confirm that the following result appear:
<return xmlns="urn:schemas-microsoft-com:xml-analysis">

<root xmlns="urn:schemas-microsoft-com:xml-analysis:empty" />

</return> -
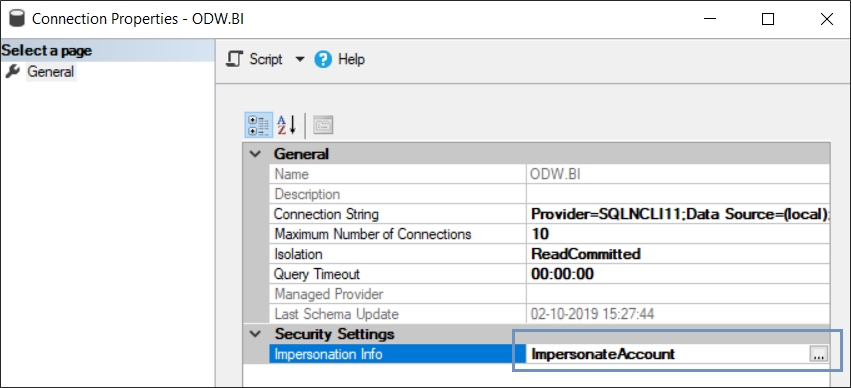
Enter the password for the SRVC_Omada user, by expanding the Omada Identity database tree in the object explorer and right click the ODW.BI connection to open the properties dialog.
-
Click the ImpersonateAccount value in the Impersonation Info setting and open the dialog for entering the account password.
-
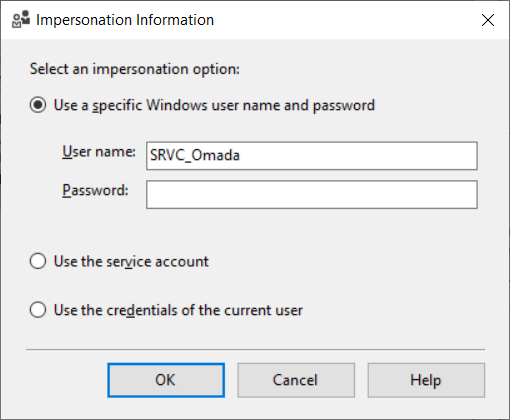
In the dialog that opens, ensure that the specific user is selected and enter the account password. Click OK.
-
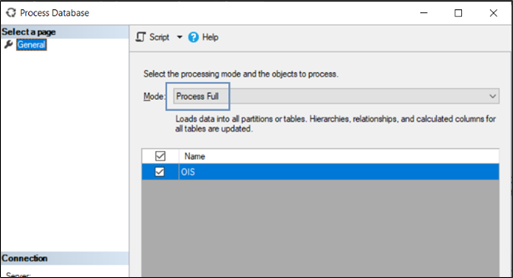
Process the database by right-clicking the database name in the object explorer and selecting Process Database.
-
In the dialog that opens, select the Process Full mode and click OK.
-
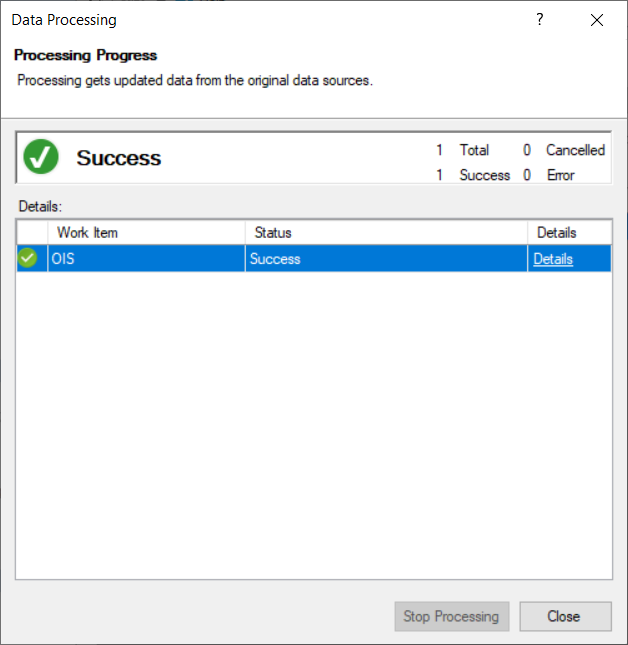
A processing dialog opens and after completing the processing of the database the dialog should show a single Success status row in the list.
-
Restart the SQL Server Analysis Services service.