Data import
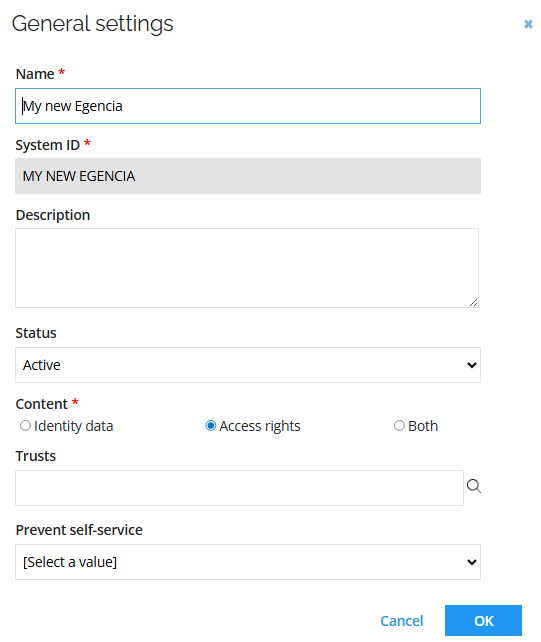
General settings
Connection details
| Parameter | Value |
|---|---|
| Base URL | Base URL, for example: https://apis.egencia.com/openconnect/api/scim/v3 |
| Authentication type | OAuth2 Client Credentials |
| Token endpoint | Token endpoint, for example: https://apis.egencia.com/auth/v1/token |
| Client ID | Your client ID |
| Client secret | Your client secret |
| Test connection | Select the checkbox |
| Test query | Users |
Queries and mappings
The Omada Identity Egencia connectivity provides the following mappings:
Users - Accounts
Parameters:
| Tab | Parameter | Value |
|---|---|---|
| General | URL | Users |
| General | Collection | Resources |
| General | Distinct | No |
| General | Enabled | Select the checkbox |
| Advanced | HTTP verb | GET |
| Advanced | URL is a DynamicExpresso expression | No |
| Paging | Change paging | No |
Mappings:
| Destination | Operator | Source |
|---|---|---|
| Business key | Map | id |
| Unique ID | Map | userName |
| Account Name | Map | userName |
| Display Name | Expression | name_givenName + " " + name_familyName |
| Status | Map | active |
| Valid from | Map | meta_created |
| Valid to | Expression | new DateTime(2099, 12, 31) |
| Map | emails_value | |
| Email_type | Map | emails_type |
| userName | Map | userName |
| givenName | Map | name_givenName |
| familyName | Map | name_familyName |
| id | Map | id |
| phoneNumbers_type | Map | phoneNumbers_type |
| cellphone | Map | phoneNumbers_value |
Advanced configuration
Complete the following configuration to manage the retrieval of roles and their assignments while implementing pagination to handle large datasets:
| Parameter | Value |
|---|---|
| Paging mechanism | URL Parameters |
| Url parameters | startIndex={index}&count=100 |
| Starting index | 1 |
| Total field | totalResults |
Account rules
This connectivity package has the following Account rules:
Ownership rule
The account owner is set to the identity where the Email value of the identity matches the Name value of the account.
| Field | Value |
|---|---|
| Type | Identity lookup |
| Join reason | Exact Match |
| Account attribute | Account UID |
| Identity attribute |
Classification rule
If an identity with the account attribute Identity join reason equals Exact Match, the account type is set to Email.
| Field | Value |
|---|---|
| Account type | Personal |
| Scope attribute | Identity join reason |
| Scope operator | Equals |
| Scope value | Exact Match |
Properties
Before you perform an import, create a new property:
- Go to Setup > Properties and click New.
- Click Value property. Enter the following details:
- Name:
honorificPrefix - Description:
honorificPrefix
- Name:
- Click Apply and then OK.
Attributes and attribute sets
Create a new attribute:
- Go to Setup > Attributes and click New.
- Click Value property and enter the following details:
- Name:
Egencia User – honorificPrefix - Definition:
honorificPrefix(select the property created in the previous section)
- Name:
- Click Apply and OK.
Edit an attribute set
- Go to Setup > Attribute sets and click Egencia - User.
- Add Egencia User – honorificPrefix (select the attribute that was created in the previous section).
- Click Apply and OK.
Resource
Due to the limitation in the Egencia SCIM API, resources are manually created. This functionality is available in case you want to assign a role to a user.
- Go to Setup > Resource types and click New.
- Enter the following details:
- Name: A resource name, for example:
My New Egencia Role - Resource category: Permission
- Business key:
My New Egencia_ROLE - Click Apply and OK.
To be able to request access to one of your roles, add them as resources:
- Go to Setup > Resources and click New. Enter the following details:
- Resource ID: Enter the ID (name) of your role, for example:
SELF_BOOKER. - Name: Enter the name of your role, for example:
SELF_BOOKER. - Resource type: Select your resource type for roles, for example:
My New Egencia Role. - System: Select your system.
- Resource folder: Select your resource folder.
- Click Apply and OK.
Identities:
Perform the following configuration to be able to see the Cell phone property as a field in any selected identity:
- Go to Setup > Identities and select any identity.
- Press the CTRL button and right click on the page.
- Click Form designer and then OK.
- Click Add existing property and then OK.
- Select Cell phone. Click OK.
- Click Apply and OK.