ServiceNow installation and configuration
To install and configure the Omada Service Catalog application, follow these steps:
- Configure and provide client credentials to the application for authentication. To perform the following actions, consult the sections under the following three titles on the OAuth Authentication page:
- Create Azure App for OAuth authentication flow
- Configure Application ID URI in the OpenID application
- Create a user in Omada Identity for the authentication application
The ServiceNow authentication in Omada Identity Cloud can be used with a Client Credentials flow, with OAuth authentication in the customer's own Identity Provider (for example, their Azure tenant). This guide uses Microsoft Entra ID as an example.
Prerequisites:
-
In Omada Identity Cloud Management Portal, authentication must be configured to use OpenID.
-
Azure App for interactive authentication (that is, Azure App OpenID) must be configured to use OpenID for authentication. Refer to the Authentication and Single Sign On section for more information.
on-prem An Azure App Registration for interactive authentication (in the examples in this document it is called Azure App OpenID) must be configured to use OpenID for authentication.
If you use another authentication type for the primary end-user authentication (for example, Windows Authentication), then it is required to create an additional Omada Identity Website/URL specifically for the ServiceNow integration.
We recommend that you configure a Reverse Proxy to route the web traffic from ServiceNow to Omada Identity as illustrated below. The configuration of the reverse proxy is not described in this document.
Install and configure the ServiceNow application
Purchase the application:
- Go to the ServiceNow Store and request to purchase the application. After approval, you will be able to install the application.
Using the Guided Setup
Here, you can find information on how to use the Guided Setup. Skip to Configure ServiceNow properties below if you are familiar with how to use a Guided Setup in ServiceNow already.
-
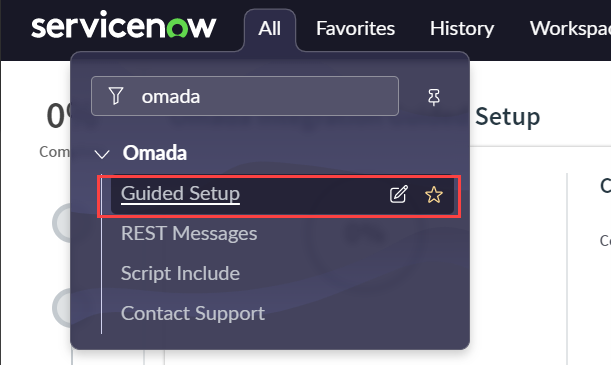
Go to the Guided Setup for the Omada application.
-
The Guided Setup has three sections with tasks to complete.

-
Open the first task in the section. Read the details and when done, click the Mark as Complete button, then move to the next section.
-
Click Configure button to go to the page, where the task can be configured.
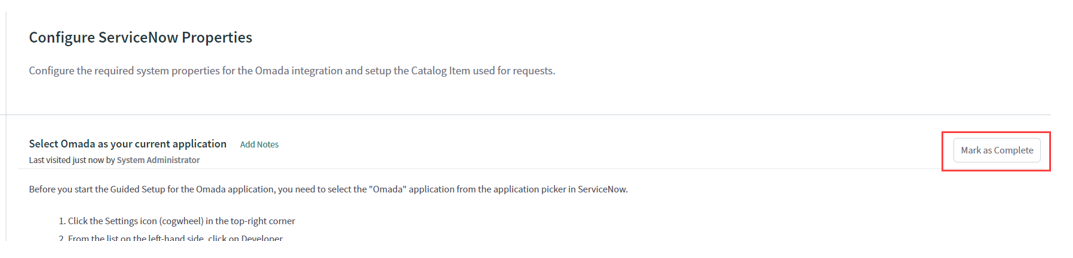
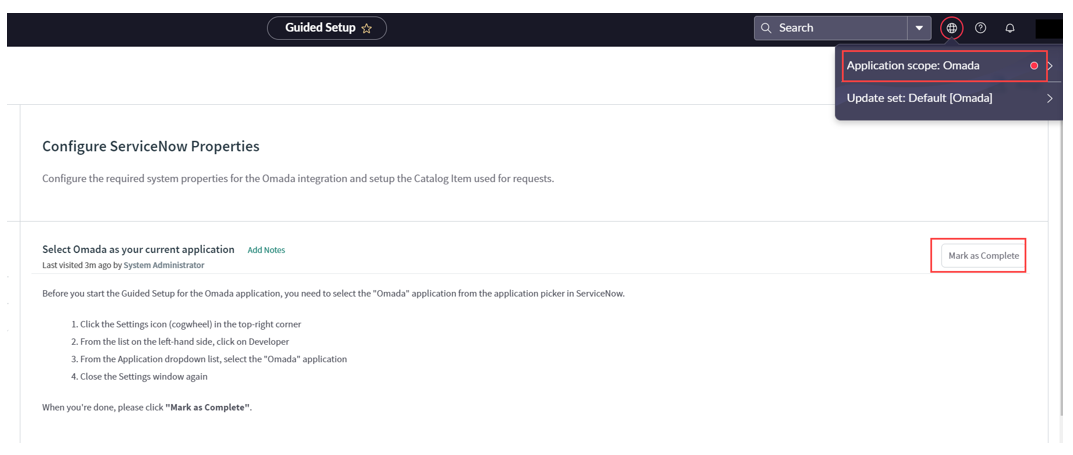
Configure ServiceNow properties
Follow these steps to configure ServiceNow properties:
-
To select Omada as your current application, click the Globe icon in the top menu, search for Omada and select it as the current application. Click Mark as Complete.
-
In the Provide Omada endpoint URL section, click Configure.
-
Set the Value to your Omada instance URL, and save the record (click Update) or right-click the header and select Save. Mark the task as Complete.

-
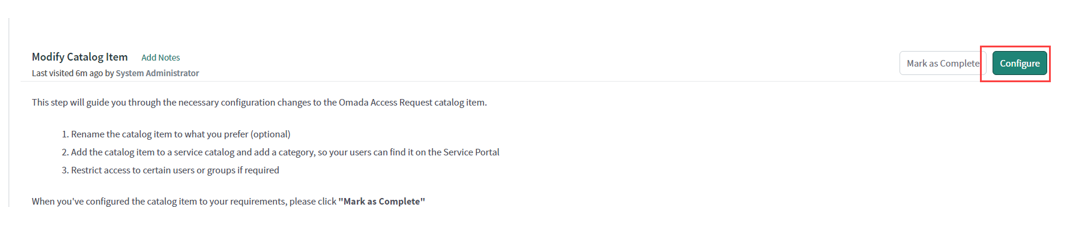
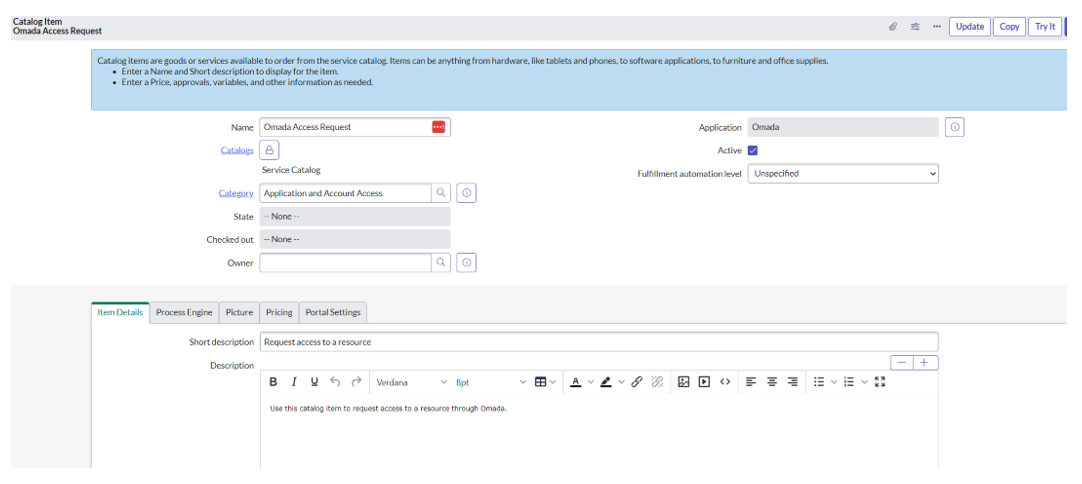
In the Modify Catalog Item section, read the details and click Configure to open the Omada Access Request catalog item.
-
Modify the catalog item as required:
-
Add the catalog item to one or more catalogs and categories to allow your users to find the item on the service portal.
-
Define which users or groups can and cannot access the catalog item.
-
Update the name of the catalog item if required.
-
-
Save the object and return to the Guided setup to mark the task as Complete.
-
Go to the Configure authentication section.
Configure authentication
In this section, provide the details copied from the application created in Microsoft Entra ID:
- Application / Client ID
- The application ID URI (
https://\<domain\>.omada.cloud) - Authorization endpoint
- Token endpoint
- Client secret
-
In the Create a service account in Omada section, mark it as Complete if you have followed the instructions in "Create a user Omada for the authentication application".
-
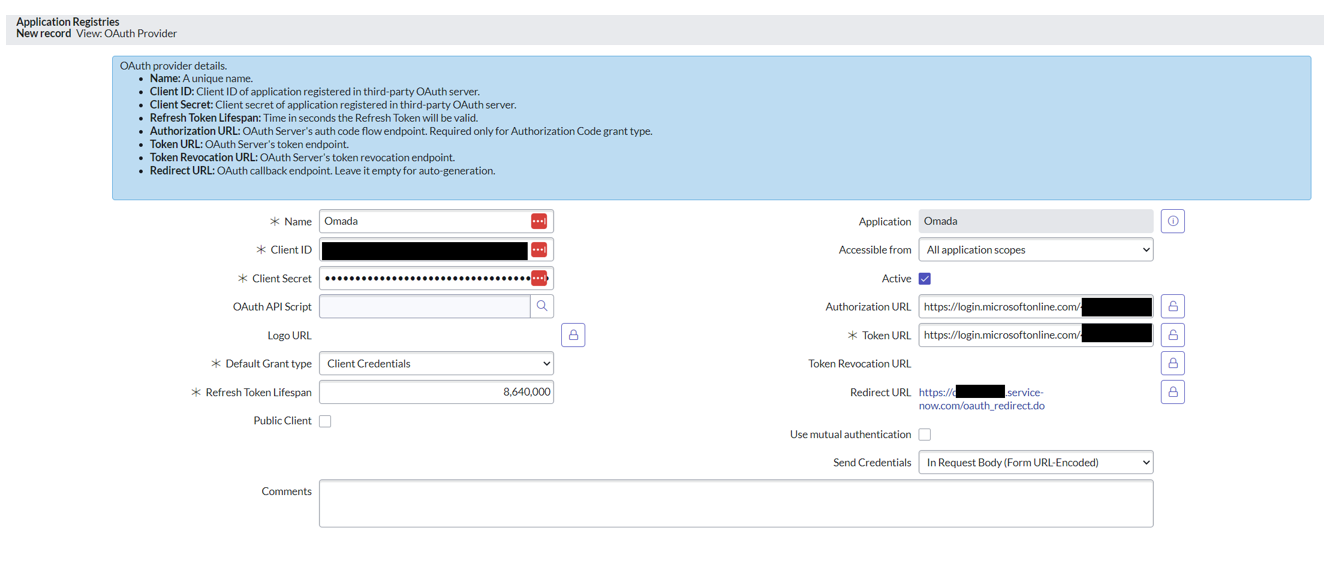
In Configure OAuth in ServiceNow, click Configure. This opens the Application Registry (oauth_entity). You will now create a new record.
-
You can enter any name you prefer for the OAuth entity.
-
Enter the Client ID and Client Secret from your OAuth provider, noted down in the Configure OAuth application step.
-
Set the Default Grant type to Client Credentials.
-
Enter the Authorization URL and Token URL .
-
-
From the OAuth Entity Scopes tab, double-click on Insert a new row to create a new entity scope.
-
Enter Omada as the name and click the green checkmark.
-
Double-click on the OAuth scope field and input the OAuth scope value, using the format
<Application ID URI>/.default(for example,https://ServiceNowapp.omada.cloud/.default), then click then green checkmark.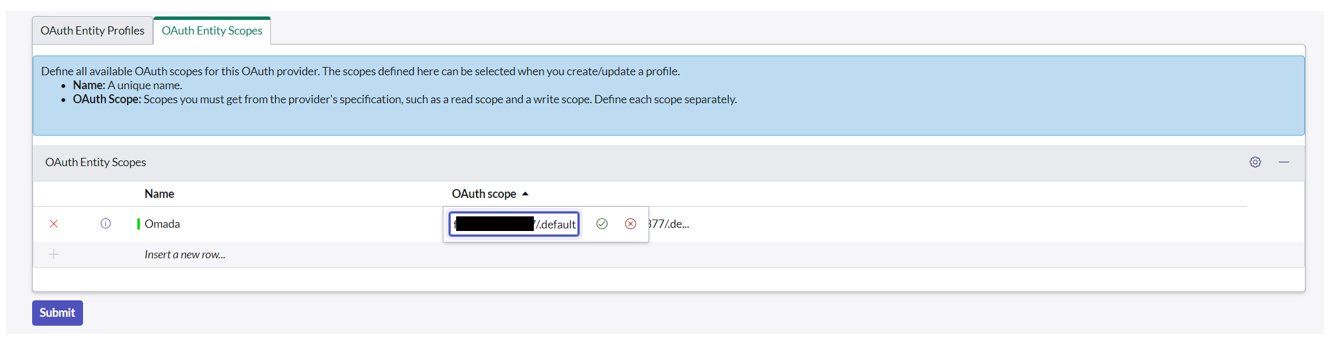
-
-
Save the record and return to the Guided Setup.
-
In Configure REST Messages to use the new OAuth profile, click Configure to open the Omada Integration REST message record (
sys_rest_message)-
In the Authentication tab, select the newly created OAuth profile in the OAuth profile field.

-
-
Save the record and return to the Guided Setup.
Export and import SSL certificate
Now, import an SSL Certificate.
-
Skip to step 9 if you already have the required certificate and don't need to export it.
-
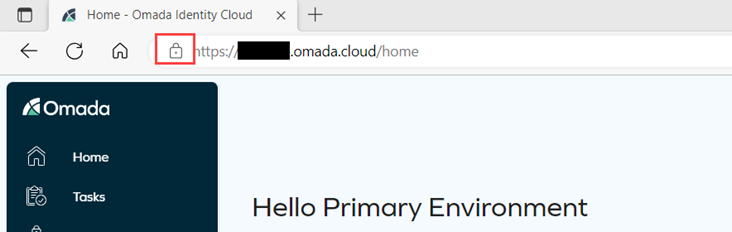
Open your Omada instance and log in, if required.
-
Click the padlock icon, next to the URL in your browser window.
-
Click Connection is secure and then click Connection is valid or Show certificate, depending on the browser you are using.
-
In the certificate information window, click the Details tab.
-
Click Copy to file or Export..., depending on the browser you are using, and follow the steps in the export wizard.
-
The format of the certificate file should be: DER encoded binary X.509
(.DER). -
Save the file with a suitable name, for example,
Omada.der.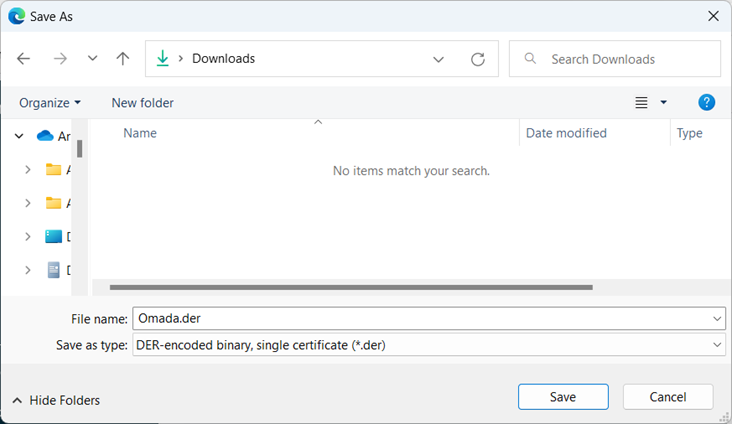
-
In ServiceNow, go to the Export SSL certificate from Omada section in the Guided Setup, and mark it as Complete.
-
In the Import SSL certificate to ServiceNow section, click Configure to go to System Definition > Certificates to create a new record.

-
Save the record.
-
Return to the Guided setup and mark the task as Complete.
You have now completed the configuration of the Omada setup.
Install approval widget
To install the approval widget, follow these steps:
-
Select the required application scope (Global by default).
-
Go to All > Service Portal > Pages.
-
Alternatively, type
sp_page.listunder the All menu and click Enter.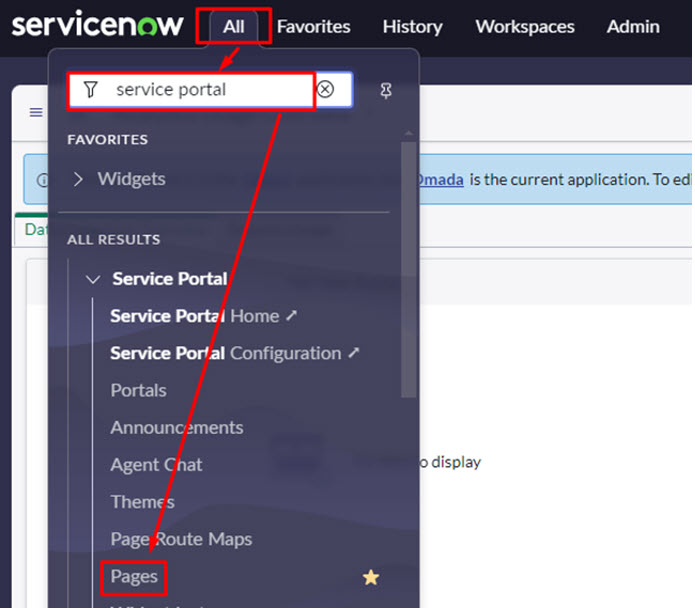
-
-
Identify the page where the Omada Approval Widget should be displayed, for example, the Home page (
ID=index).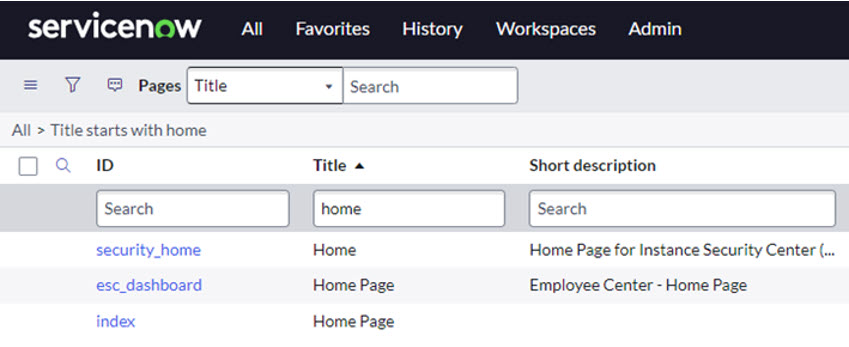
-
In the page record, click on Open in Designer under Related Links.

-
In the Service Portal Designer, search for Omada (full name: Omada Front Page Widget) and then drag and drop the widget to the desired location.
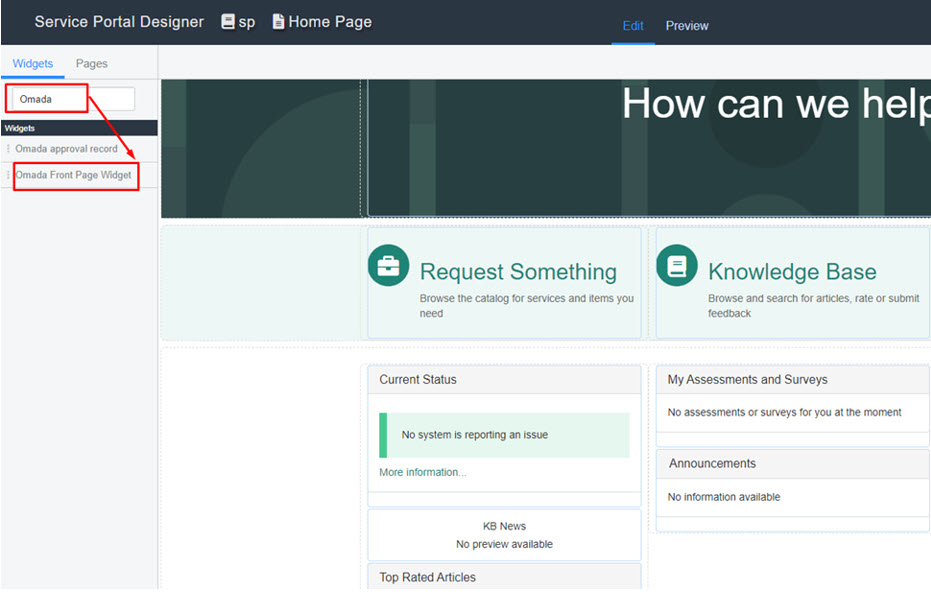
-
Click the View page in new tab button in the upper right corner of the designer to see the updated page with the widget.

The number of items shown per page can be changed in the system property (default is set to 5):
x_omas_omada.omada_max_approvals_per_page
Testing the configuration
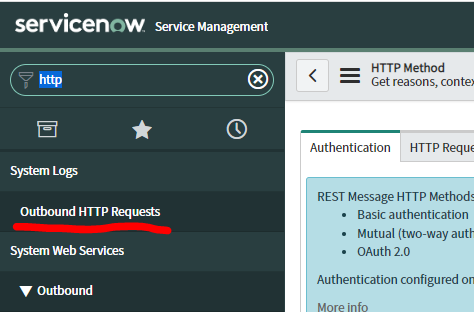
Admins can go to Omada > REST Messages and test each HTTP Method by using variable substitutions. This will return the HTTP response code and response body which can identify any issues.
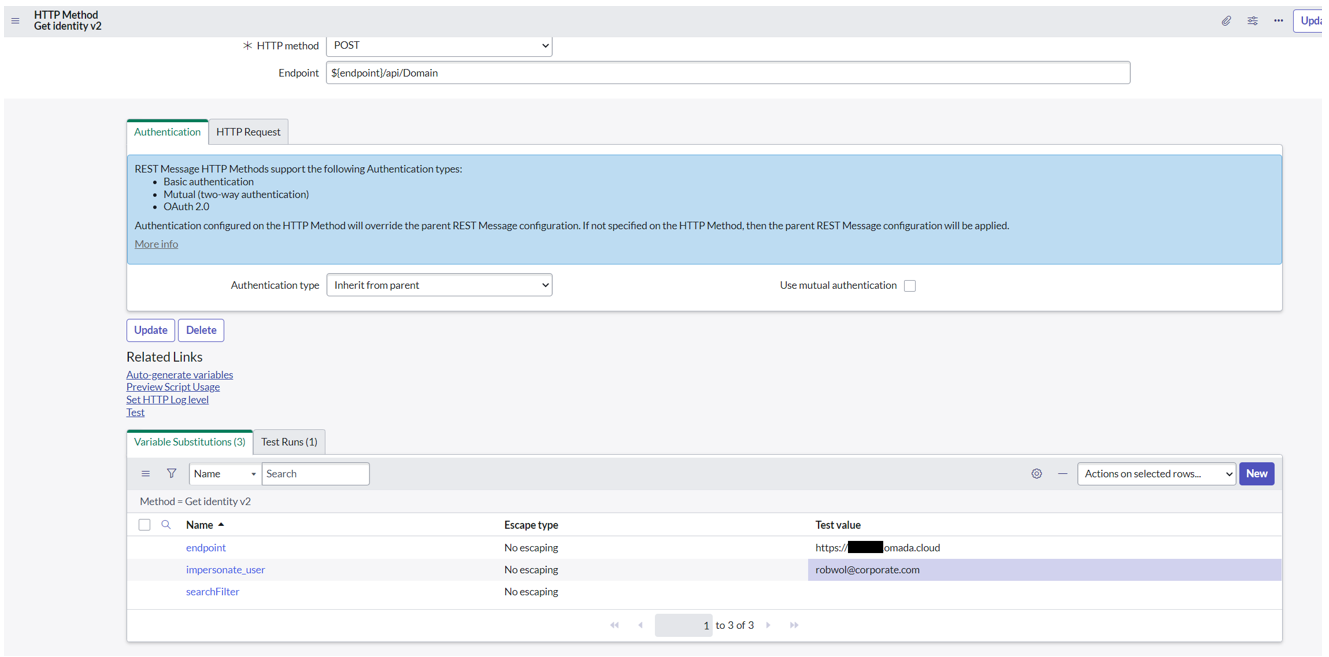
The workflow context can provide additional details if the catalog item was able to submit successfully.
Configure allowed IP-addresses in Omada
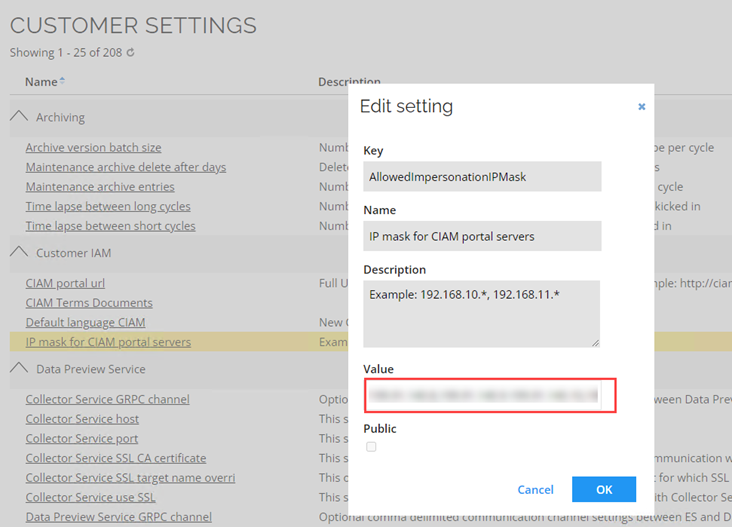
You need to specify which IP addresses you want to allow for “impersonation”. This is to ensure that you don’t get unwanted requests outside your organization. This is set in the Customer setting with the AllowedImpersonationIPMask key.
How to find the IP-address in ServiceNow?
To find the relevant IP-addresses for your ServiceNow Instance, follow these steps.
-
Log in to ServiceNow Support portal support.servicenow.com.
-
Go to Automation Store > My IP Information.
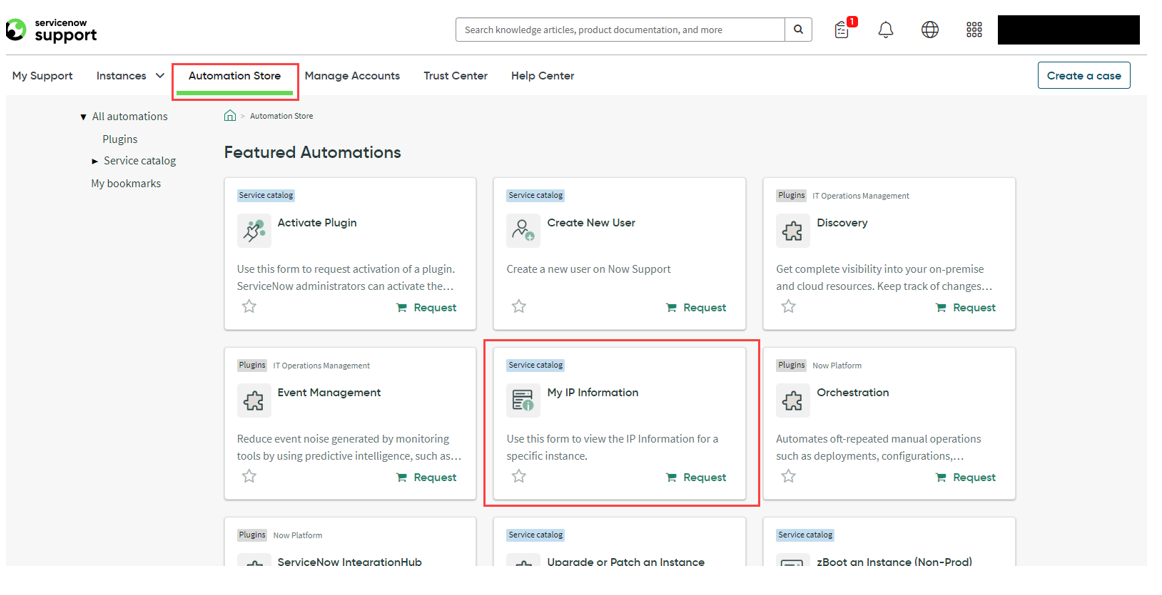
-
Select the instance you want to retrieve the IP-addresses for and click Submit.
-
Expand the Source address used for integrations into customer network with NO VPN.
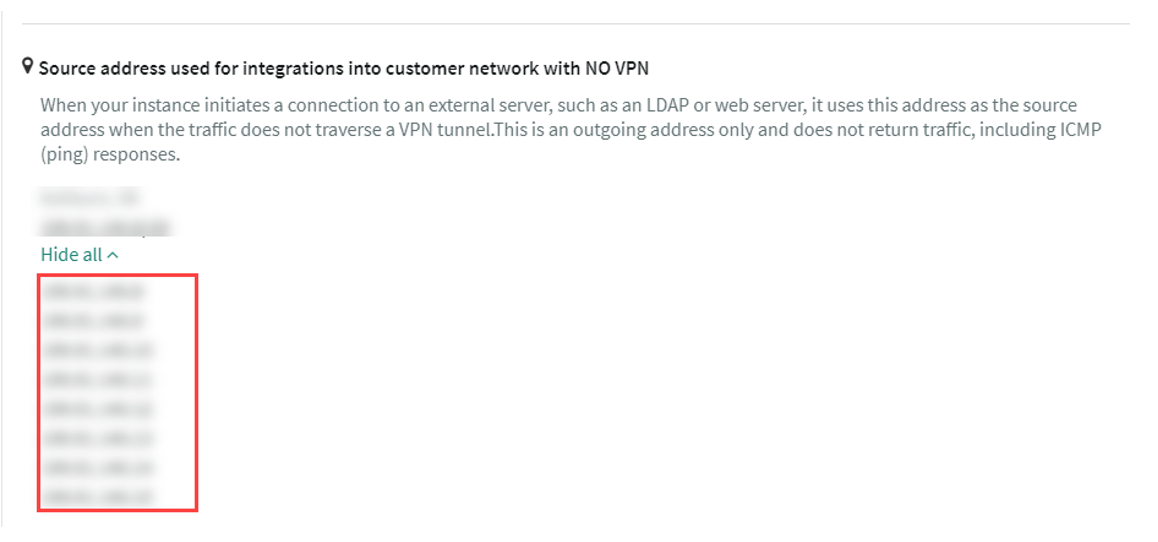
-
-
Note down all IP-addresses.
Change the customer setting
You now need to update the customer setting AllowedImpersonationIPMask so it contains the IP-addresses noted down from ServiceNow.
To update the AllowedImpersonationIPMask customer setting, follow these steps:
-
Log in to Omada as a system administrator.
-
Got to Setup > Administration > System settings > Customer settings.
-
In the Customer IAM section, find the setting IP mask for CIAM portal servers.
-
In value, enter the IP-addresses separated with a comma. Click OK to save the changes.
Post-installation configuration
Disable the Context field
It is possible to configure the system so that the context field is not available in the request in ServiceNow.
To enable this, you need to set the business context field in the process template to Hidden (server side), which is the same when you want to remove the context from the process in Omada Identity Cloud. To do so, follow these steps:
-
Log in to Omada Identity as a system administrator.
-
Go to Setup > Process templates > Request access.
-
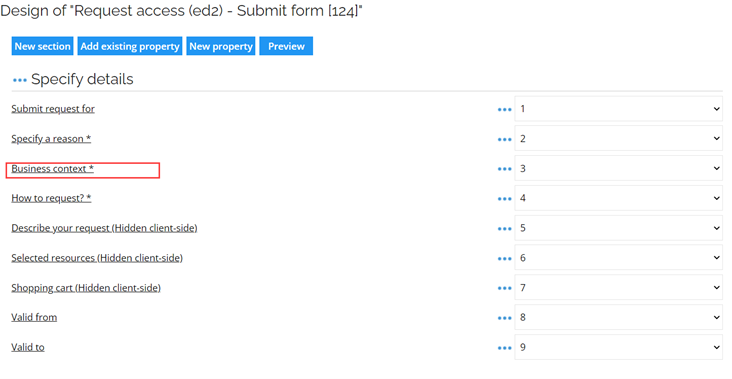
Open the Process Template and select the first activity Request access. In the Attributes pane, open the form designer by clicking the form name Request access (ed2) -- Submit form.
-
Click the Business context field.
-
Set the field to Hidden (server-side) and save the form and the process template.
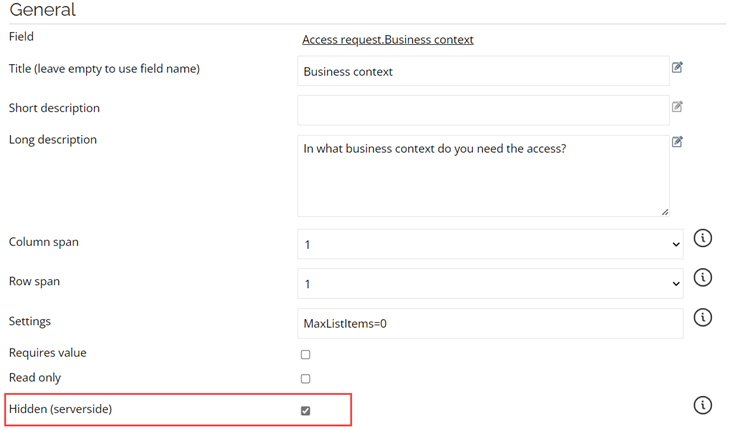
ServiceNow will no longer show the field in the request.
Configure requestable resources and systems
In Omada Identity, it is possible to control which systems and resources are available for request in third-party applications (e.g., the Graph API). By default, all systems and resources that are available for request in the Omada Identity Cloud access request process are available. An example could be that only business roles are available to request in ServiceNow. To do this, you exclude the systems and or resources you don't want to be available by setting the Prevent self-service in third-party applications property to True.

We suggest that you automate this process by setting creating an event definition that maintains the correct value when creating the systems and/or resources. You can also set this property in the Warehouse to Portal mapping for relevant objects.
The API will respect the settings on the Selected resources (AR_REQ_RESOURCES) property, for example, the Prevent-self service settings and any access modifier applied to the property.
Troubleshooting
Enterprise application in Azure
If the application in Microsoft Entra ID was set up as an “Enterprise application”, you may need to set the application’s Object ID as the username in Omada Identity Cloud.
Testing the integration works but requests fails to load data
Verify that the email on the ServiceNow user object matches the username in Omada Identity Cloud.
Error message
If the identity could not be found in Omada Identity using the identifier provided, the following error message appears: There was an error retrieving your identity from Omada, please contact your Administrator. See the Overview section of Impersonation and validate the customer's data based on their configuration.
This error can also be caused by the authentication level. In authentication with impersonation, the authentication level is set to Low; however, if a user group requires an authentication level higher than Low, the authentication fails. See the Authentication level concept section of Users and user groups.