Vault Service
Omada Identity Vault Service is designed to help companies using Omada Identity to comply with zero trust policies and align Omada Identity with the security challenges encountered in dynamic cloud-based infrastructures.
Vaults are central, secure places which store and manage the secrets (for example, API keys, passwords, certificates) that an application needs in order to work with other applications and services, and provide secure access only to authorized resources.
Instead of having Omada Identity storing sensitive information locally, Vault Service is able to fetch secrets from vaults when:
- Onboarding a system and editing the connection details
- The connection details are pushed to Omada Provisioning Service
- Omada Data Warehouse is pulling the data connection details
- Setting up the sending of mails
- Setting up log configuration
Vault Service only covers HashiCorp Vault and Azure Key Vault, in relation to the onboarding system functionality. Other vendors vaults, like for example CyberArk's, are not supported.
Configuration on-prem
Installation steps
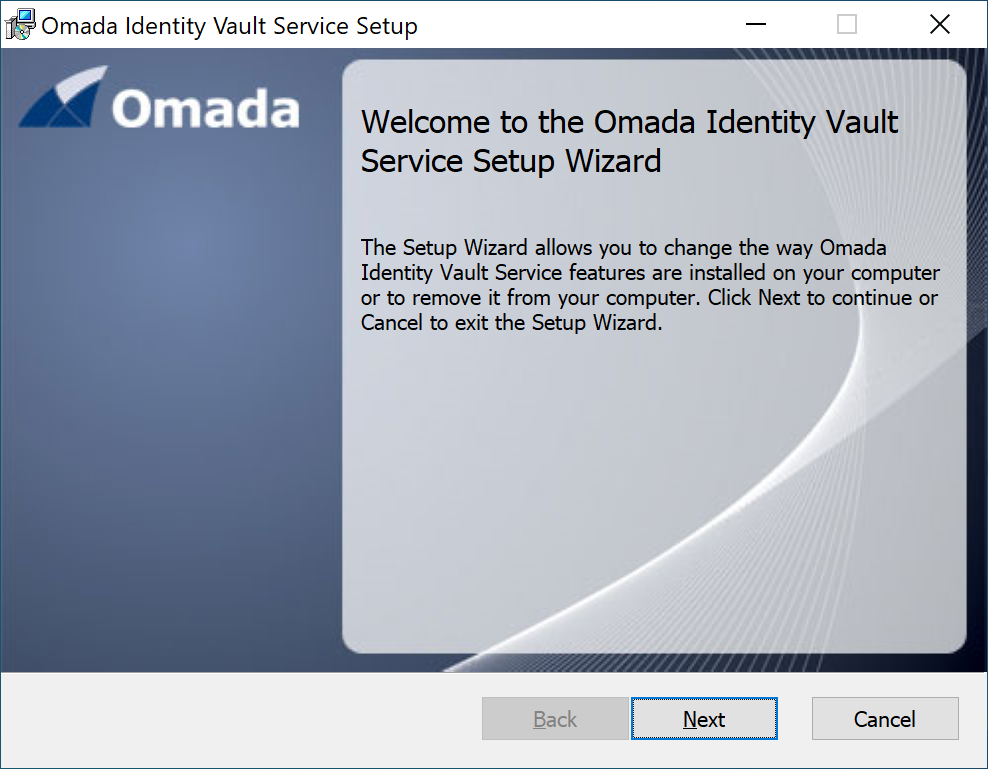
To install the Omada Identity Vault Service:
-
Run the Omada.Identity.Vault.Service.Installer.msi. When the Setup Wizard appears, click Next.
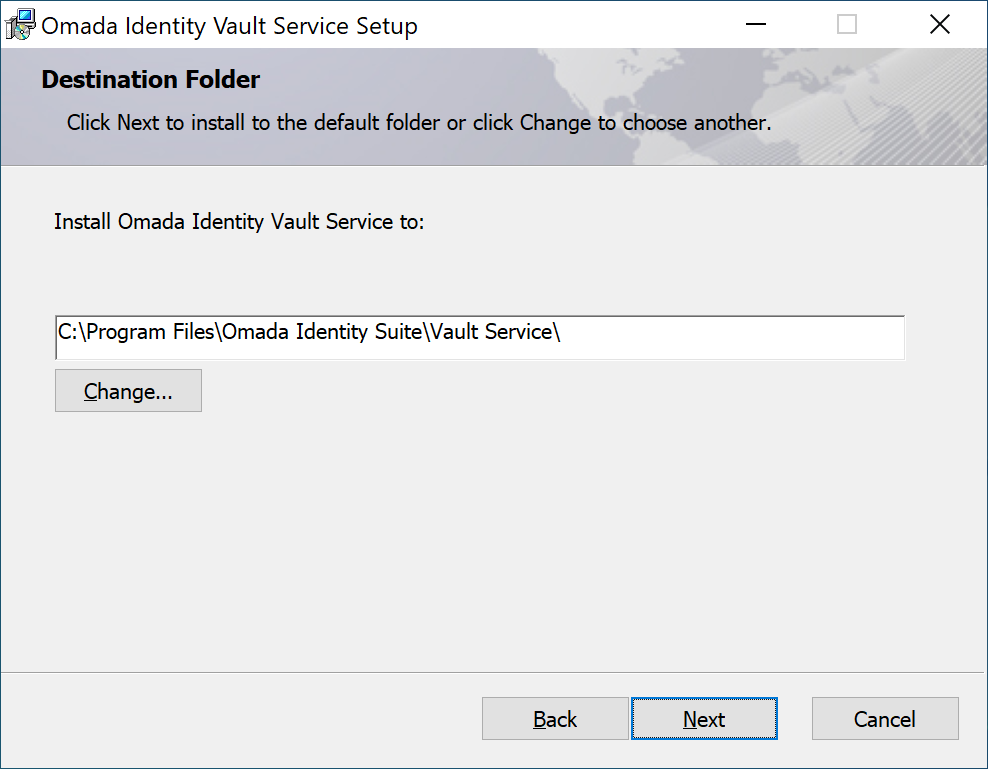
-
Choose the installation folder or use the default one. Then, click Next.
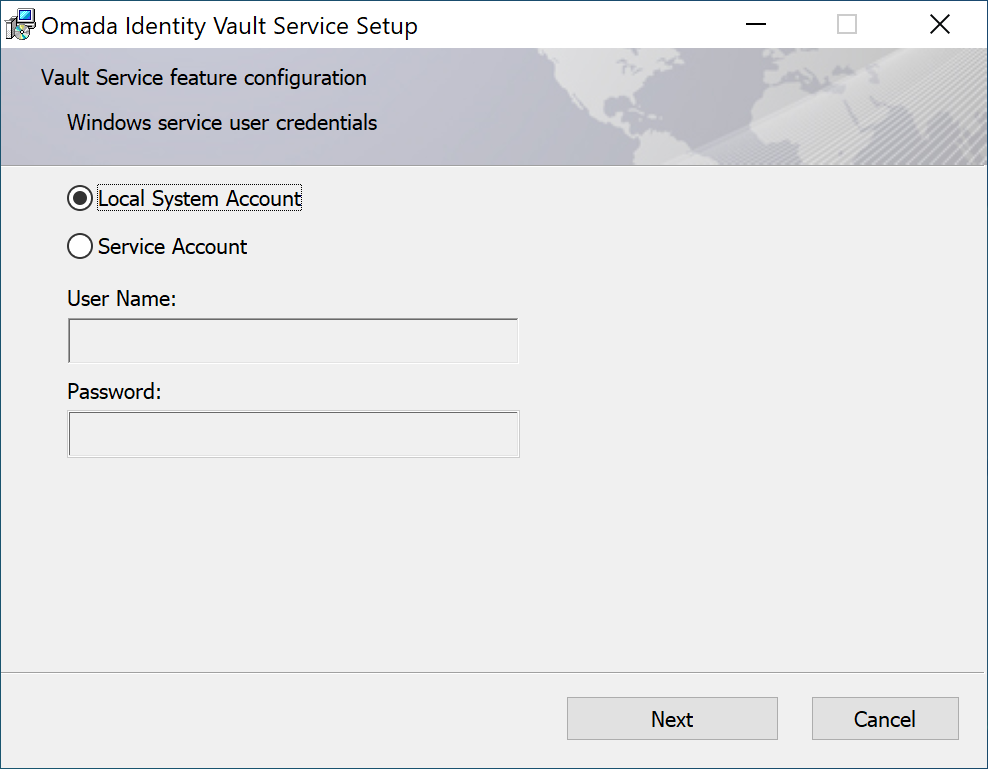
-
Choose the credentials that the Omada Identity Vault Service will use. Then, click Next.
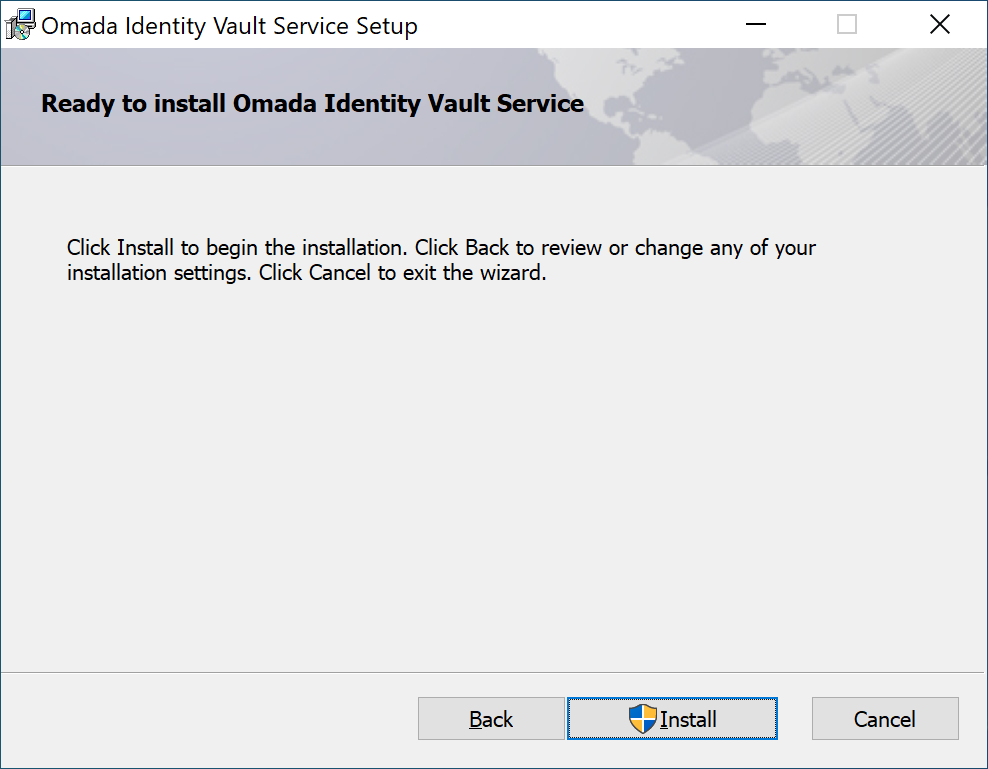
-
Start the installation by clicking Install.
-
When the installation is done, click Finish.

The Omada Identity Vault Service is now installed.
Connection
To create a connection to Vault:
-
Go to Setup > Administration > Configuration management > Installed packages and install the Vault integration package.
-
Set the
VautlServiceUrlcustomer setting tohttp://localhost:5009.
on-prem Omada Identity Vault Service for an on-premises connection requires the newest versions of the following:
- ASP.NET Core Runtime 8.0.x
- .NET Runtime 8.0.x
Authentication with Omada Identity
To authenticate with Omada Identity, you have the choice between Basic Authentication or NTLM Authentication. If you are using a service account (not local service), then NTLM (Windows) is recommended.
Authentication parameter must be base64 encoded.
You can encrypt the basic authentication header to prevent unintended users from reading the appsettings file and getting the password for the service user account.
To do a basic authentication:
-
Open a command prompt and go to the following folder:
C:\Program Files\Omada Identity Suite\Enterprise Server\website\bin. -
From the
\binfolder in the command prompt, run the following command:StringEncrypter.exe -e <PswEncryptionKey> <StringToBeEncrypted>PswEncryptionKeyis the encryption key for the environment configured during installation, stored in the registry.StringToBeEncryptedBase64 encoded, it is the service account name with domain and password separated by a colon, for example:
Credentials = Domain\User:Password123
Base64 encoded = RG9tYWluXFVzZXI6UGFzc3dvcmQxMjM=
Command = StringEncrypter.exe -E DefaultEncryptionKey 'RG9tYWluXFVzZXI6UGFzc3dvcmQxMjM='
Result= AES256:LAI4b+nRTFWqpU1iEpTYi0ggFlQYOFxlwE1U4hP/wY4juoiFt/7R6leqWY9Vztdt=AES256 -
When you run the command, the system returns the encrypted credentials, for example,
AES256:hOUih57kgzNxEznkHdGSIQ==.- Make sure to copy the encrypted credentials to your clipboard, as you will need it for the next step in the procedure.
-
Open the
appsettings.jsonfile for editing in a text editor, and paste the encrypted credentials as follows:
Basic Authentication example
"AuthenticationHeader": {
    "Scheme": "Basic",
    "Parameter": "the encrypted password goes in here!"
}
To authenticate with NTLM, paste the following example:
NTLM example
"AuthenticationHeader": {
    "Scheme": "NTLM",
}
Omada Identity logging
Omada Vault Service uses the Log Configuration object to ensure that logs are written to the correct logging target.
So as not to overwrite the Log Configuration XML, the installation of Vault Service does not create a log target for Vault. You will need to manually add the log target as described below:
-
Go to Setup > Administration > More > Configuration objects.
-
Select the Log configuration object.
-
Add the following to the configuration data XML:
New target example
<target logTargetType="windowsEventLog" name="VaultEventLog">
            <targetParameters>
                <targetParameter name="source" value="Omada Vault Service"/>
                <targetParameter name="log" value="Application"/>
            </targetParameters>
        </target>
New filter example
<filters>
<filter targets="VaultEventLog" component="Vault" logLevel="information"/>
</filters>
Save your changes and restart the Vault Service.
You should see the log entries from Vault Service appear in the log target.
Default logging
The following is the standard ASP.NET Core logging settings as described in the Microsoft documentation:
"Logging": {
    "LogLevel": {

      "Default": "Information",

      "Microsoft.AspNetCore": "Information"

    },

    "EventLog": {

      "SourceName": "Omada Vault Service",

      "LogLevel": {

        "Default": "Information"

      }

    }

  },
These settings are not related to the Log configuration but control how the Vault Service logs by default, so it is useful for debugging.
You might want to adjust the LogLevel to Warning after the Vault Service is working, so that they don't flood the event logs with verbose log information.
The SourceName should match the EventLog Source created by the installer.
Example of the azureLogAnalytics configuration when using Vault Secrets on-prem
<target logTargetType="azureLogAnalytics" name="azureLog" disabled="false">
<targetParameters>
<targetParameter name="workspaceid" value="177653a8-5da1-4157-be27-1f5f83befe5f"/>
<targetParameter name="logname" value="OIS"/>
<targetParameter name="applicationid" value="82d93132-41e8-4c8f-ae75-1bd684e036ea"/>
<targetParameter name="sharedkey" value="VAULT:LOGANALYTICSSHAREDKEY=VAULT"/>
<targetParameter name="clientsecret" value="VAULT:APPLICATIONSECRET=VAULT"/>
<targetParameter name="azuretenantid" value="b4b50789-0c79-4f5a-b9dc-ec9ffb7213b5"/>
</targetParameters>
</target>
Authorize communication using API Key
Vault Service requires the Omada Identity to be authorized against the Vault Service.
By default, all keys are empty in the configuration places.
Vault Service needs to be authenticated and to read the log configuration from Omada Identity. To authorize communication using the API Key:
-
Go to the Vault Service's
appsettings.jsonconfiguration file. -
In the
Loggingsection:- Set the
LogLevel- useDebugduring development andinformationduring operations.
- Set the
-
In the
ConfigurationServicesection:-
Fill in the
BaseAddresswith the base URL of the Omada Identity environment. -
Leave the default path in
ConfigurationDataPath.
-
-
In the
AuthenticationHeadersection:-
Fill in the
Scheme. -
Fill in the
Parameterobtained during the Authentication with Omada Identity.
-
-
In the
ApiKeyAuthenticationsection:-
Fill in the
ApiSharedSecret, that is, the shared secret for the Omada environment (it is the same as for other services such as RoPE). -
Fill in the
PswEncryptionKey, that is, the encryption key for the environment configured during installation, stored in the registry.
-
Look at the following example of the appsettings.json configuration file:
Example
{
"Kestrel":{
  "EndpointDefaults": {
    "Protocols": "Https"
    },
    "EndPoints": {
    "Http": {
    "Url": "http://localhost:5009"
    }
    }
  },

  "Logging": {
    "LogLevel": {
      "Default": "Debug",
      "Microsoft.AspNetCore": "Debug"
    },
    "EventLog": {
      "SourceName": "Omada Vault Service",
      "LogLevel": {
        "Default": "Debug"
      }
    }
  },
  "AllowedHosts": "*",
  "ConfigurationService": {
    "BaseAddress": "[base address of your omada environment, eg. “http://enterpriseserver/”]",
    "ConfigurationDataPath": "WebService/UIWebService.asmx/GetConfigurationData",
    "AuthenticationHeader": {
      "Scheme": "Basic",
      "Parameter": "[encrypted string]"
    }
  },
  "ApiKeyAuthentication": {
    "ApiSharedSecret": "[shared secret for the Omada environment]",
    "PswEncryptionKey": "[encryption key for the Omada environment]",
  }
}
Create a connection to a vault
To create a connection to vault:
-
Go to Administration > System settings > Vault connections.
-
Click New.
-
Name your vault connection object.
-
The Onboarding values field contains the relevant XML schema of your vault provider. Find how to build this XML according to your vault here:
-
HashiCorp Vault
-
Parameters
- Name - enter the secret engine supported: HashiCorpKV2.
- Authmethod - VaultToken, AzureAD, or AzureMI
- Token authentication should not be used in a production environment. For proper security, set it up using AzureAD or AzureMI authentication.
- X-Vault-Token - used for VaultToken authentication.
- ClientID - the service principal's object ID is known as its client ID and acts like its username.
- TenantID - Microsoft Entra ID tenant ID that should be used for authenticating requests to the key vault.
- ClientSecret - the service principal's client secret acts like its password.
- Scope - OAuth 2 scope
- Role - role created in HashiCorp.
- Uri - Uri of the HashiCorp Vault Service
- Path - the path where the secret engine is enabled. For more information, refer to the HashiCorp documentation.
Example with VaultToken authentication
<?xml version="1.0" encoding="utf-8"?>
<ConfigurationParameters xmlns="http://schemas.omada.net/ois/2016/SystemConfigurationValuesML">
<configurationParameter Name="Name">
    <values>
        <value>HashiCorpKV2</value>
    </values>
</configurationParameter>
<configurationParameter Name="AuthMethod">
    <values>
        <value>VaultToken</value>
    </values>
</configurationParameter>
<configurationParameter Name="X-Vault-Token">
    <values>
        <value>...</value>
    </values>
</configurationParameter>
<configurationParameter Name="Uri">
    <values>
        <value>[base address of the vault service you are connecting to]</value>
    </values>
</configurationParameter>
<configurationParameter Name="Path">
    <values>
        <value>[path to secret engine]</value>
    </values>
</configurationParameter>
</ConfigurationParameters>
Example with AzureAD authentication
<?xml version="1.0" encoding="utf-8"?>
<ConfigurationParameters xmlns="http://schemas.omada.net/ois/2016/SystemConfigurationValuesML">
    <configurationParameter Name="Name">
        <values>
            <value>HashiCorpKV2</value>
        </values>
    </configurationParameter>
    <configurationParameter Name="AuthMethod">
        <values>
            <value>AzureAD</value>
        </values>
    </configurationParameter>
    <configurationParameter Name="ClientId">
        <values>
            <value>!Client ID goes here!</value>
        </values>
    </configurationParameter>
    <configurationParameter Name="TenantId">
        <values>
            <value>!Tenant ID goes here!</value>
        </values>
    </configurationParameter>
    <configurationParameter Name="ClientSecret">
        <values>
            <value>!ClientSecret ID goes here!</value>
        </values>
    </configurationParameter>
    <configurationParameter Name="Scope">
        <values>
            <value>!Application scope goes here!</value>
        </values>
    </configurationParameter>
    <configurationParameter Name="Role">
        <values>
            <value>dev-role</value>
        </values>
    </configurationParameter>
    <configurationParameter Name="Uri">
        <values>
            <value>https://{vault-name}</value>
        </values>
    </configurationParameter>
    <configurationParameter Name="path">
        <values>
            <value>secret</value>
        </values>
    </configurationParameter>
</ConfigurationParameters>
Example with AzureMI authentication
<?xml version="1.0" encoding="utf-8"?>
<ConfigurationParameters xmlns="http://schemas.omada.net/ois/2016/SystemConfigurationValuesML">
    <configurationParameter Name="Name">
        <values>
            <value>HashiCorpKV2</value>
        </values>
    </configurationParameter>
    <configurationParameter Name="AuthMethod">
        <values>
            <value>AzureMI</value>
        </values>
    </configurationParameter>
    <configurationParameter Name="Role">
        <values>
            <value>dev-role</value>
        </values>
    </configurationParameter>
    <configurationParameter Name="Scope">
        <values>
            <value>{application scope}</value>
        </values>
    </configurationParameter>
    <configurationParameter Name="Uri">
        <values>
            <value>https://{vault-name}</value>
        </values>
    </configurationParameter>
    <configurationParameter Name="path">
        <values>
            <value>secret</value>
        </values>
    </configurationParameter>
</ConfigurationParameters> -
Resources
The Vault Data Connection for HashiCorp Vault needs to contain the properties that are described in the Azure Auth login request
For more information refer to HashiCorp documentation:
-
-
Azure Key Vault
- Parameters
-
Depending on the authentication method chosen, the number of parameters in the XML schema for the vault connection might vary:
Parameters Microsoft Entra ID Azure MI Name AzureKeyVault AzureKeyVault Authmethod AzureAD - AzureAD access tokens that may be obtained using OAuth2.
When using AzureKeyVault with AzureAD Authentication, ensure that the AzureAD Application Service Principal has the Key Vault Reader and the Key Vault Secrets User role assignment on the AzureKeyVault resource.
For more information, refer to the Azure documentation.Azure MI - Azure Managed Identities ClientID AzureAD Client Id - the service principal's object ID is known as its client ID and acts like its username. Optional TenantID AzureAD Tenant Id - Microsoft Entra ID tenant ID that should be used for authenticating requests to the key vault. n/a ClientSecret AzureAD Client Secret - the service principal's client secret acts like its password. n/a Scope https://management.azure.com/ n/a Uri The URI to allow the applications to retrieve specific versions of a secret: https://{vault-name}.vault.azure.net
-
- Parameters
XML schema with Microsoft Entra ID authentication
<?xml version="1.0" encoding="utf-8"?>
<ConfigurationParameters xmlns="http://schemas.omada.net/ois/2016/SystemConfigurationValuesML">
    <configurationParameter Name="Name">
            <values>
                <value>AzureKeyVault</value>
            </values>
        </configurationParameter>
    <configurationParameter Name="AuthMethod">
        <values>
            <value>AzureAD</value>
        </values>
    </configurationParameter>
    <configurationParameter Name="ClientId">
        <values>
            <value>!ClientID value goes here!</value>
        </values>
    </configurationParameter>
    <configurationParameter Name="TenantId">
        <values>
            <value>!TenantID value goes here!</value>
        </values>
    </configurationParameter>
    <configurationParameter Name="ClientSecret">
        <values>
            <value>!ClientSecret value goes here!</value>
        </values>
    </configurationParameter>
    <configurationParameter Name="Scope">
        <values>
            <value>!Scope goes here!</value>
        </values>
    </configurationParameter>
    <configurationParameter Name="Uri">
        <values>
            <value>https://{vault-name}.vault.azure.net/</value>
        </values>
    </configurationParameter>
</ConfigurationParameters>
XML schema with Azure MI authentication method
<?xml version="1.0" encoding="utf-8"?>
<ConfigurationParameters xmlns="http://schemas.omada.net/ois/2016/SystemConfigurationValuesML">
<configurationParameter Name="Name">
<values>
<value>AzureKeyVault</value>
</values>
</configurationParameter>
<configurationParameter Name="AuthMethod">
<values>
� <value>AzureMI</value>
</values>
</configurationParameter>
<configurationParameter Name="ClientId">
<values>
<value>!ClientID value goes here - optional!</value>
</values>
</configurationParameter>
<configurationParameter Name="Uri">
<values>
<value>https://{vault-name}.vault.azure.net/</value>
</values>
</configurationParameter>
</ConfigurationParameters>For more information, refer to the Azure documentation.
-
-
Click Save.
-
Click Test connection to verify the vault connection.
When the system administrator creates or modifies the Vault Connection, the connection is tested through a call to the Omada Vault Service API, to make sure that the service can connect and authenticate.
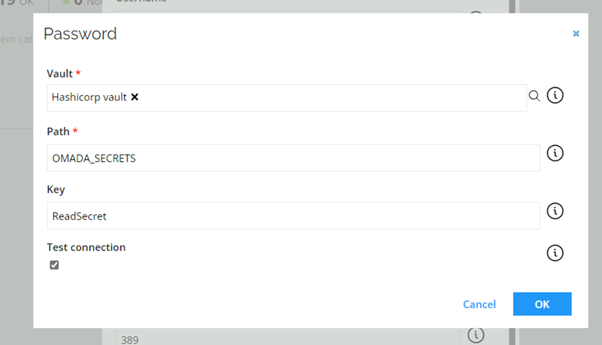
Create a vault secret
To create a vault secret:
-
Go to Administration > System settings > Vault secrets.
-
Name the vault secret.
-
In the Vault connection field, select the data object created in Vault connections.
-
Enter the Path to the secret on the vault.
-
Optionally (if the secret is a part of a JSON object or a dictionary object), enter a Key to the secret.
-
Check Test connection to validate the vault connection, path, and key.
-
Click OK.
Onboard a system with a vault secret
To onboard a system with a vault secret:
-
Go to Setup > Master Data > Systems.
-
Select the relevant registered system.
-
In the System definition section, click Connection details.
-
In the dialog, click the icon Vault configuration next to the Password field.
-
When the dialog opens, select the vault secret object.
-
Check Test connection to validate the vault, path, and key.
-
Click Save.
-
In the parent dialog, the Password field now displays the Vault, Path, and Key values.
-
On the subsequent server side call, Omada Identity retrieves the secret from the vault, encodes and stores it in the vault connection object of the system.
If the vault secret is changed in the external vault, then the OPS settings must be committed afterwards.