Report security
In this section, you can find a step-by-step process describing how to configure the report security in distributed environment. The process in this guide is applicable to this environment setup:
- 3-server environment
- Application server - Enterprise Server
- SSRS server - ODW Report feature
- Database server
The report security is token based and impersonates one common SSRS account for all users.
If you want to, you can use Omada Identity Data Warehouse basic security as an alternative to the standard model where users are authenticated against the database using their Active Directory credentials. For more information, refer to the Omada Identity Data Warehouse and ES Portal Authorization document in the Security section.
Setting up report security
SSRS Configuration
Follow these steps to configure the SSRS environment in the SSRS Server:
-
Log into the SSRS server and, as administrator, open Reporting Services Configuration Manager.
-
Connect to the local server.
-
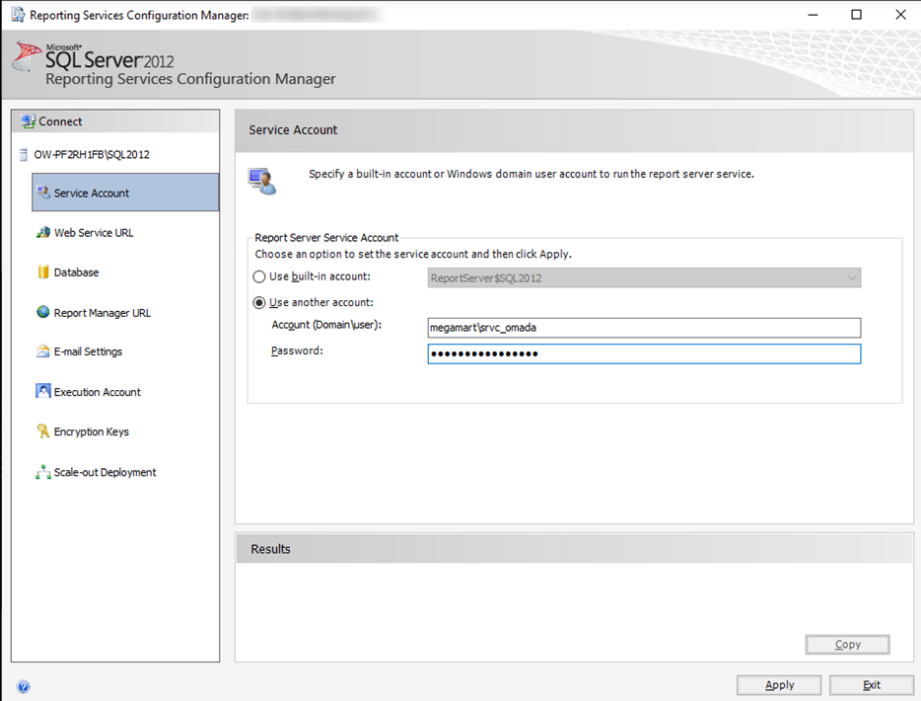
Click Service Account and configure an active directory account as a service account. Provide Account and Password, and click Apply.
-
Click Database tab. Click Create Database. A dialog opens.
-
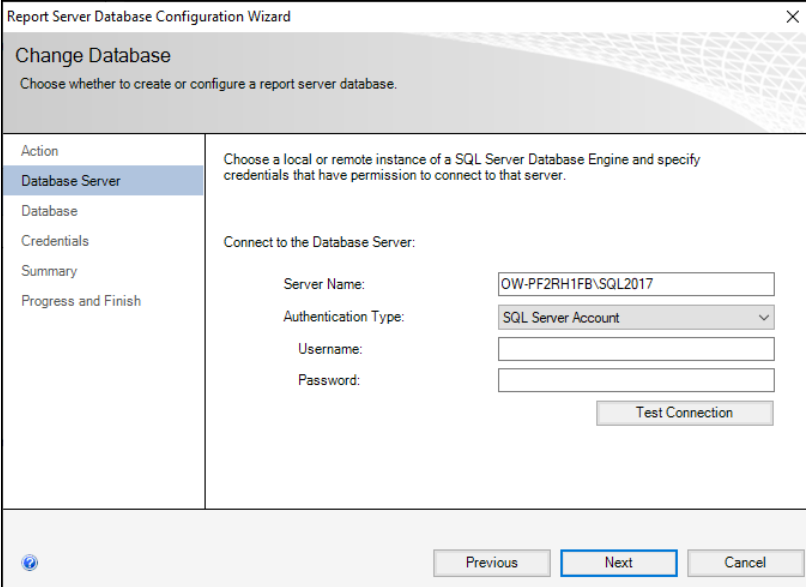
Specify SQL Server Name. The Database is default.
-
In the Authentication Type field, the SQL Server Account user with permissions to create/modify database is set by default. If you want to change it, provide a Username and Password of a different account. Click Next.
-
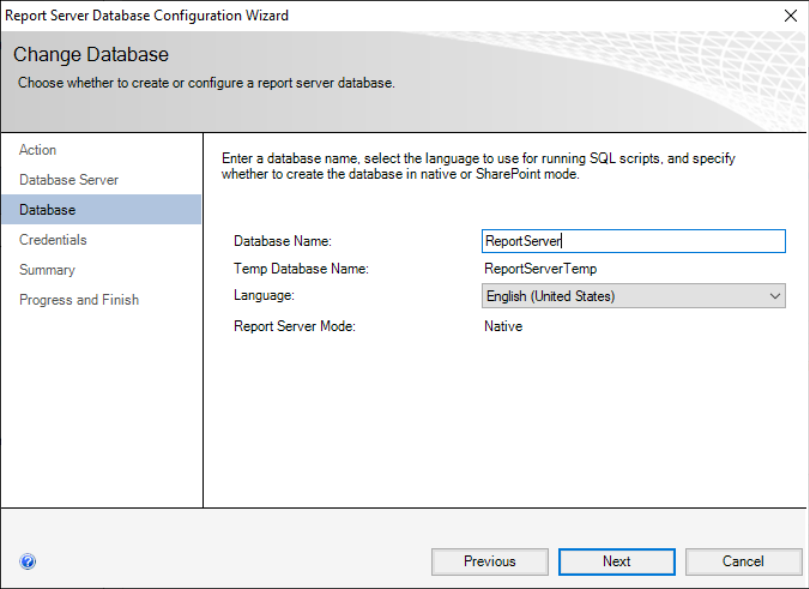
In the Database tab, leave the default values. Click Next.
-
In the Credentials tab, set Service Credentials. Click Next.
-
In the Summary tab, you will find the summary of your setup. Click Next.
-
The process begins. When it is done, click Finish.
-
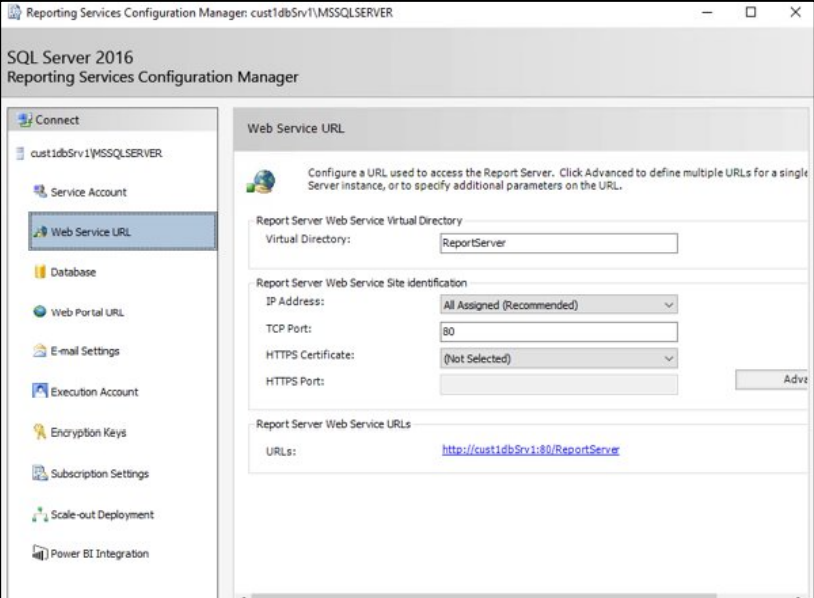
Click Web Service URL tab and Create web service site. Click Create and accept the default values. Click Apply.
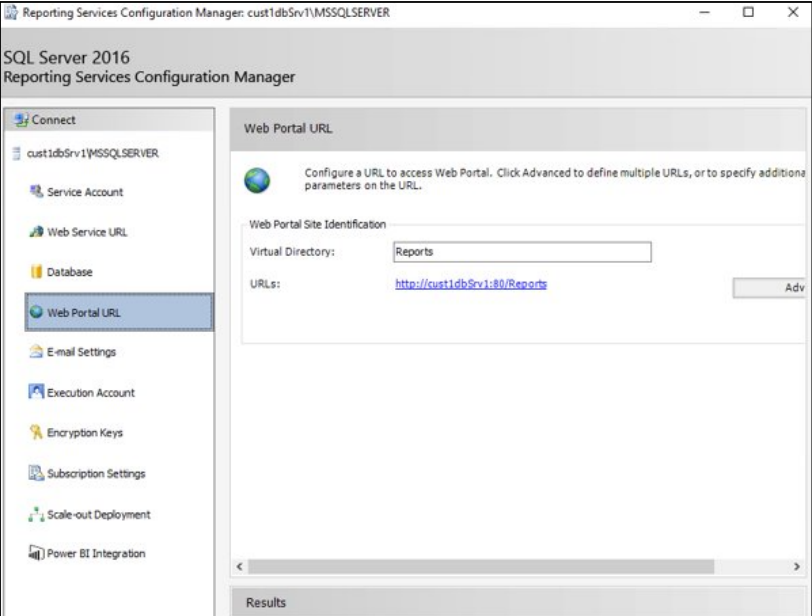
-
Click Web Portal URL tab to create a web portal site. Click Create and accept default values. Click Apply. The process is done, click Exit.
Reports deployment to SSRS
To deploy reports to SSRS:
- Download ODW Installer and install ODW Report feature on the SSRS server.
- Upload reports using the ReportLoader tool.
- After the reports have been uploaded to SSRS, edit the report data source Reports\ODW.rds and configure it for the integrated security.
Report loader tool
Omada provides a tool to facilitate the loading of ODW reports to SQL Server Reporting Services. This tool is called ReportLoader. The tool is provided with the complete installation of the product in the \Omada Identity v14.0.xx Update 8.zip\DOUpgradeTools\Private\ODW folder.
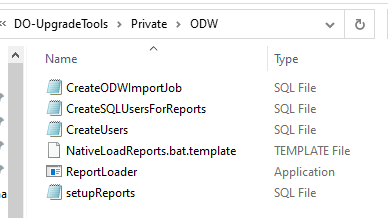
The batch file NativeLoadReports.bat is provided with the tool, and Omada recommends using in to use the ReportLoader. The batch file uploads the reports to default folders.
To use the ReportLoader, edit the report server URL and any other relevant parameters in the batch file. Then save and run the file.
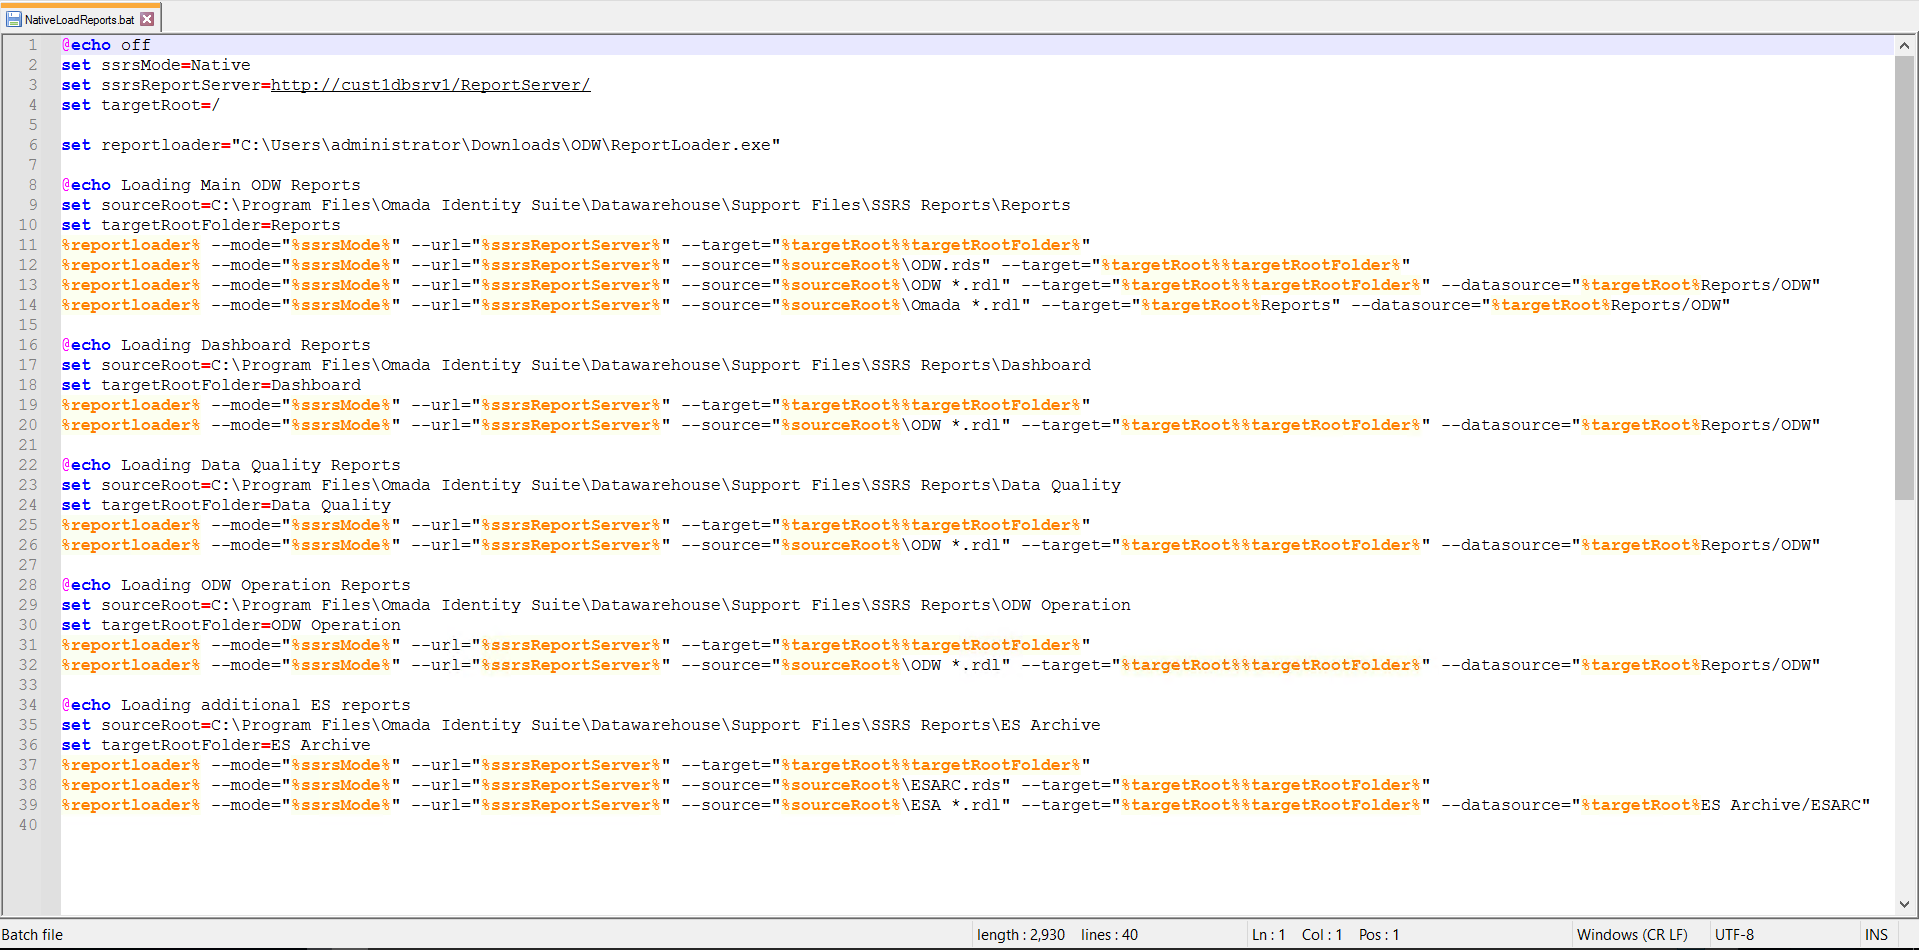
The ReportLoader is a executable file which takes a number of parameters. The available parameters are:
--help- this information--mode- Specify Native--url- target ssrs server url--source- source folder containing reports (.rdl) and datasources (.rds)--target- target folder name--datasource- specify a datasource to use for the reports--delete- delete all reports before upload
Note that:
- The ReportLoader can create a root folder with one sub-level, but if further levels are required, you must add the additional levels in the set section, one level per line.
- For Native Mode, you must specify the file extensions.
- The
--deleteargument deletes all contents of the target folder. - The ReportLoader overwrites already existing files without prompting, so any customizations to reports are lost, unless the files are backed up to another location.
- Omada recommends that you edit the data source manually to be able to change and test the connection string and credentials.
For more information, see the documentation provided with the tool.
Using SSPI/Kerberos delegation for SSRS reports
To ensure proper security, all of the ODW reports use impersonation when connecting to the ODW database. This means that users can only see the data that they have permission to see according to their security setup.
In addition to Omada Identity, if the SQL Server Reporting Services that are running the ODW reports are located on a different server than the ODW database, you must configure delegation from the web server to the database server in order for the reports to work.
This section describes how you configure the settings that are required for using the Security Support Provider Interface (SSPI) and Kerberos delegation.
Change Active Directory settings
Follow these steps to change Active Directory settings:
-
Create an Active Directory service account that is to be used for the integrated authentication between the web/application server and the SQL Server.
-
Change the IIS application pool to use this new service account on the web server.
-
To configure the necessary service principal names (SPNs), log on to the Domain Controller with Domain Admin rights, and run the Setspn command for the web server service account and the SQL Server service account:
-
Web server:
SetSPN –S HTTP/<web server fqdn> <DOMAIN>\<service account> -
SQL Server:
SetSPN –S MSSQLSvc/<sql server fqdn> <DOMAIN>\<service account>
Always register both short and long (domain fqdn) for a service to ensure that Kerberos is available at all times.
The following example shows the commands necessary for a web server called IAGWebServer on the
contoso.comdomain. A service account called IAGService and a SQL Server called DBServer are used on the same domain and run under the local network service account:SetSPN –S HTTP/IAGWebServer contoso\IAGService
SetSPN –S HTTP/IAGWebServer.contoso.com contoso\IAGService
SetSPN –S MSSQLSvc/DBServer DBServer$
SetSPN –S MSSQLSvc/DBServer.contoso.com DBServer$ -
Configure delegation on the service account
You must configure delegation using Active Directory Users and Computers (ADUC) to allow a specific service to delegate to another service.
To enable the Omada IAG Portal to delegate to the SQL Server Service, you must perform the following steps:
- Open ADUC and locate the service account for the Omada IAG Portal.
- Open the properties for the service account, and click the Delegation tab.
- Select either Trust this user for delegation to any service or Trust this user for delegation to specified services only. The latter option gives you the option of setting up the specific services that the user might delegate to instead of using all services.
- Click OK to save your changes and close the Properties dialog box.
It can be very difficult to set up Kerberos delegation. Microsoft has developed a useful tool that helps validating your configuration. Click the following links to the download page for the software and the related documentation:
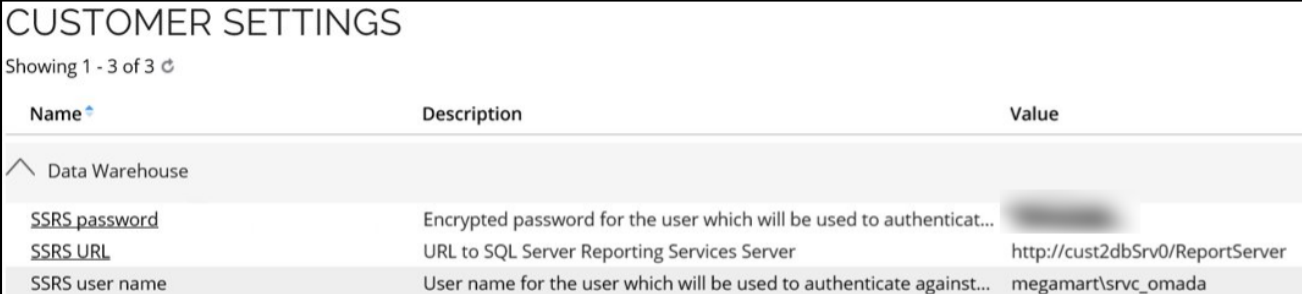
Configure customer settings for SSRS credentials
Now you have to set up the customer settings SSRS credentials using configurations set previously, such as SSRS password, URL and the user name.
-
Open Enterprise Server.
-
Locate Customer Settings.
-
Locate Data Warehouse and edit entries.
Configure ssrsServiceAccount setting in ODW database
- Open MS SQL Server Management Studio and connect to a database server.
- Expand the ODW Database and find tblApplicationSettings database.
- Right click and click Edit.
- Provide the name of the SSRS user name and press Enter to save.