Step 3 - Creating application account
Next in the process, you must create an account for the application, that is, the built-in application account used for new resources. To do so, follow these steps:
-
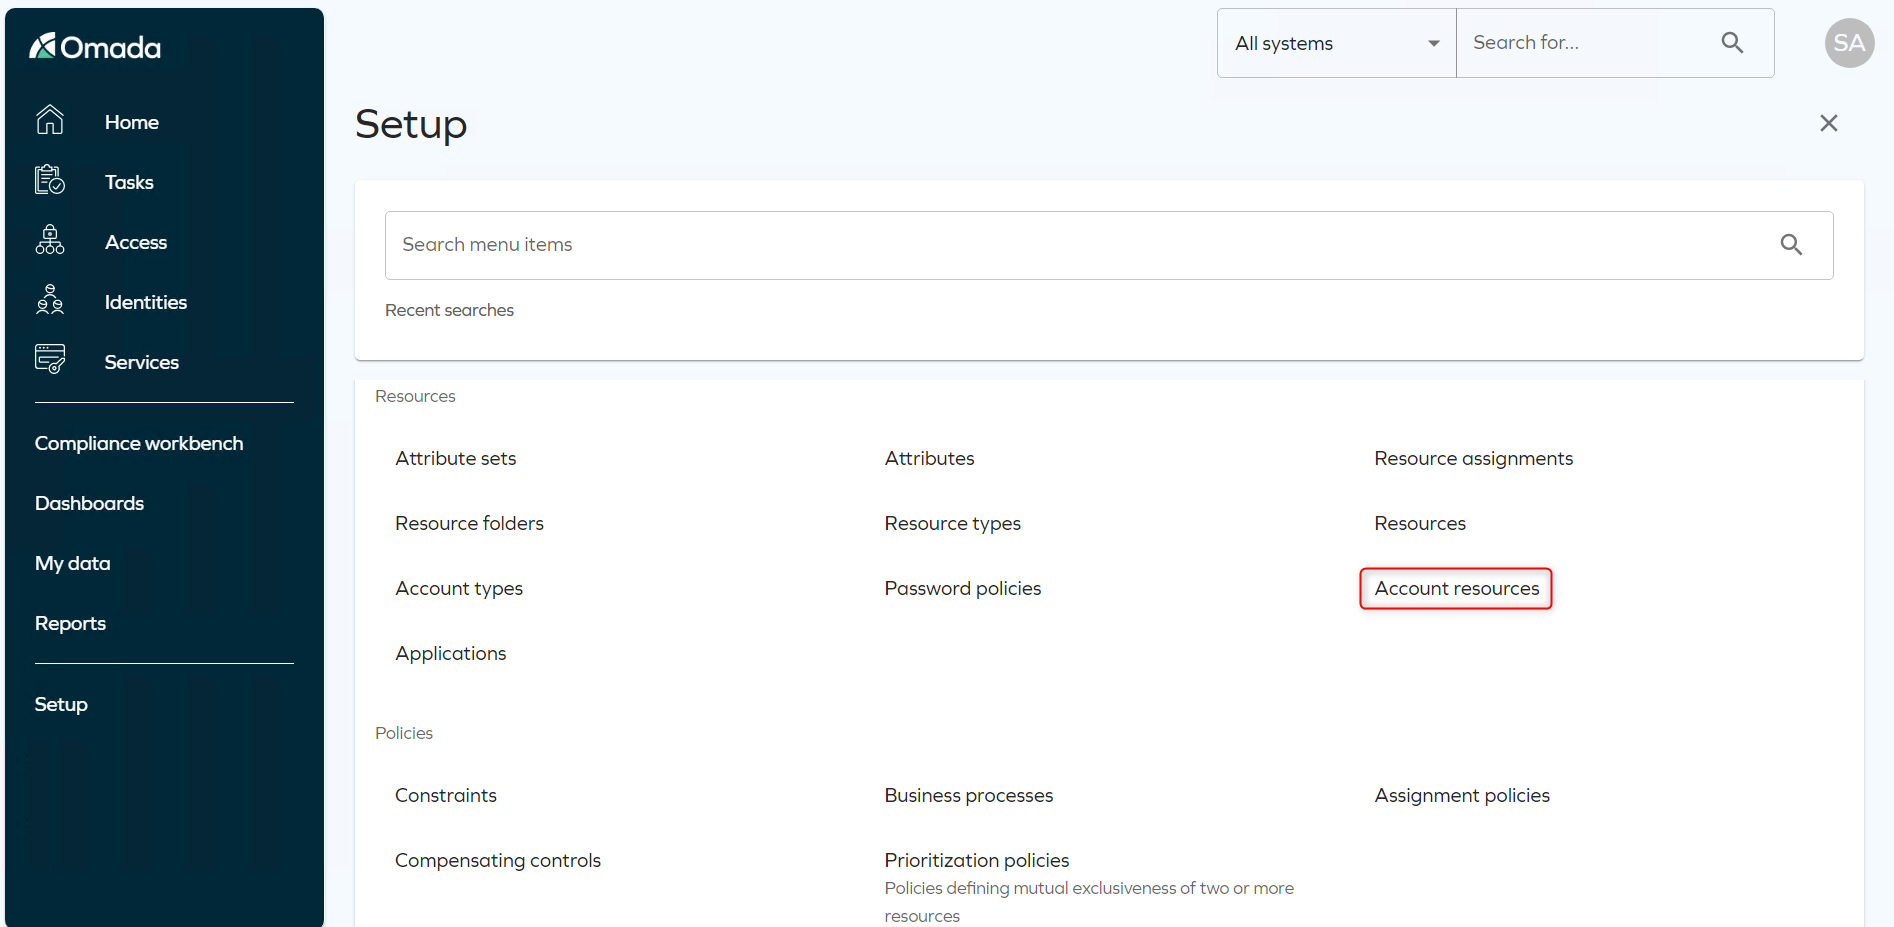
Go to Setup > Master data > Resource management > Account resources.
-
Check that the account does not already exist. Click New to create a new application account.
-
Set the Resource ID to
APP.<APPNAME>.<ACCOUNT TYPE>following the naming convention, and the Name to<App Name> - Account - <Account type>Account. An example for Financial Postings,APP>FINANCIALPOSTINGS>PERSONAL. -
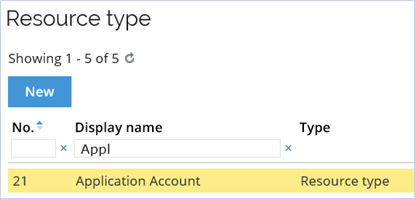
Click the magnifying glass next to the resource type field to find, if already created, an existing resource type, or to create a new resource type by clicking New. We want a resource type named Application Account.
-
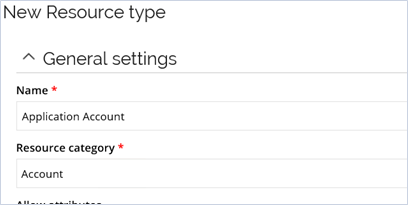
For a new resource type, fill in Name with Application Account and select Account for Resource category. Click OK to save the resource type.
-
Whether newly created or already existing, select the resource type from the list of resource types. Click OK.
-
Next, for the System, click on the magnifying glass and select the application you created in the previous step.
-
For the Resource folder, click on the magnifying glass and select the resource folder that is relevant for your application, based on the approval level required. We recommend No approval .
-
Click the magnifying glass of the Account types field and select the relevant account type for the account - for example the Personal account type. Click OK to get back.

-
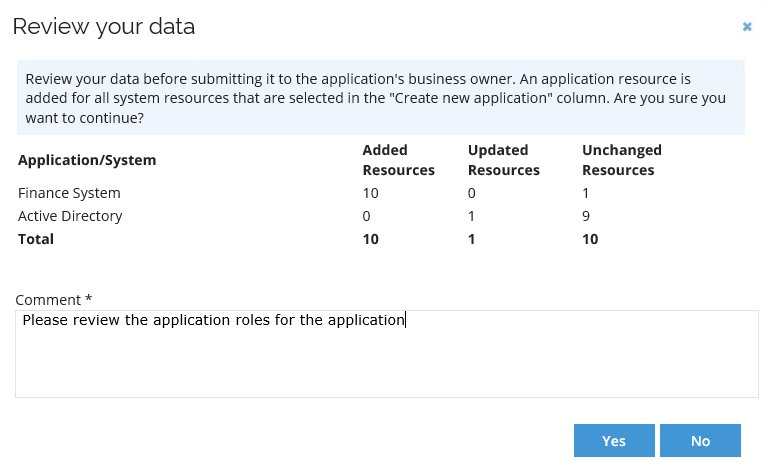
Click OK in the New Resource window, which will save the Account resource and return you to the Account resources list view, where your newly created account resource should now be visible.