Javi – Omada AI assistant (Microsoft Teams)
Javi, the Omada AI assistant, integrates with Microsoft Teams to provide a conversational interface for identity governance tasks.
Through Teams, you can ask Javi to perform the following actions:
- Access request - submit and manage access requests with ease
- Access approval - approve access requests directly within Microsoft Teams
- Q&A - get answers to questions about Omada Identity and technical documentation
- scheduled notifications - use scheduled notifications for pending approval requests
The following sections describe how to onboard and use Javi in Microsoft Teams.
Pre-installation checklist
| Requirement | Description |
|---|---|
| Admin access to Microsoft Teams Admin Center | Required to install, configure, and manage the Javi app. |
| Admin access to Omada Identity Cloud | Needed for identity mapping and system configuration. |
| Microsoft Entra Tenant ID | Used to link Microsoft Teams with Omada. |
| UPN attribute name identified | Ensures identity matching between Teams users and Omada. |
| IP address ranges whitelisted | Necessary for secure Javi backend communication. |
| Javi installation ZIP file (if applicable) | Required if you are not installing from AppSource. |
Onboarding overview
- Gather all required details as listed in the Prerequisites and Omada configuration section.
- Complete the configuration steps in the Omada Identity Cloud portal.
- Submit a service request in the Omada Support Service Desk, titled Enablement of Javi, including:
- Install the Javi app in Microsoft Teams.
- Omada personnel enable Javi for your specified environment and notify you through a support ticket once the app is ready for use.
Prerequisites and Omada configuration
Establish an identity link between Omada and Microsoft Teams users
To use Javi, Teams users must have a corresponding identity in Omada that is linked to a user. Users without such an identity (for example, service or admin-only accounts) will not be able to use Javi.
Javi relies on a shared identifier to match platform users with Omada identities. The specific attribute used for this mapping depends on the collaboration platform: Microsoft Teams typically uses UPN (from Microsoft Entra ID).
The selected identifier must exist as a property on the Omada identity and be consistently populated.
Example: Identify the UPN attribute for Microsoft Teams
-
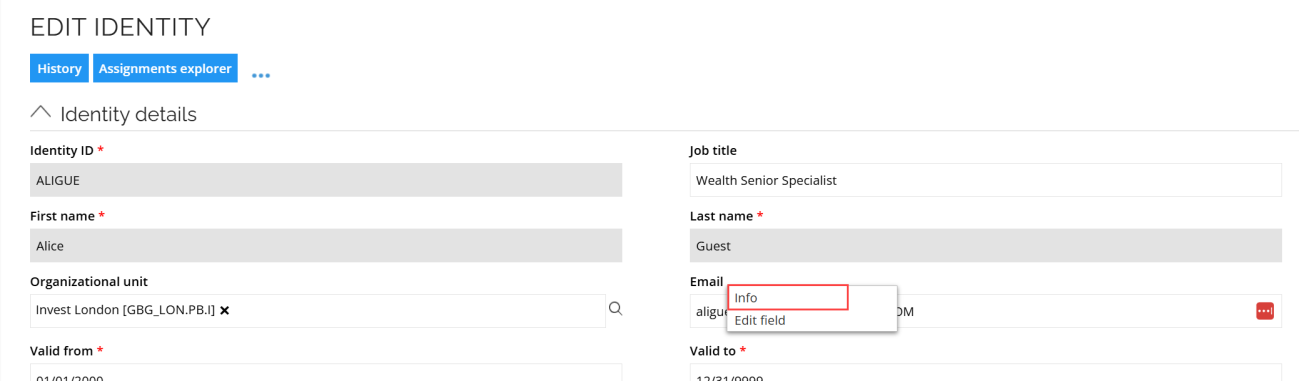
Log into Omada Identity Cloud as a System Administrator. Go to Setup > Identities.
-
Select a user, right-click the property mapped to UPN, and select Info.
-
Note the System Name of this field.
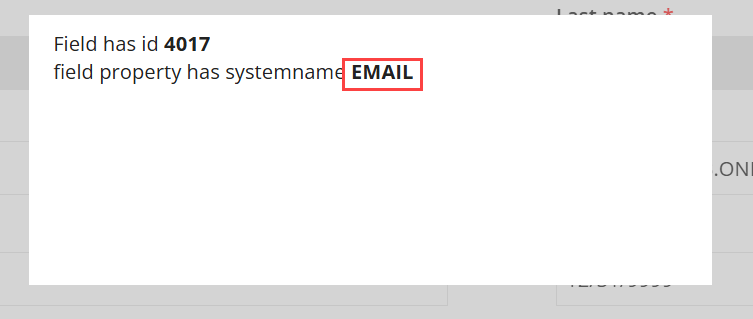
This identity mapping is currently configured manually by Omada personnel. Share the system name of the selected identifier (for example, UPN or email attribute) with your Omada contact.
Link Microsoft Entra ID Tenant to Omada
To establish a connection between your Microsoft Teams tenant and Omada:
-
In the Azure Portal, go to Microsoft Entra ID for the relevant tenant.
-
In the Overview section, copy the Tenant ID.
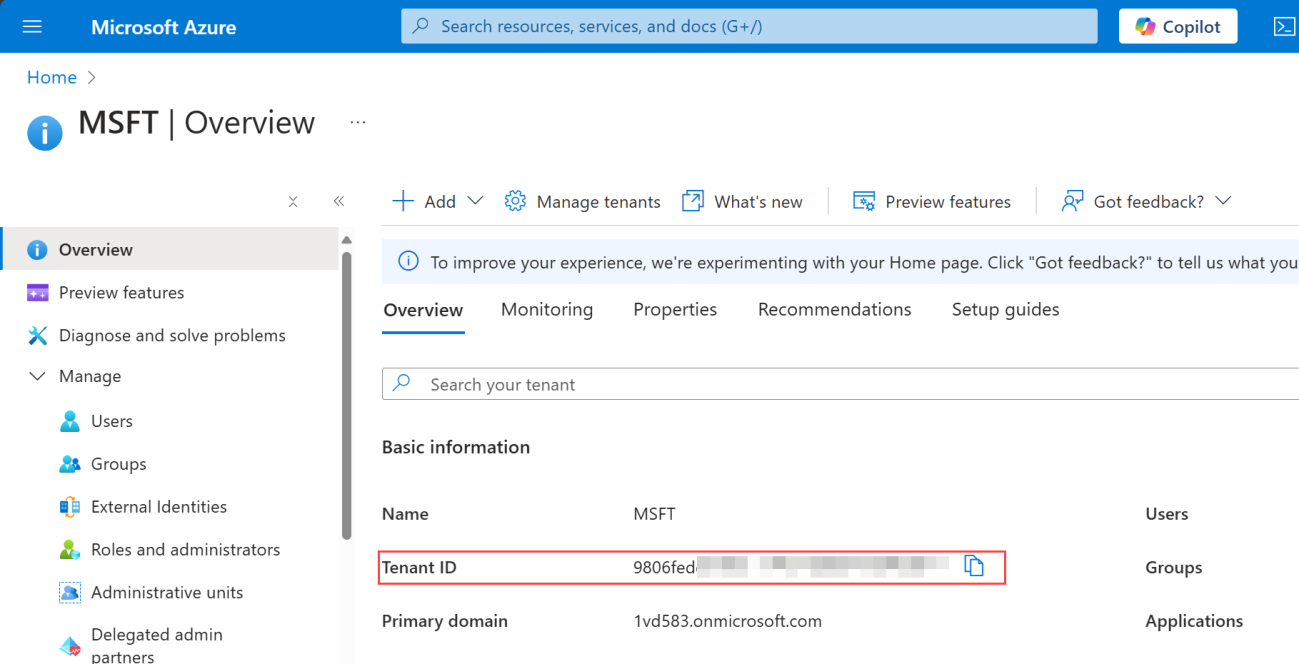
Send the Tenant ID to your Omada contact. This step is currently handled manually by Omada.
Installing Javi in Microsoft Teams
This section explains how to install and configure the Javi app in supported collaboration platforms. Because installation and authorization differ by platform, follow the instructions specific to your environment below.
Installation through Microsoft AppSource
-
Go to Microsoft AppSource and search for Javi Omada IGA Assistant.
-
Click Get it now.
-
Log into Microsoft Teams and select Add.
-
Javi will now be listed in your apps.
Manual installation using a ZIP file
Prerequisites: You need to have the Teams administrator permissions to onboard a new application.
-
Go to Teams admin center. Select Teams apps > Manage apps.
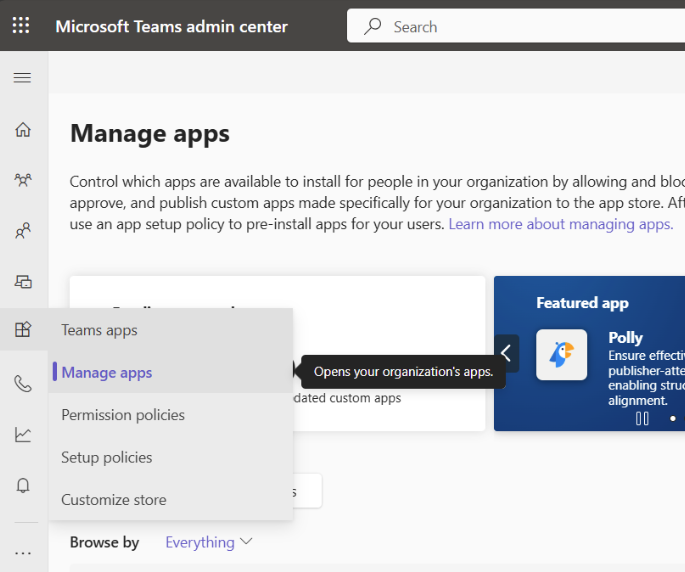
-
In the top right corner, click Actions > Upload new app.
-
Navigate to the Javi AI Assistant .zip file provided by Omada. Click Open.
-
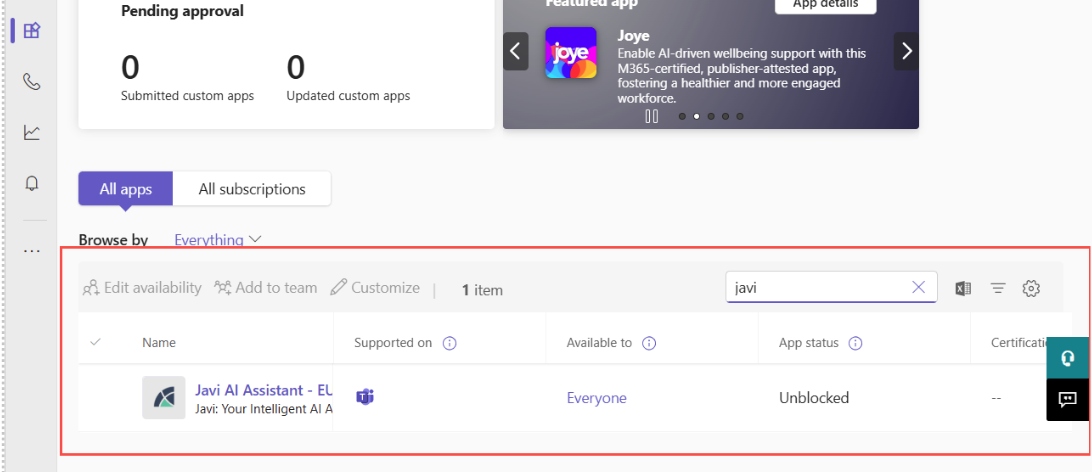
Wait until the app is installed. Once the installation is complete, locate the app on the list:
Configuring the app
-
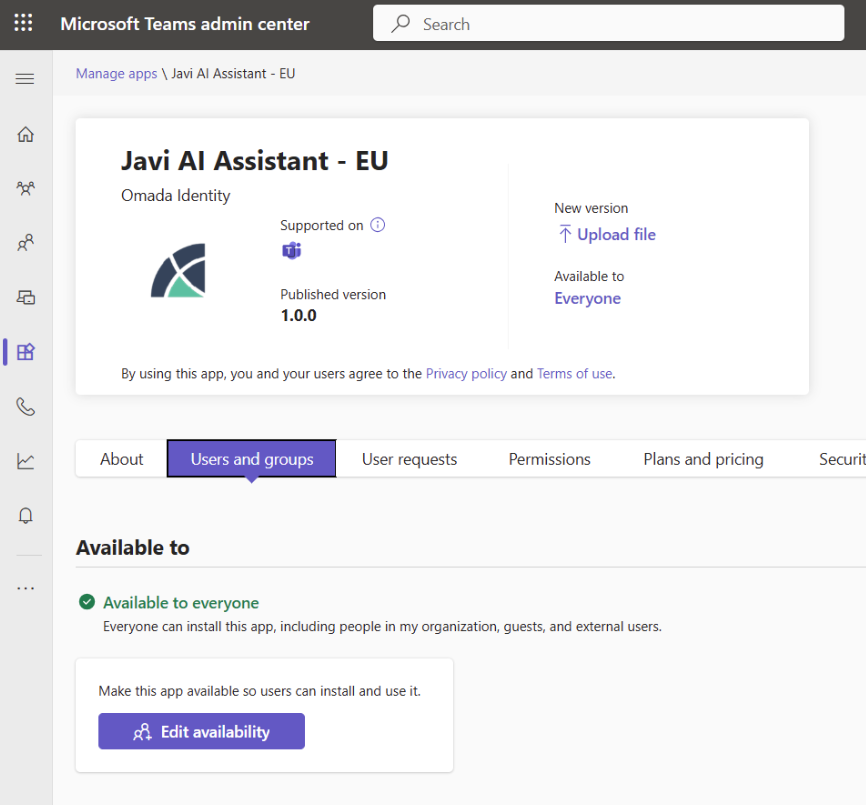
In Teams Admin Center, go to Teams apps > Manage Apps.
-
Select the Javi app and configure its availability by clicking Edit availability. Change this setting to make it available to specific users or groups, and then review installation requests. To make Javi available by default, see Setup policies in Microsoft Teams documentation for details.
Teams-specific troubleshooting
| Problem | Solution |
|---|---|
| App not showing in Teams | Ensure it is added to a valid Teams Setup Policy. |
| ZIP upload fails | Verify Teams admin permissions and file integrity. |